This is going to be one of those slow moving build threads.Got my wife talked into getting chickens with the original idea being 4. But chicken math before they even arrive and now 12 day olds will be getting picked up April 20th. I started building the end of February, in the garage so I wouldn't be fighting the weather. I can get everything done inside, except for the roof on. I can get it figured out and pieces cut though.
A few things that I thought through with the design: It had to be elevated off the ground. So when I clean it I can scrape the shavings, etc right into a wheelbarrow. No lifting no bending. It gives chickens shade too. The nesting boxes are outside the main floor plan of the coop with storage underneath for feed and bedding. The roost has a poop board under it, with the whole unit being removable for deep cleaning. On what will be the north wall I am building a small shed attached for garden tools. It will hopefully act as a thermal break. There will be a large door on the back elevated up off the floor. A 2x6 will fill the gap and be removable so if I decide to try the deep litter method nothing falls out. On the side with the nesting boxes will be a smaller door for feed and water. It too will be elevated. Putting in lots of windows and ventilation. Rather be able to close vents off then drill more holes. The run will be roofed, as I have the extra shingles. Also trying to make it light but strong so if I ever move it can move too.
So far I have the bulk of the framing and insulation done. It was free. Try and stop the drafts. Floor is complete with vinyl sheeting on top. Windows are in place.
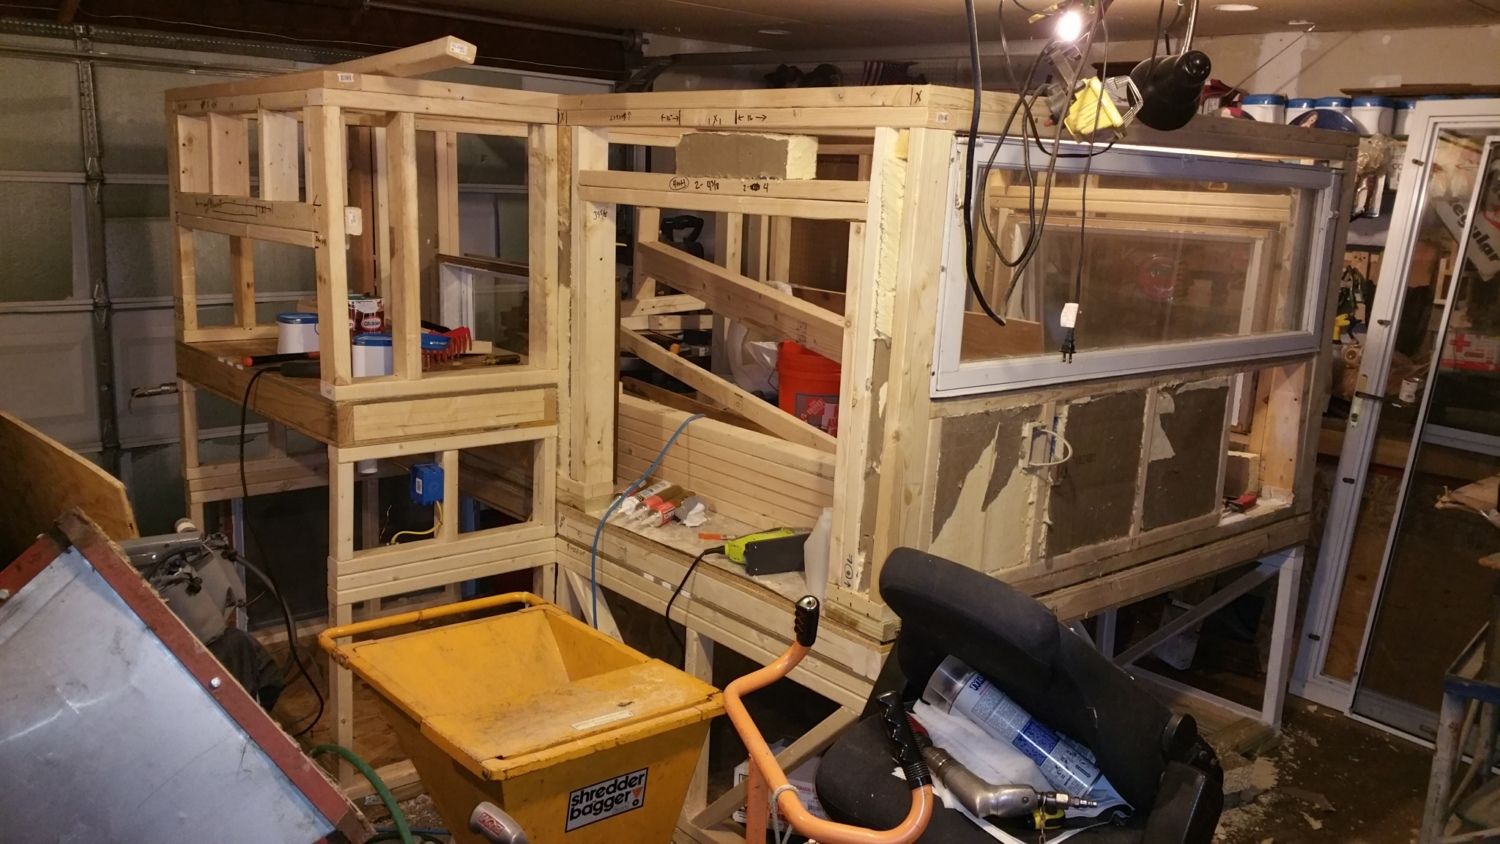 this is a view of what's done. Quarters are tight so hard to get real good shots. You can see side door opening and the jut out for nesting boxes.
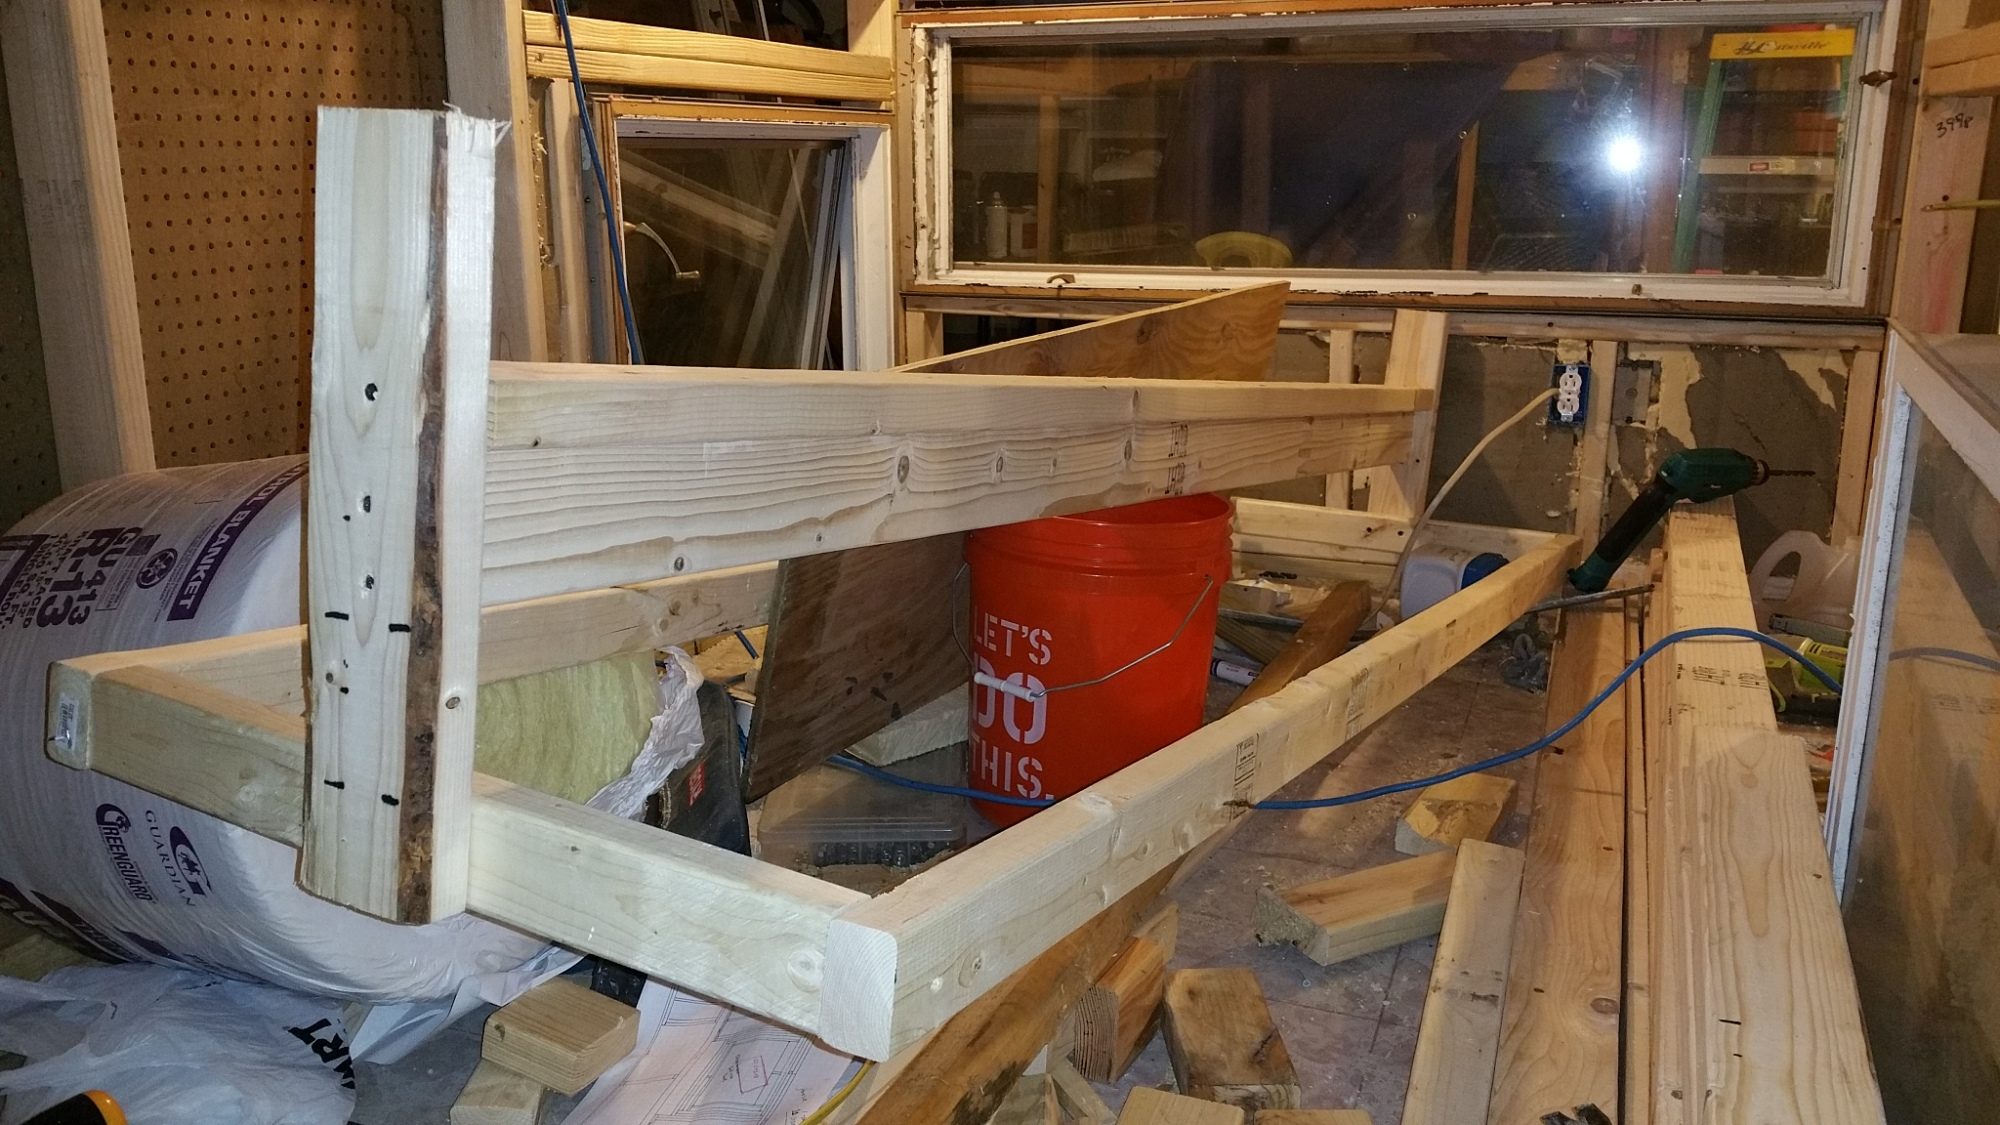 framing for roost and the poop board. This is looking in from the back door.
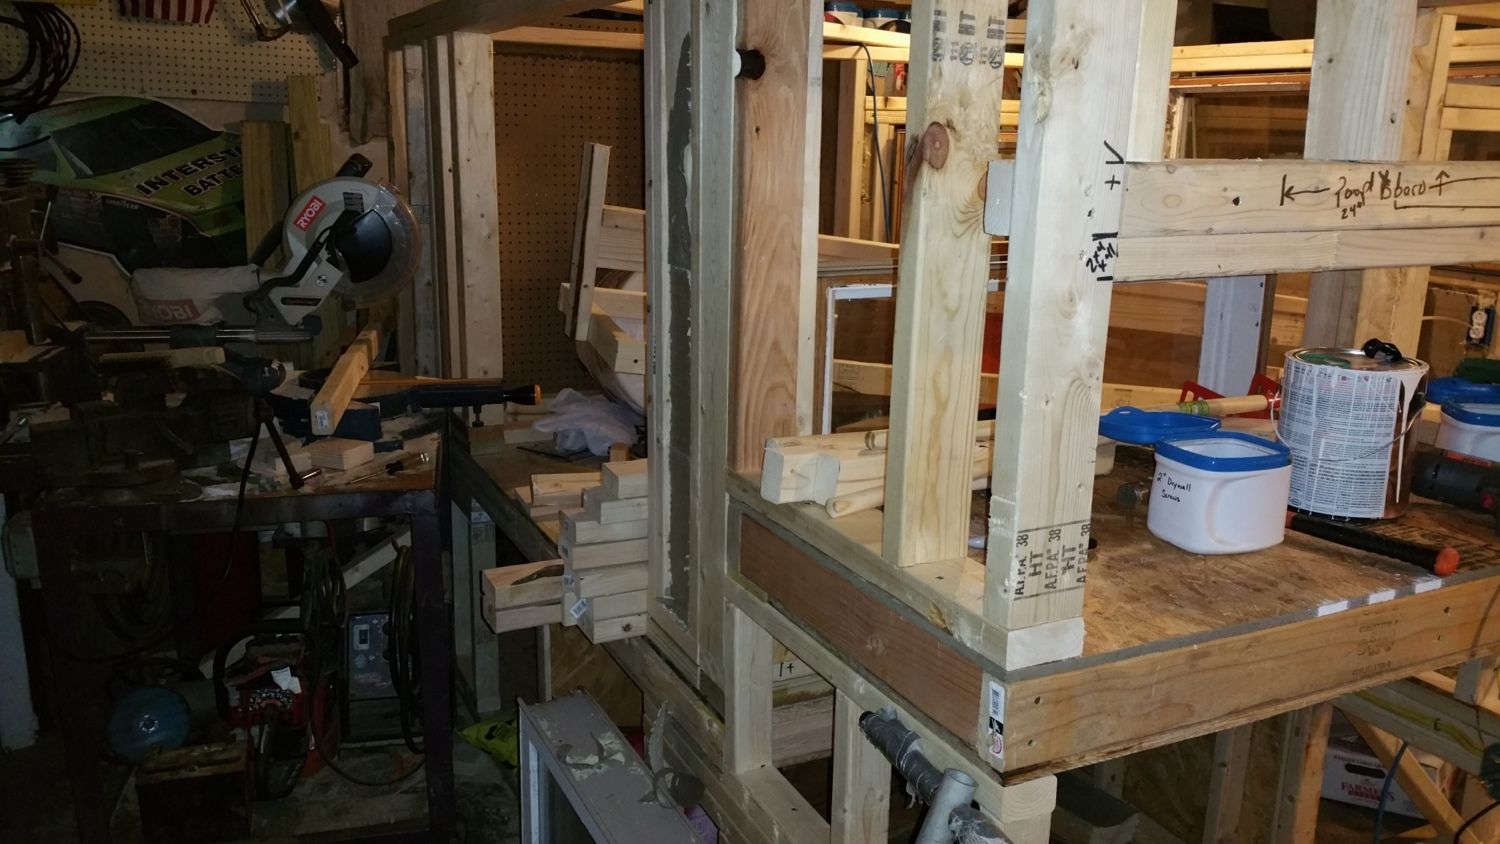 this last picture shows the back door with nesting box area in foreground. In far background where the pegboard wall is will be the small attached shed.
A few things that I thought through with the design: It had to be elevated off the ground. So when I clean it I can scrape the shavings, etc right into a wheelbarrow. No lifting no bending. It gives chickens shade too. The nesting boxes are outside the main floor plan of the coop with storage underneath for feed and bedding. The roost has a poop board under it, with the whole unit being removable for deep cleaning. On what will be the north wall I am building a small shed attached for garden tools. It will hopefully act as a thermal break. There will be a large door on the back elevated up off the floor. A 2x6 will fill the gap and be removable so if I decide to try the deep litter method nothing falls out. On the side with the nesting boxes will be a smaller door for feed and water. It too will be elevated. Putting in lots of windows and ventilation. Rather be able to close vents off then drill more holes. The run will be roofed, as I have the extra shingles. Also trying to make it light but strong so if I ever move it can move too.
So far I have the bulk of the framing and insulation done. It was free. Try and stop the drafts. Floor is complete with vinyl sheeting on top. Windows are in place.
")
