Interior Coop Pics

Wow, just checked the thread and I can't believe there has been so many views. I guess what I wanted to see, alot of others wanted to see too. I have gotten some great ideas from your pictures and hope to post some of my own soon. Keep them coming!
 
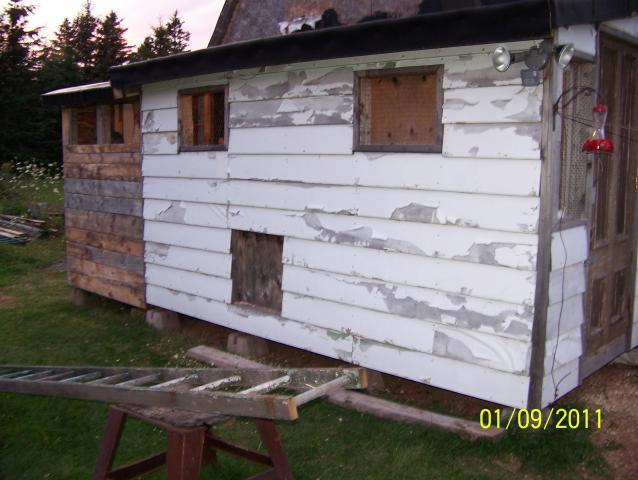
First of all here is my coop. Construction cost less than $100. Most wood was free. We only had meat birds for three years then decided to expand the coop and raise some layers and roosters I guess. Straight run of nine chickens and we ended up with six cockerels and three pullets. Ended up finding two more Americauna pullets. For the addition, someone I knew had some rough lumber weathering for a couple years and just wanted to get rid of it, cost for addition $20 worth of screw and nails. Original coop, siding came from a buddies house. He had cedar clapboard but switched to vinyl. I collected a pile up his scrap and had enough for the whole exterior. Lumber for the original coop was $60. I got older twisted boards (and some good ones too), thus the deal. Coop measures 15' x 6'
100547_100_7152.jpg
 
Now for the interior. Just so everyone knows I am new to this and just making things up as I go.
100547_100_7151.jpg


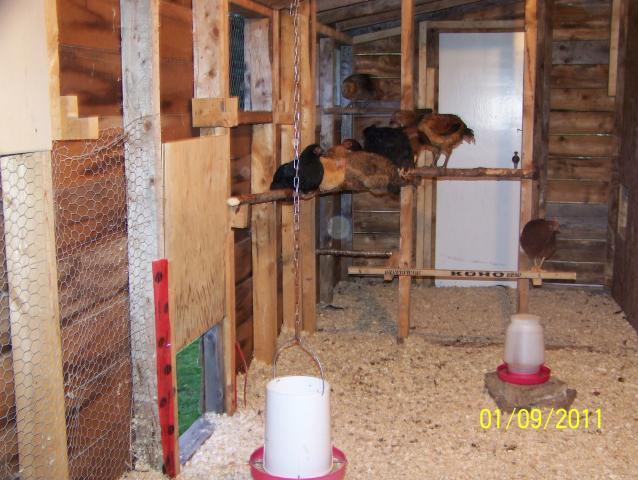
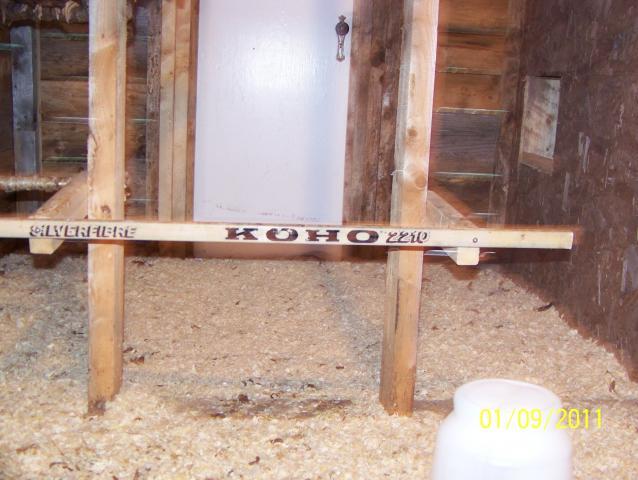
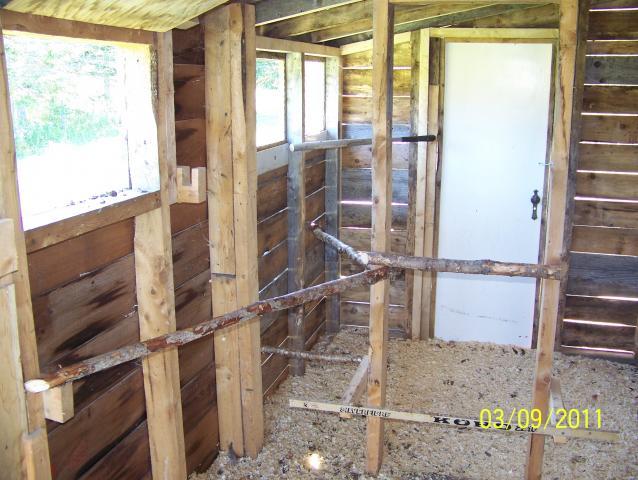
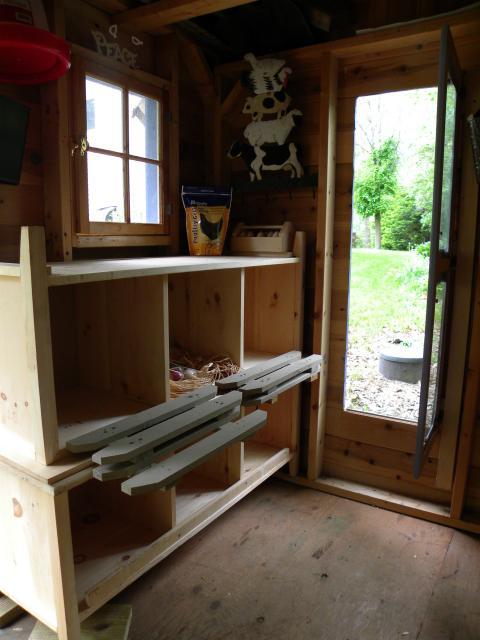
Here's a good use for an old hockey stick. You can see one nesting box on the right. The box juts out into the barn to save floor space. I need a piece of belting down inside the box then add shavings. two more boxes to build. Box has flip down back for egg retrieval inside the barn
100547_100_7145.jpg


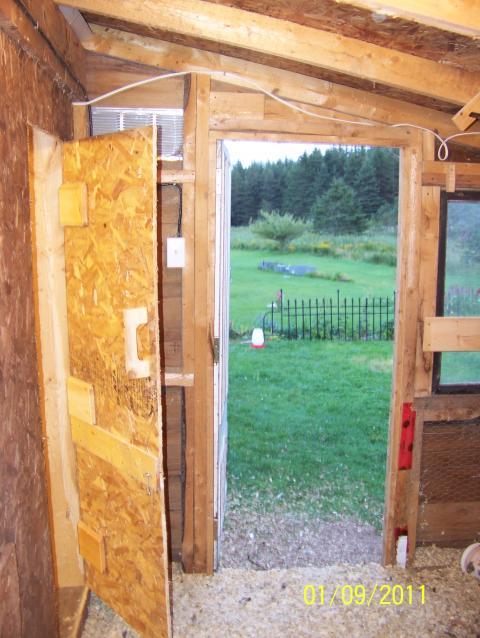
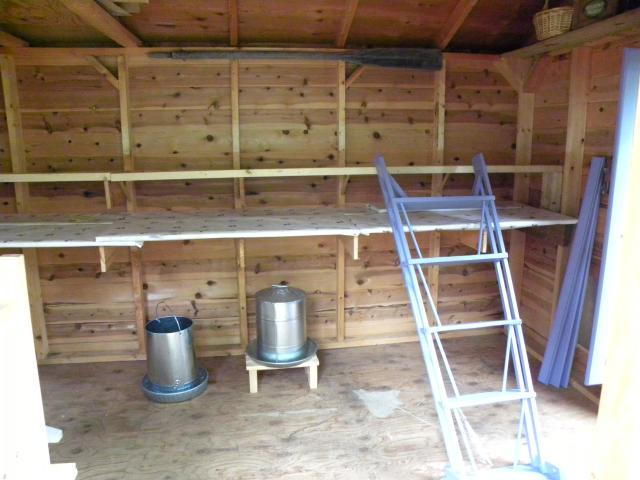
Three doors in the coop. One on either end, and one going into the old barn cut between the studs.
100547_100_7144.jpg


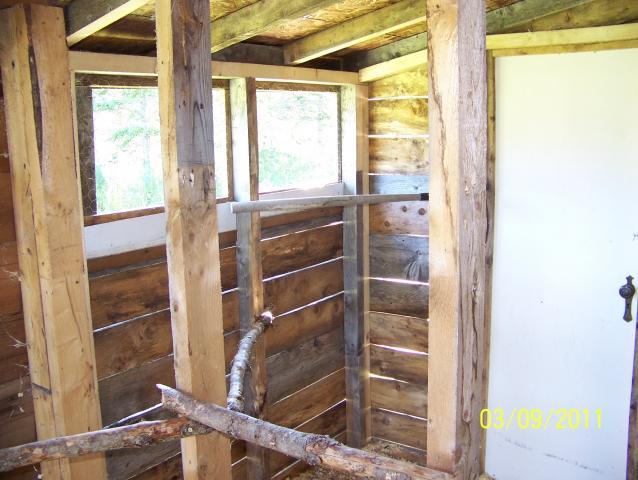
The studs in the middle of the floor are from the old exterior wall.
100547_100_7138.jpg


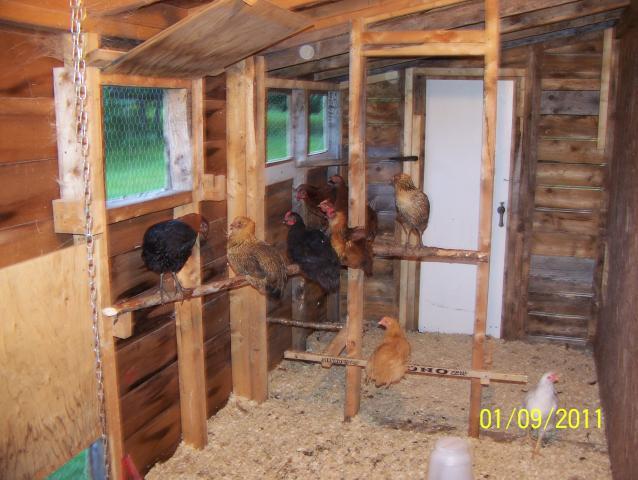
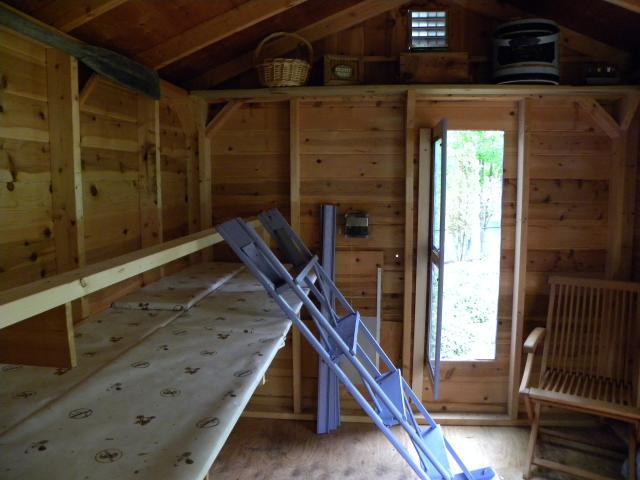
Lots of roosting space. We have a bunch of downed trees towards the end of the yard, so we cut some up for roosts.
100547_100_7155.jpg


We didn't have a lot of money to put into this coop so we used some recycled material, including a broken shovel handle. The chickens like sitting up in the windows, but they poop there and it gets dirty, so on the new side there are no sills for them to sit on, but there is a roost directly in front of the window.
100547_100_7158.jpg


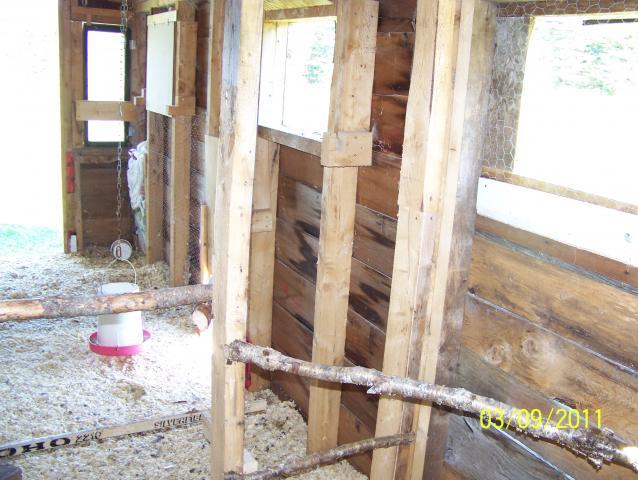
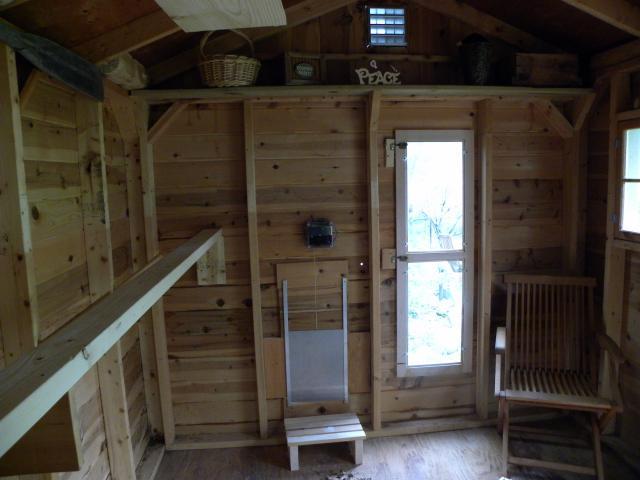
Here are a couple other angles. You may notice the window beside the door has a piece of lumber going across it. Didn't want Irene to blow it open and bust window. Window very old and fragile.
100547_100_7156.jpg

100547_100_7155.jpg


You probably noticed the gap between the boards on the exterior wall. The boards were mounted tight together, but as they have been drying the gap has been increasing.
 
Last edited:

New posts New threads Active threads

Back
Top Bottom