How it all Began
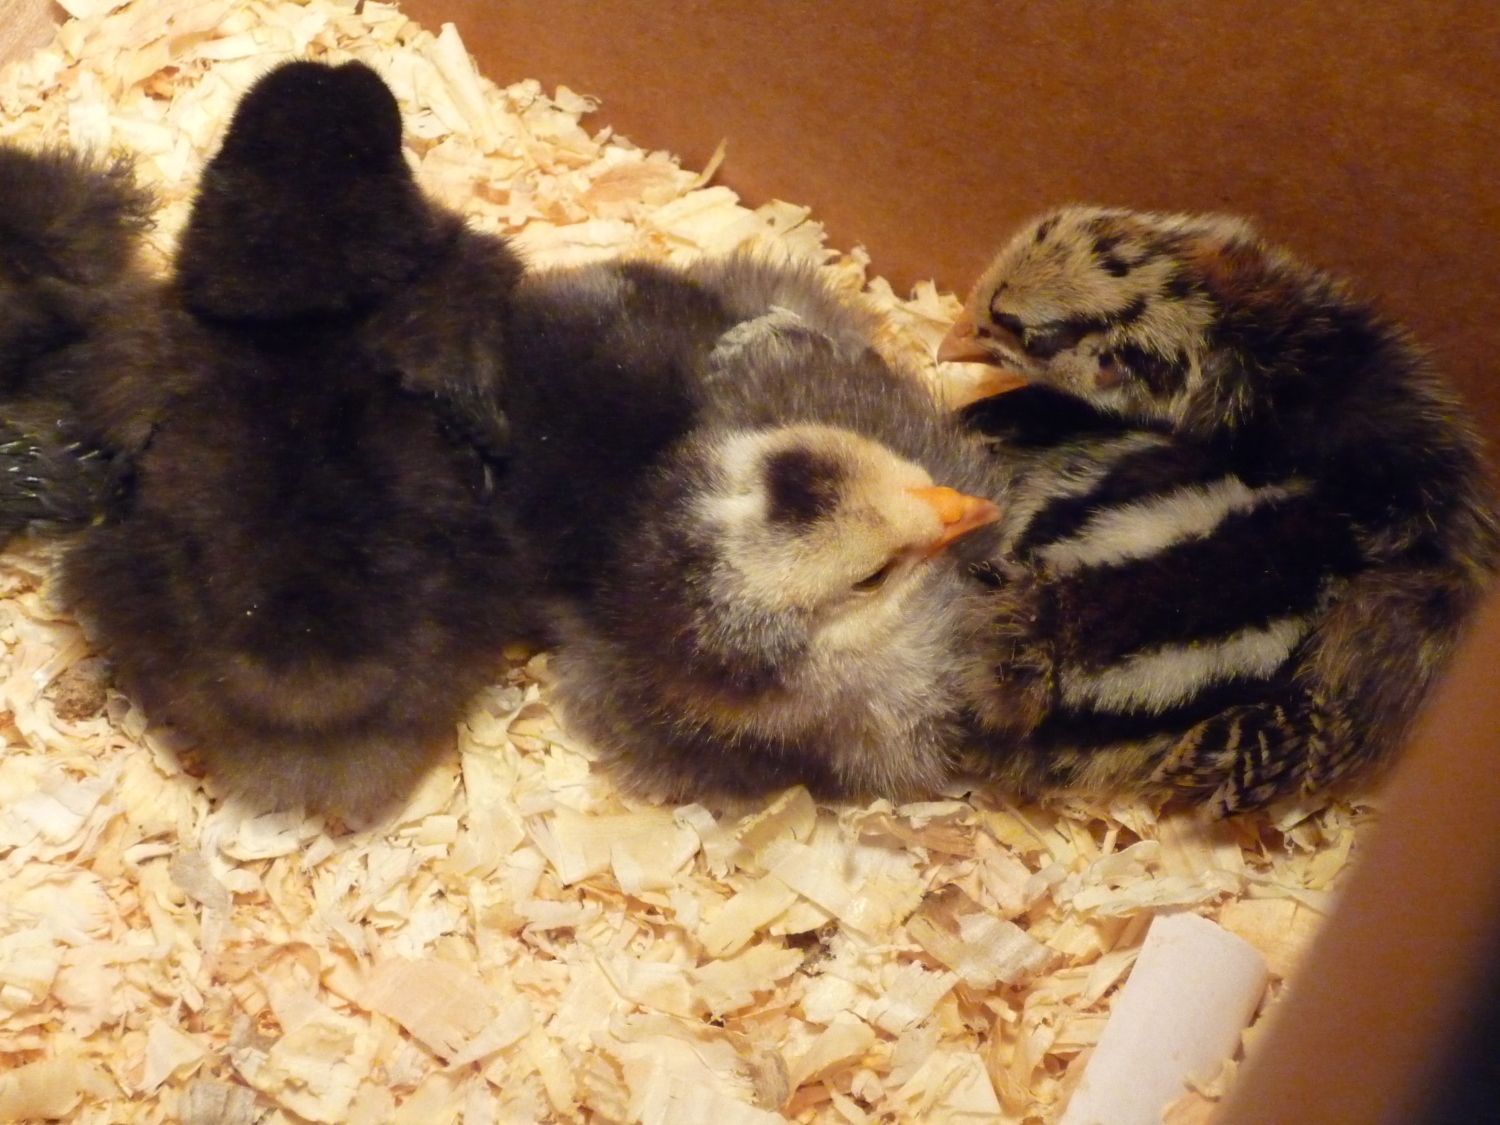
Just six weeks ago I fell in love with the idea of having chickens. It began when I discovered that as of June 2011, Denver county allowed residents to purchase a permit to have up to 8 chickens. Now I wasn't thinking of having 8, just 2 or 3, maybe 4. The kindergarten classroom I work in also happened to be incubating a dozen eggs, so chicks were becoming a part of my life. I had begun my research into breeds and my boyfriend and I started to narrow down on breeds we would like to have; barred rock, rhode island red, buff orpington, and possibly a wynadotte. His family has raised chickens so we consulted his dad as well. I was getting so excited, maybe a bit too excited. When I find a new interest I focus 24/7 on that interest, so I thought only about our new chicks. Then I got this idea that I could possibly get some of the chicks that we hatch in the classroom. As day 21 drew nearer and nearer (which was coincidentally the day before my birthday) I couldn't wait to see my could-be new chicks! Fast forward...I nixed the idea of searching for our specific breeds and decided I wanted these fluff balls that had hatched on my birthday. So when it was time for the chicks to return to the farm I had arranged to keep a few, and was encouraged to keep even more than a few. When it came to decision time I couldn't decide and I brought home 6, knowing that there was a high probability that I would have a few roos.

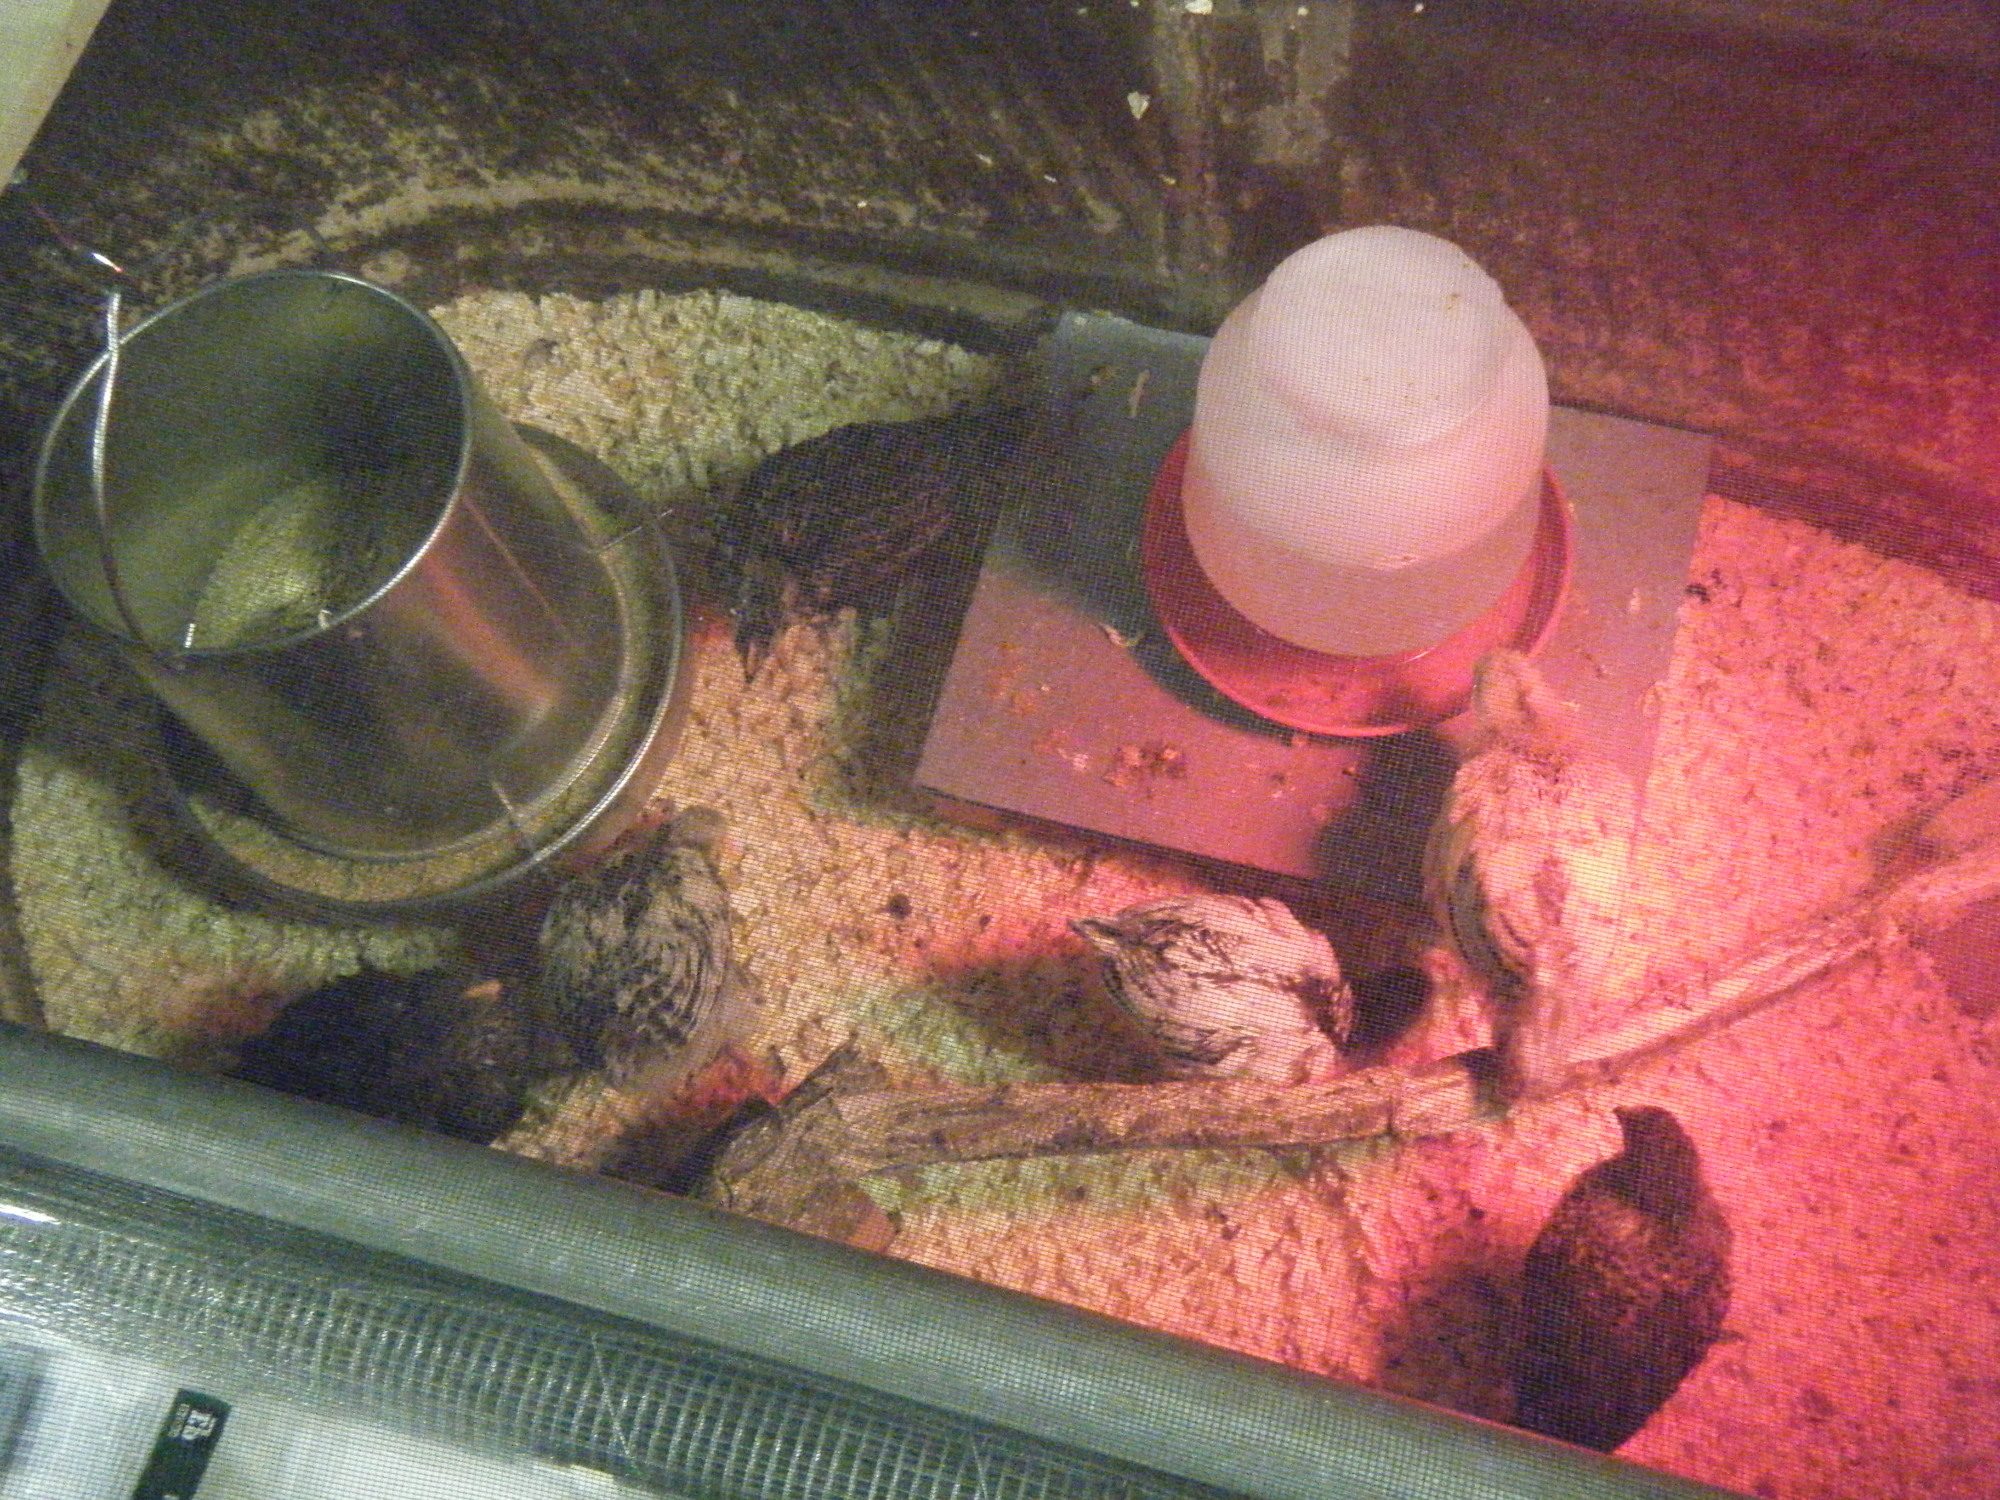
Now came the big question, where are these chicks going to live? First the brooder grew from a cardboard box to a large stock tank that my mom generously loaned me. The next big decision was a coop. I scoured the web for the perfect coop. It had to be pretty, it had to fit with our style (which is somewhat modern), and it had to be mobile as we are slowly re-landscaping our backyard. After weeks and weeks of lost sleep I chose the City Biddy Double Wide coop. I ordered the plans and anxiously checked the mail for them to come.
Building the Coop
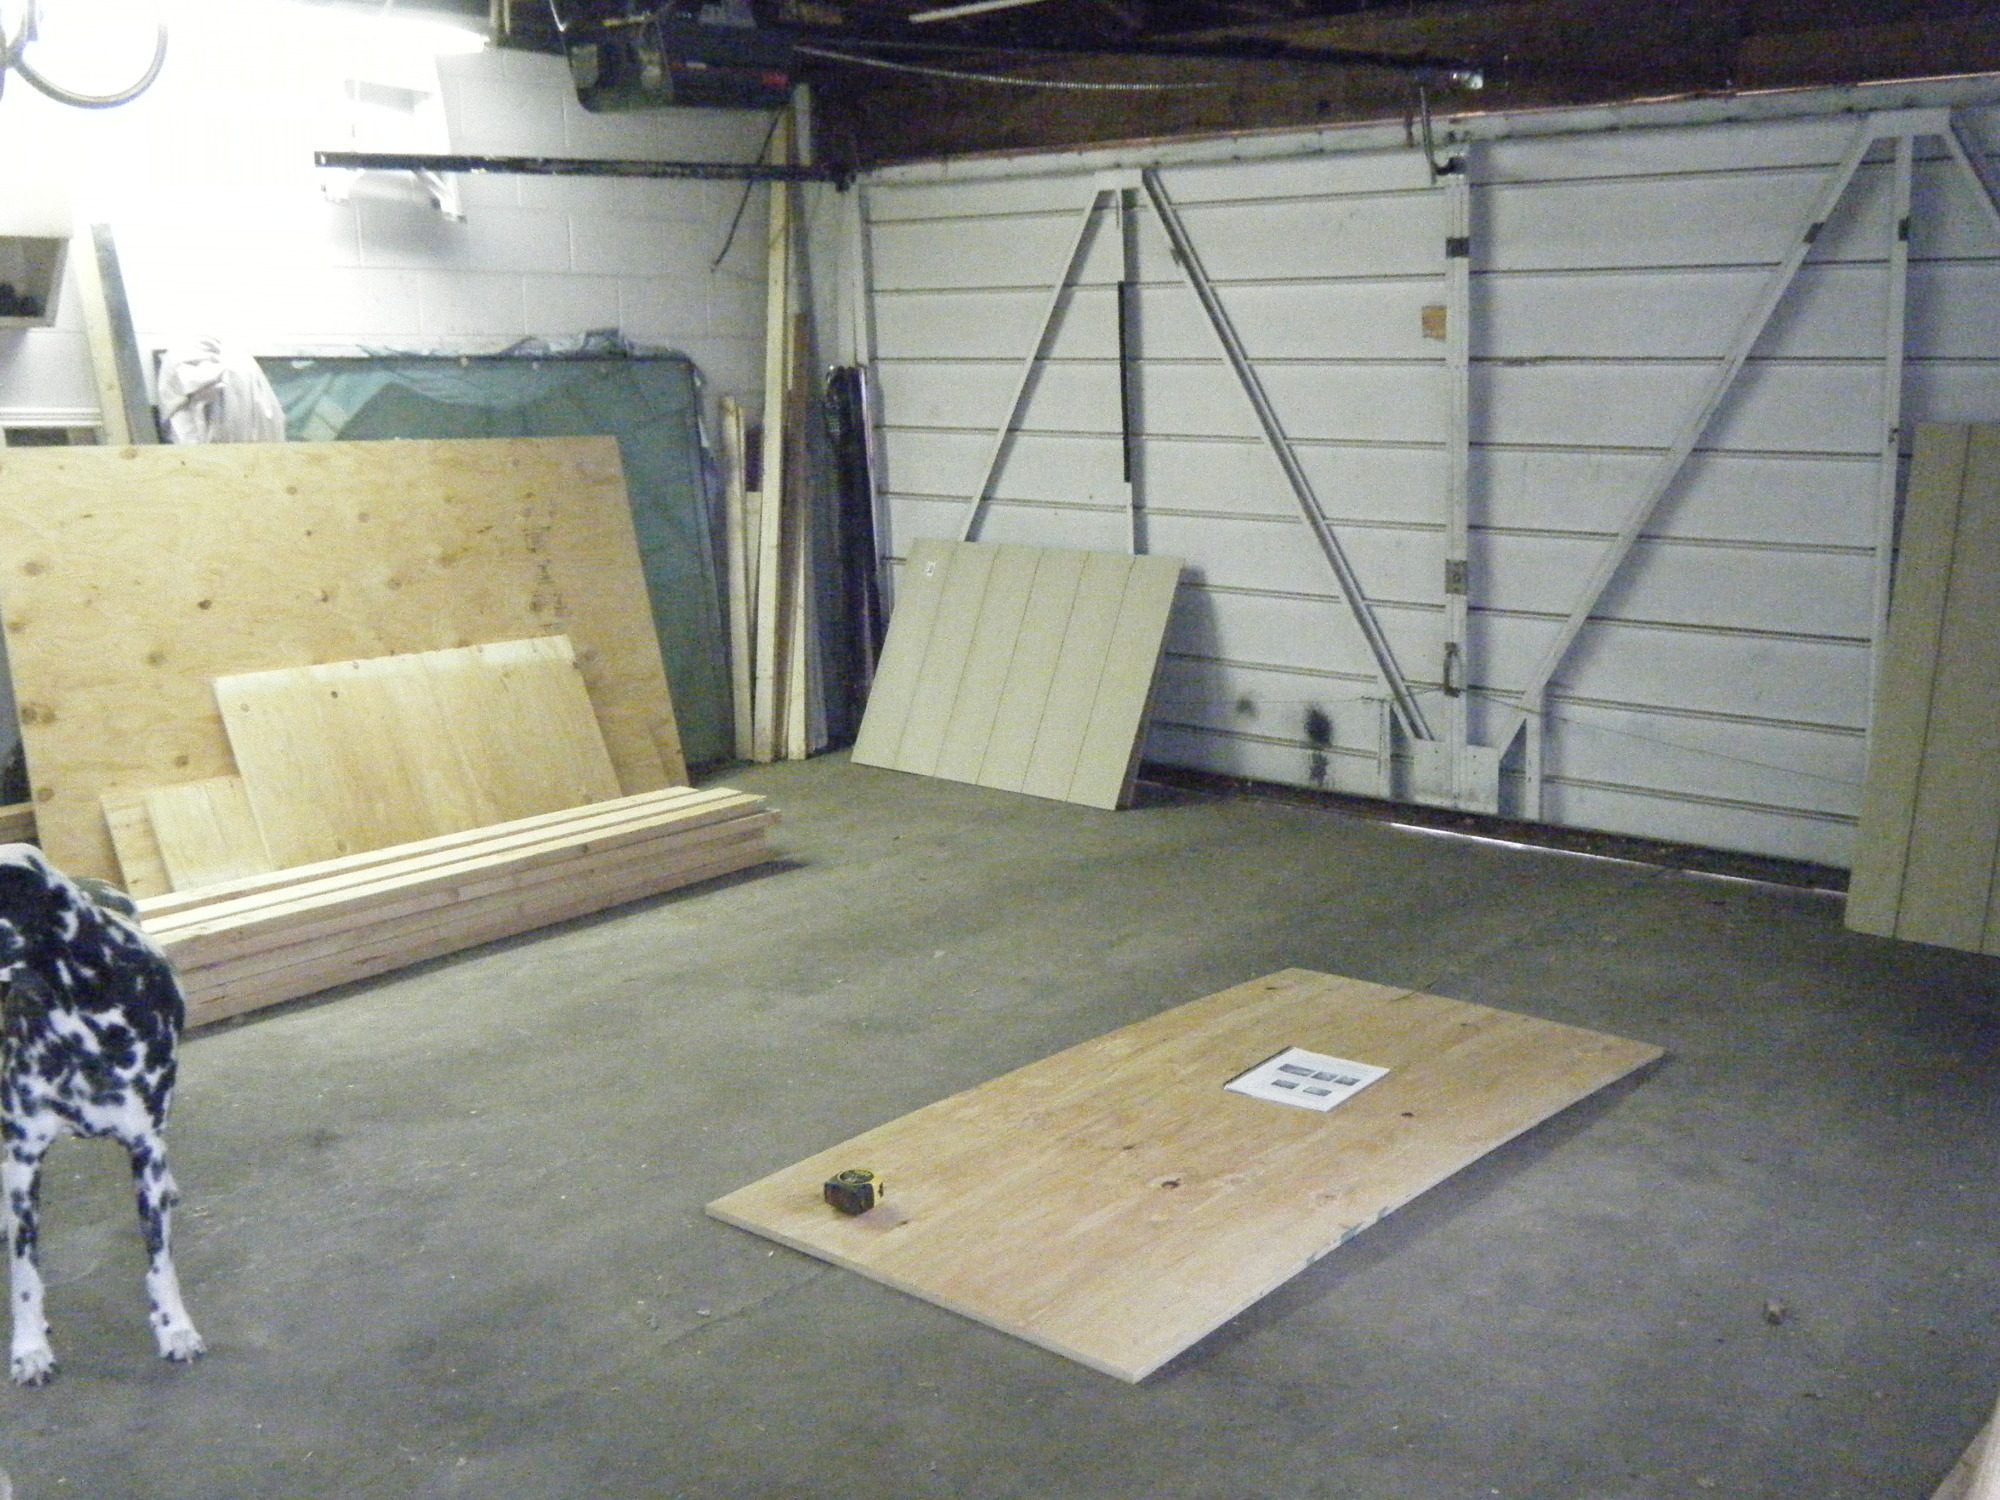
Day 1:
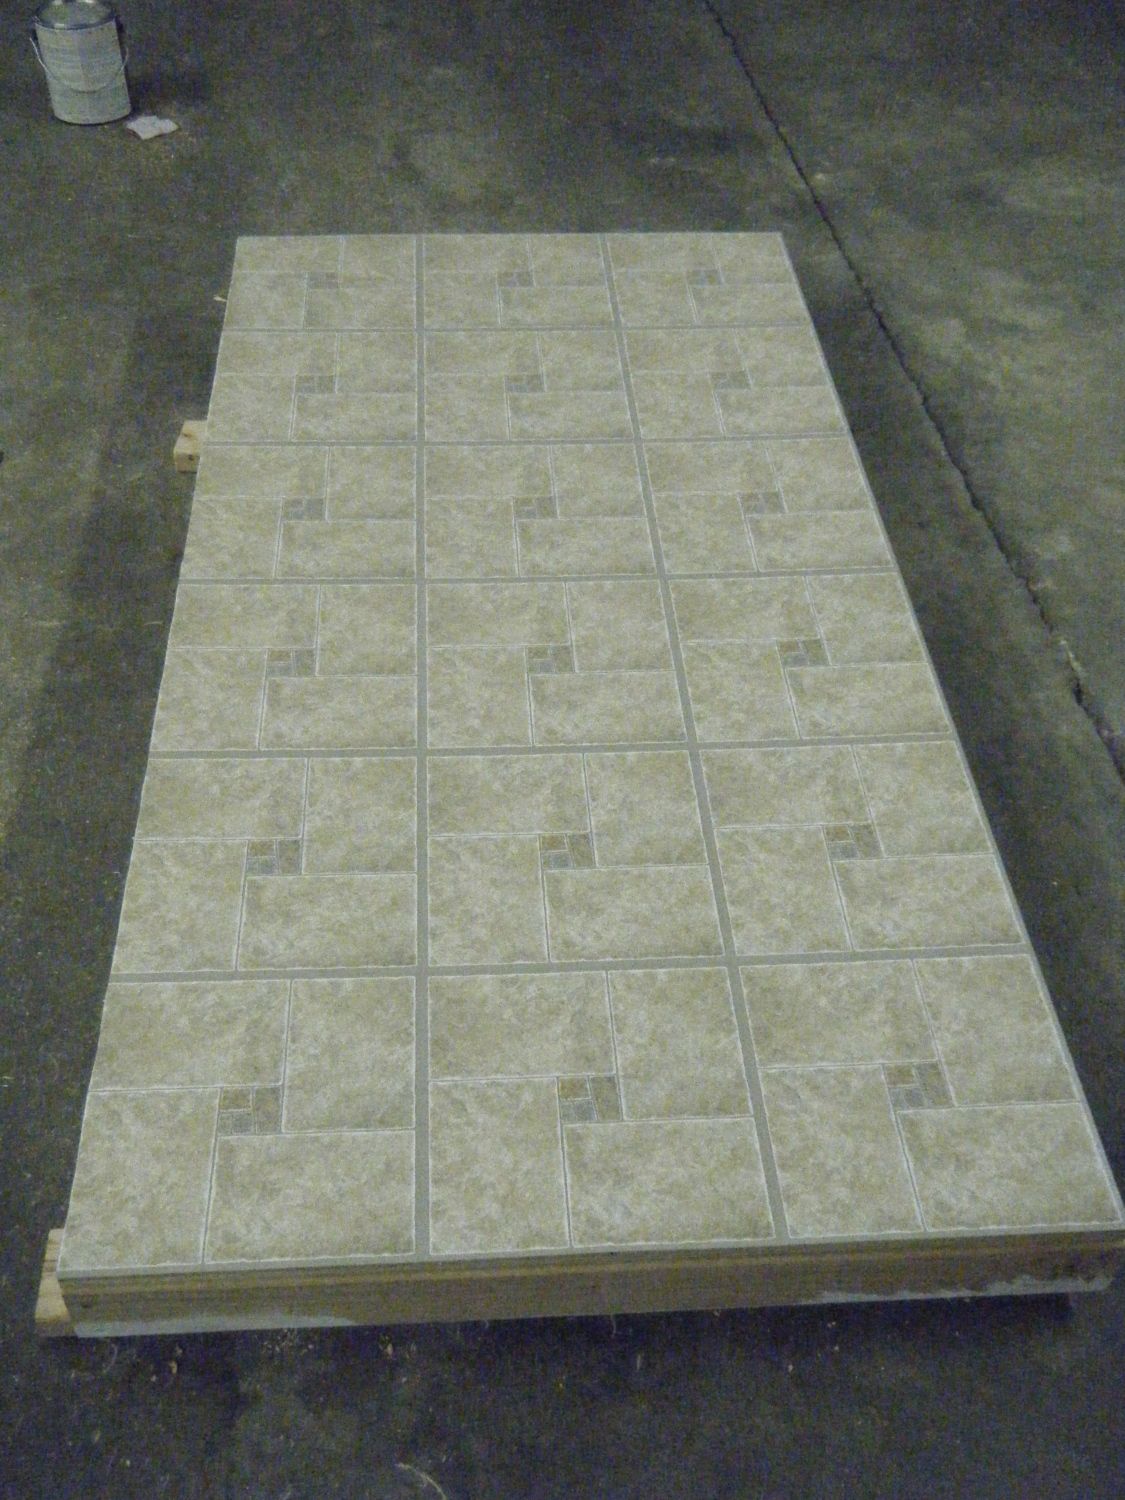
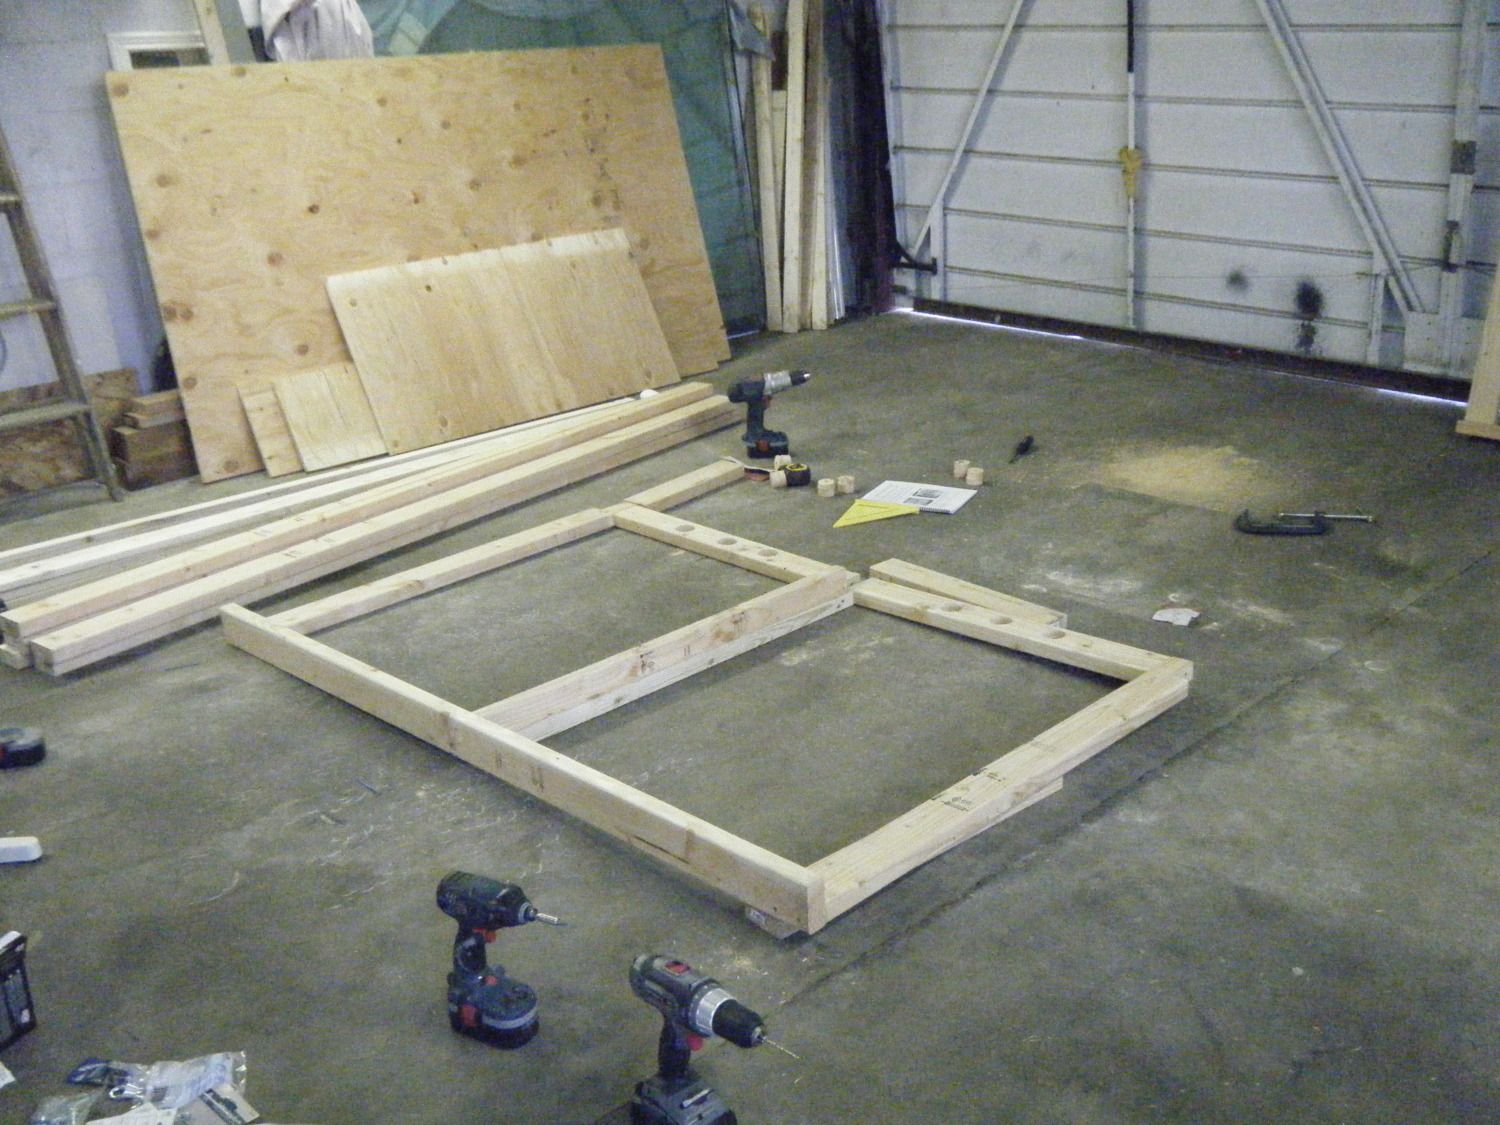
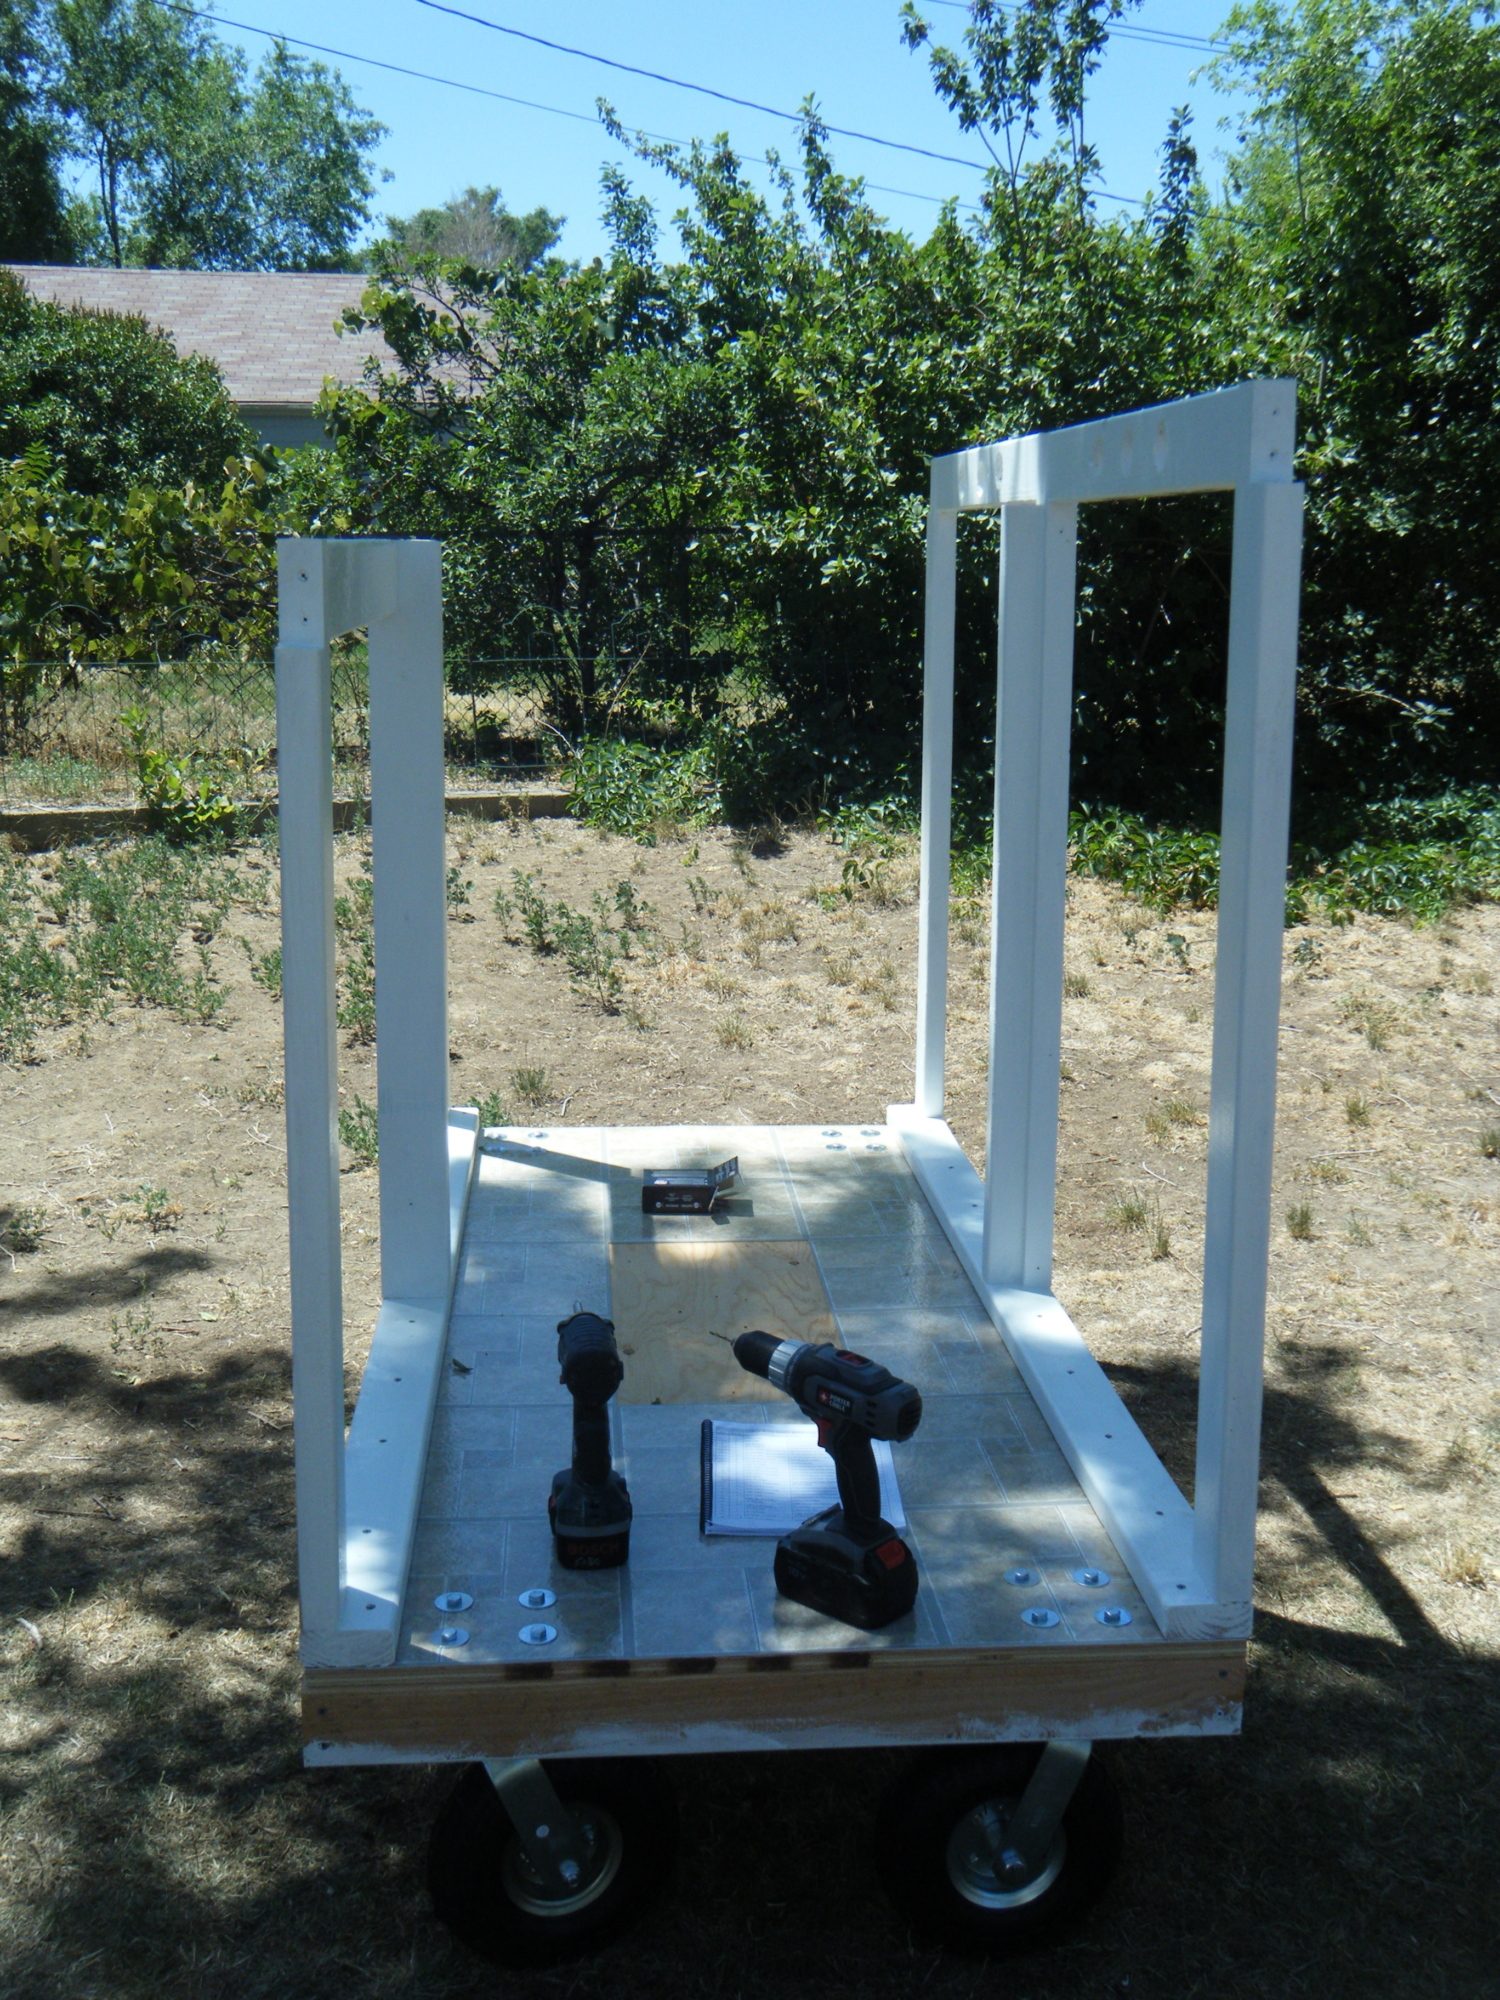
It began with building the base.
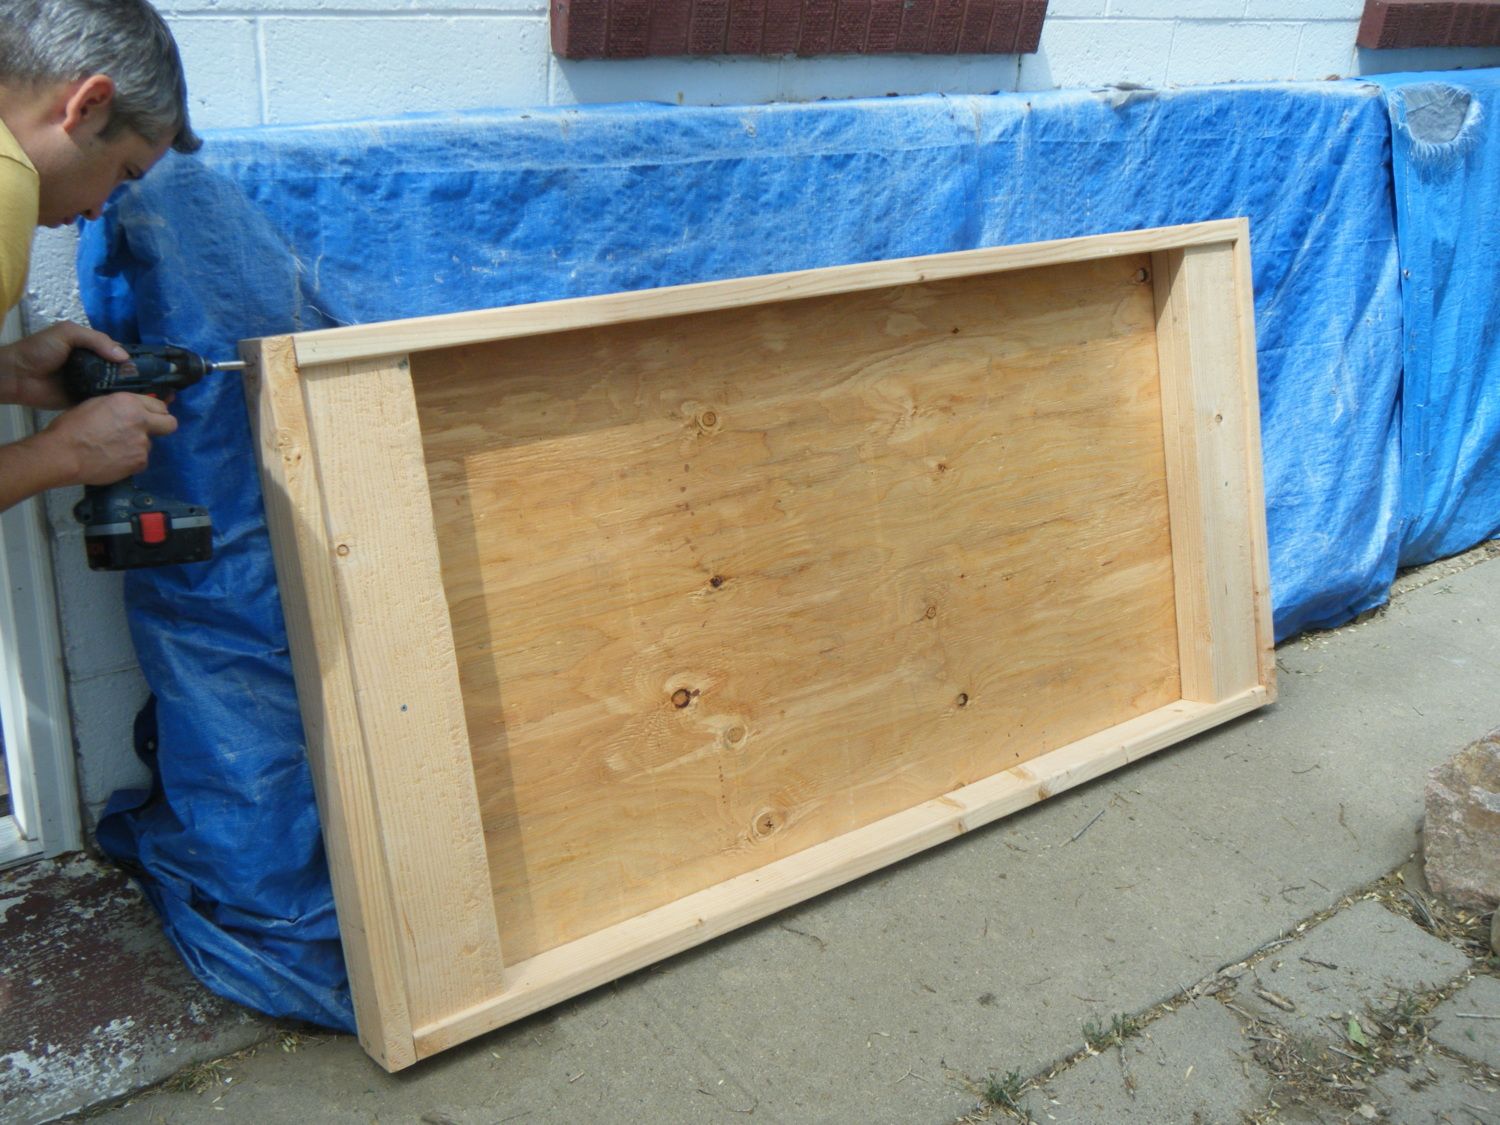
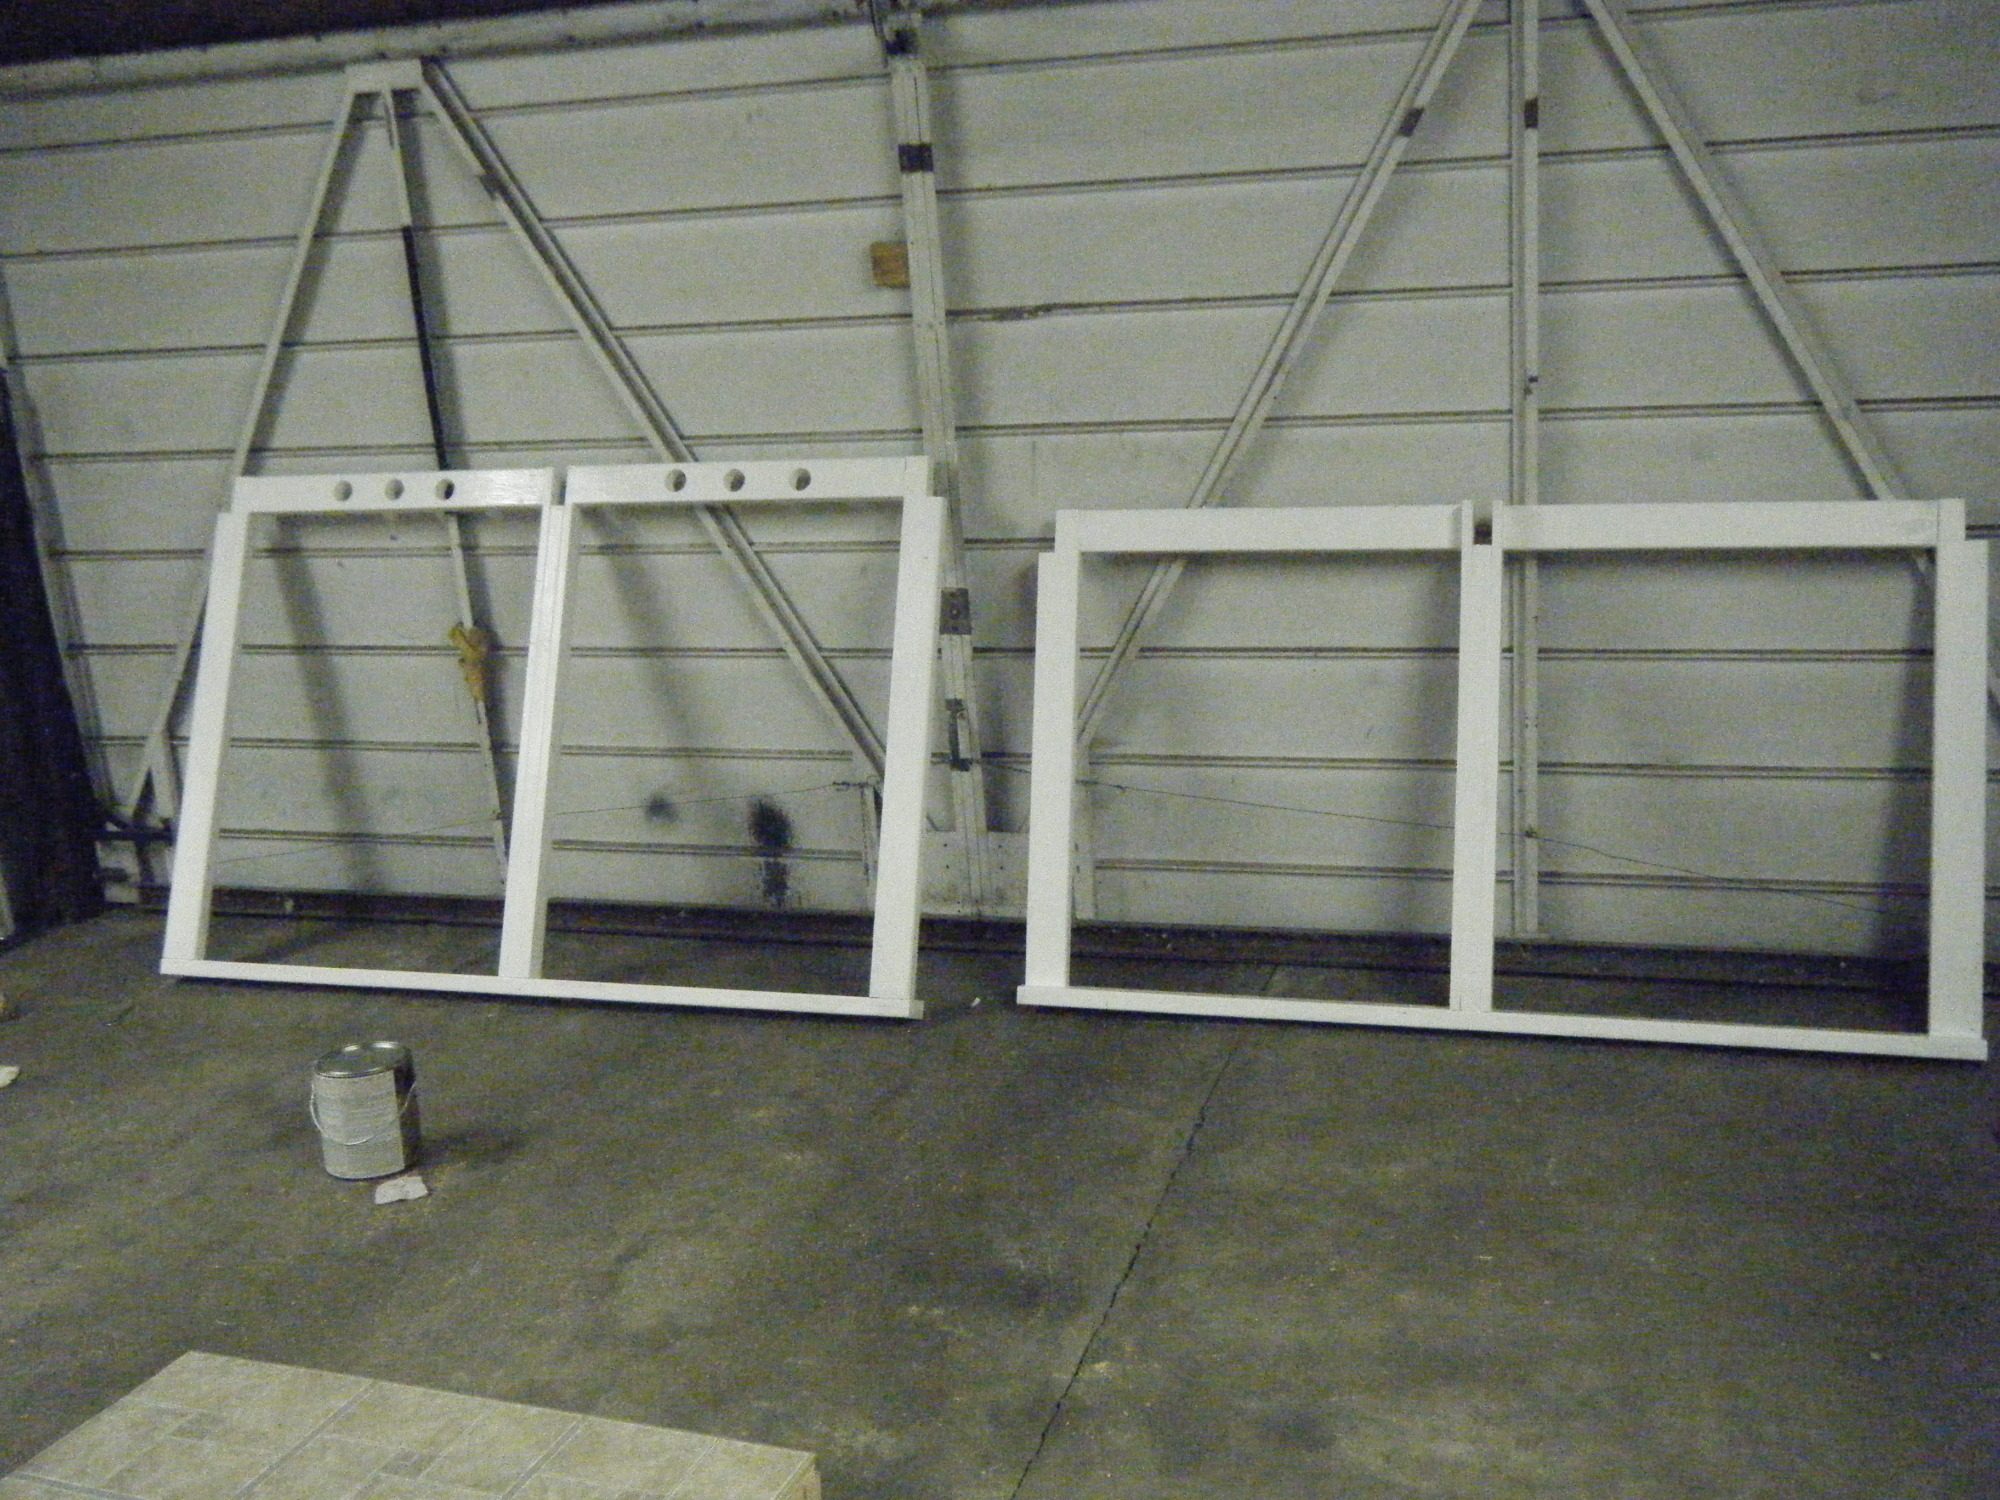
Caster wheels will allow us to move it around the yard but one of the bolts we bought was too long so we could not put them on and had to stop there with the base. So we began to build the front and back frames.
Around 9:30 pm I finished painting the frames and called it a night.
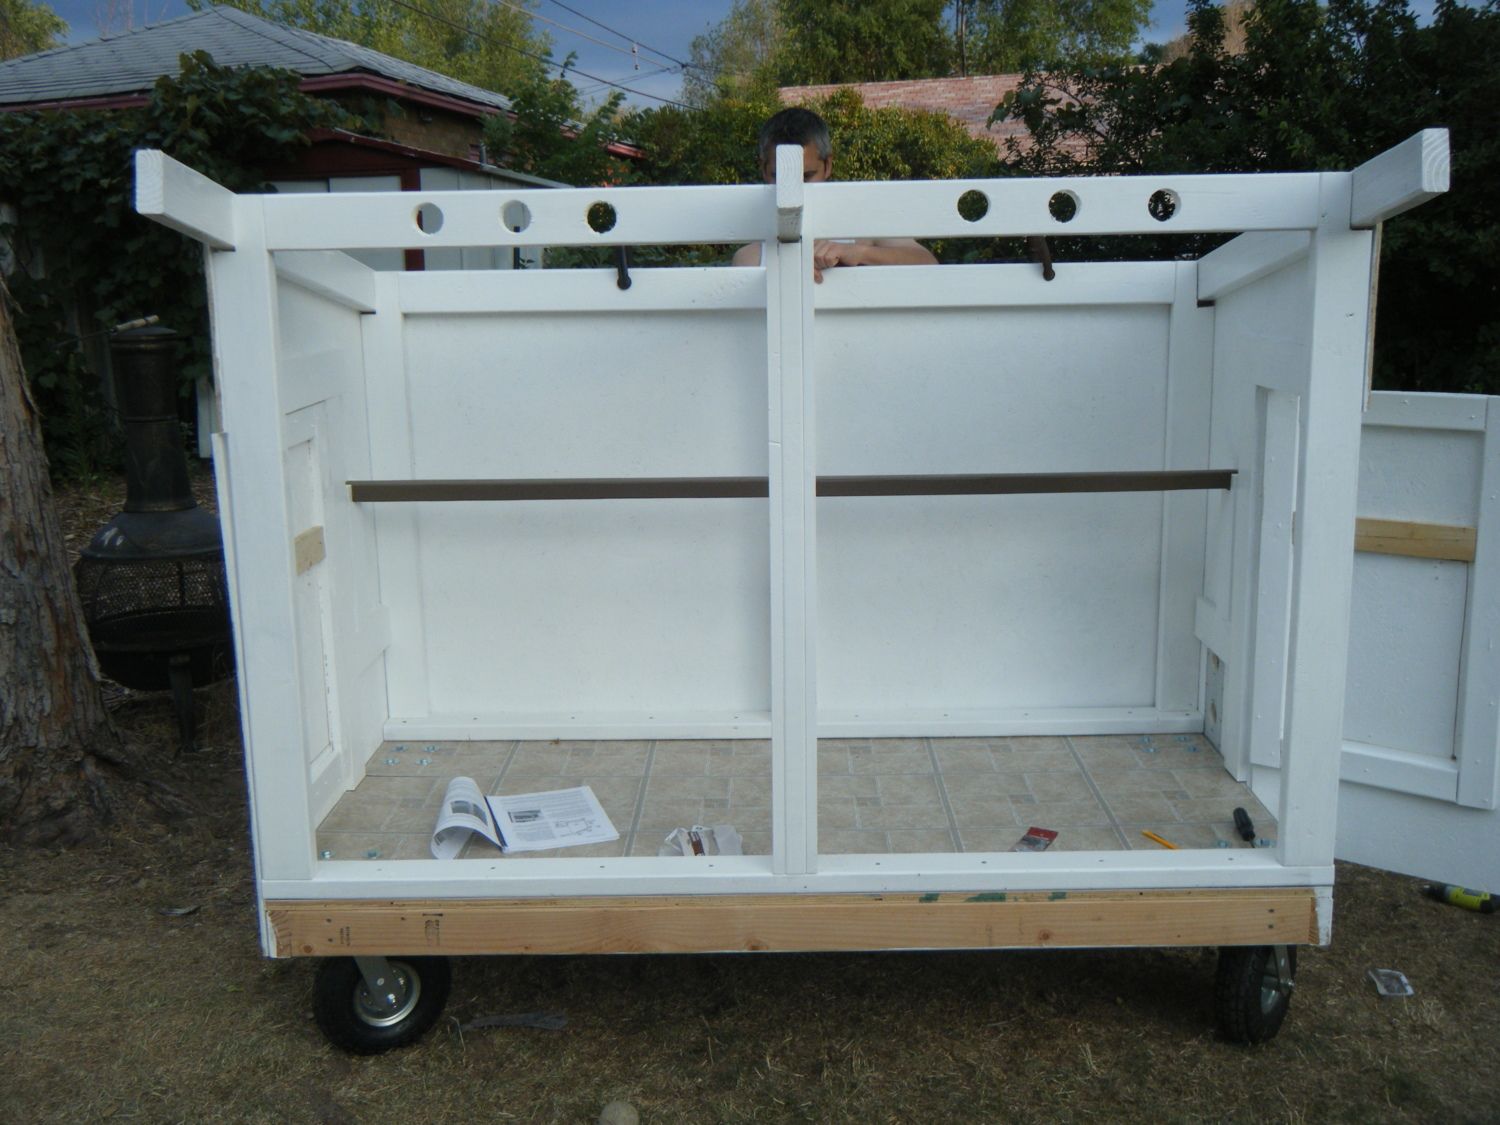
Day 2:
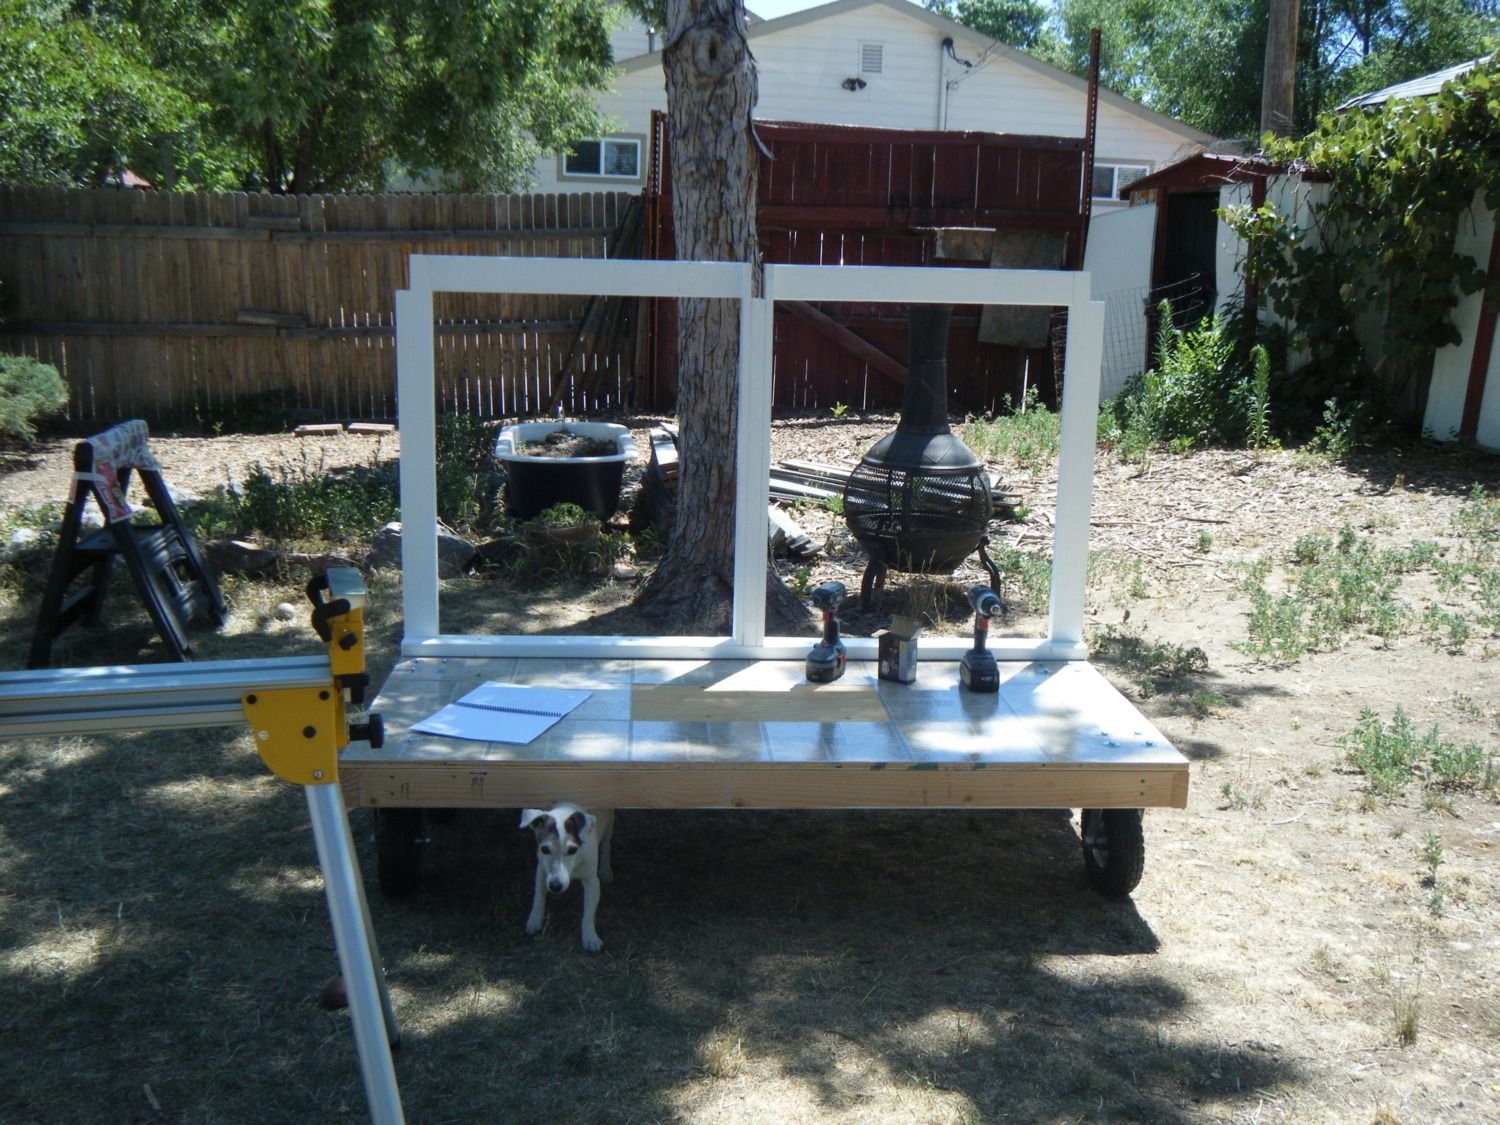
First a run to Home Depot. Then attach the caster wheels and front and back frames. The vinyl flooring had not had enough curing time and tiles began falling off when we were installing the wheels. Luckily we had enough still to make the border so we could put up the frames.
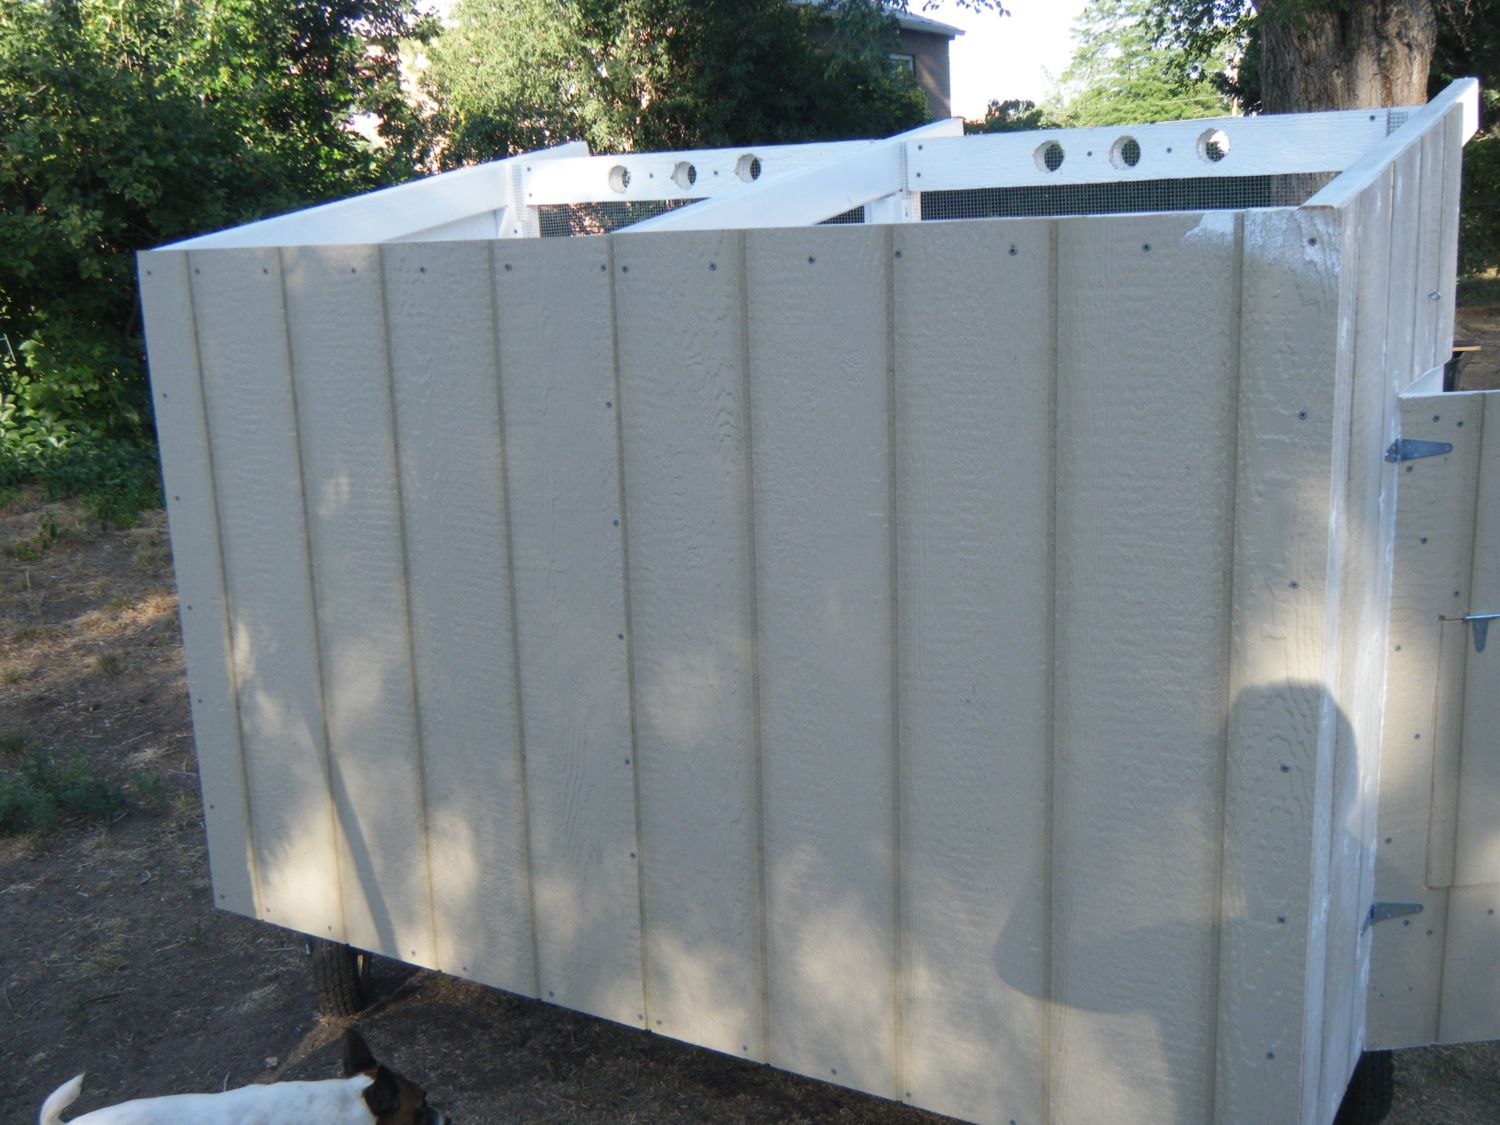
Next came the rafters.
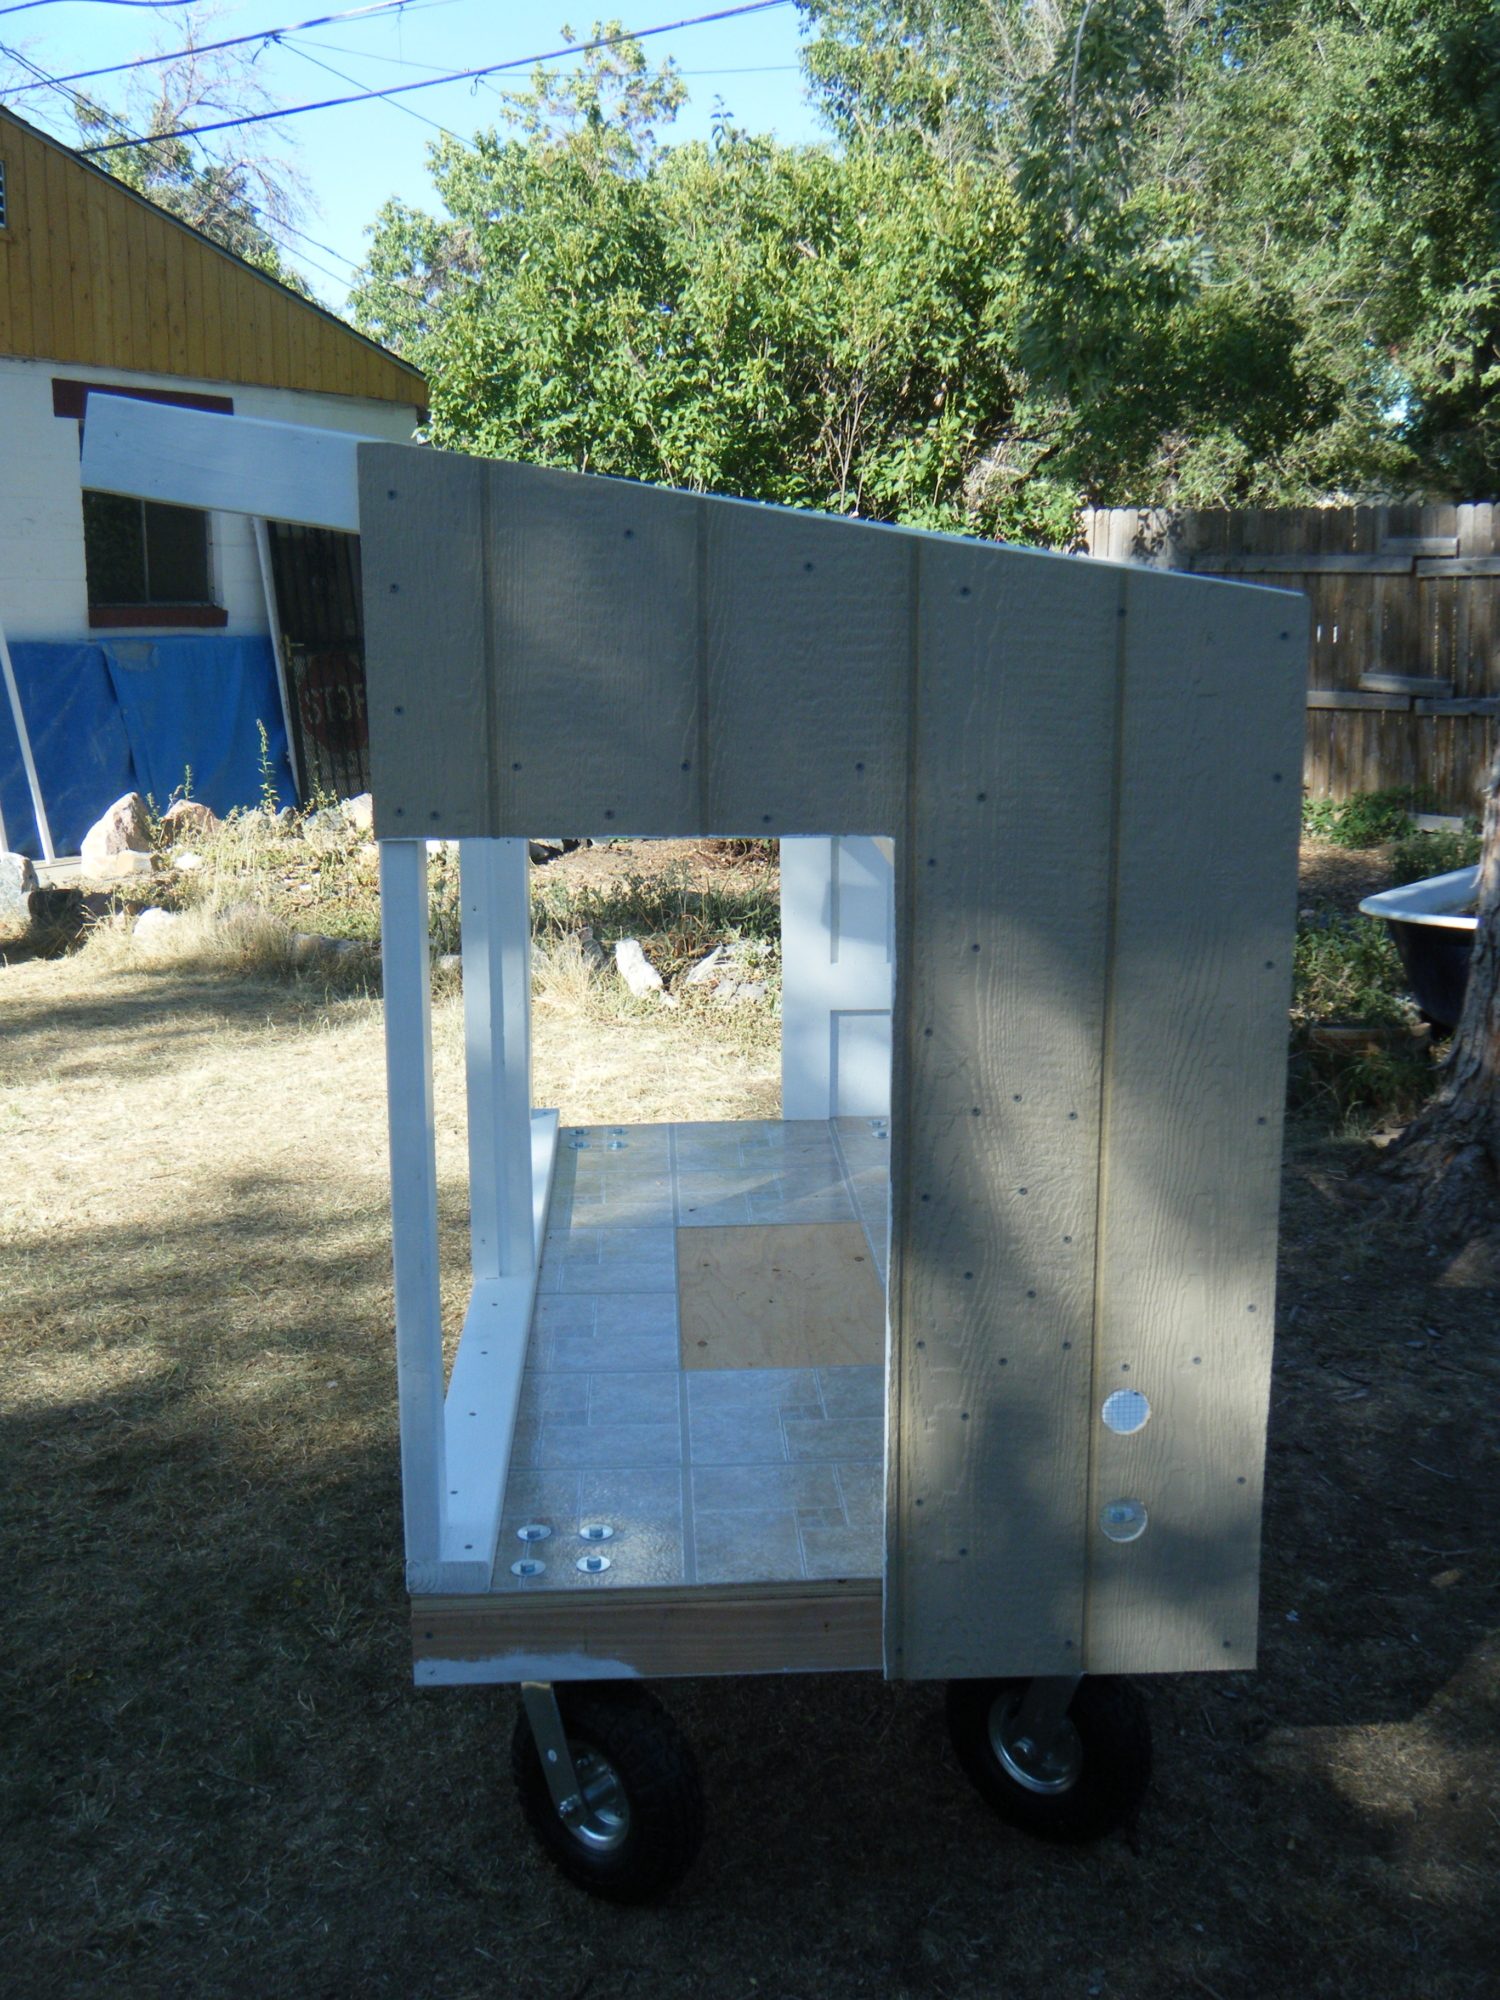
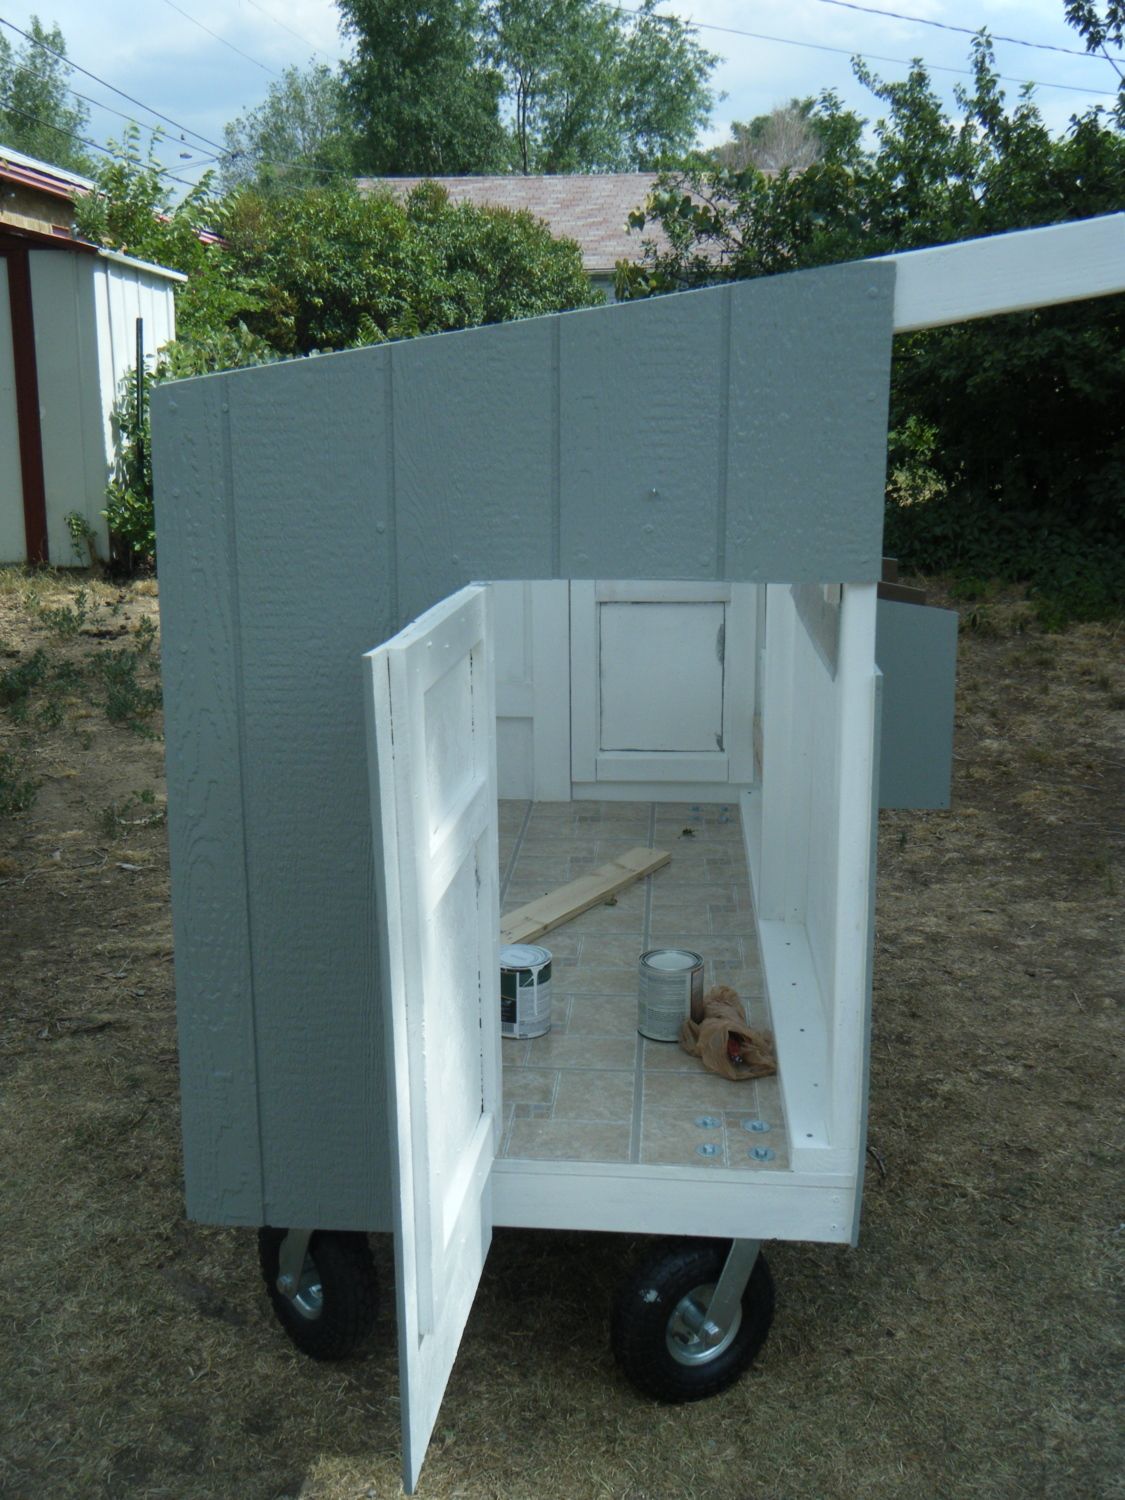
The next part was a lot of cutting to make the sides and doors. I changed the original plan which has one access door and made two since I am not sure of where the coop will be and the run can be attached to either side and I can still clean without going into the run. This also means that we will be cutting the chicken doors in the access doors which is also different from the original plans.
I did the reading and organizing, my boyfriend did the cutting, drilling, and screwing. And we had three assistants, this one over saw reading the plans. Once the doors were cut and the bracing was attached to the sides they could be painted and then attached to the coop.
This is where we called it a day. The next step is the nest box. We are only installing one of the nest boxes (which will give us two nests not four) since we will only be having 4 hens.
Day 3:
This day was strictly for painting. We had plans in the evening so I did what I could during the day.
Day 4:
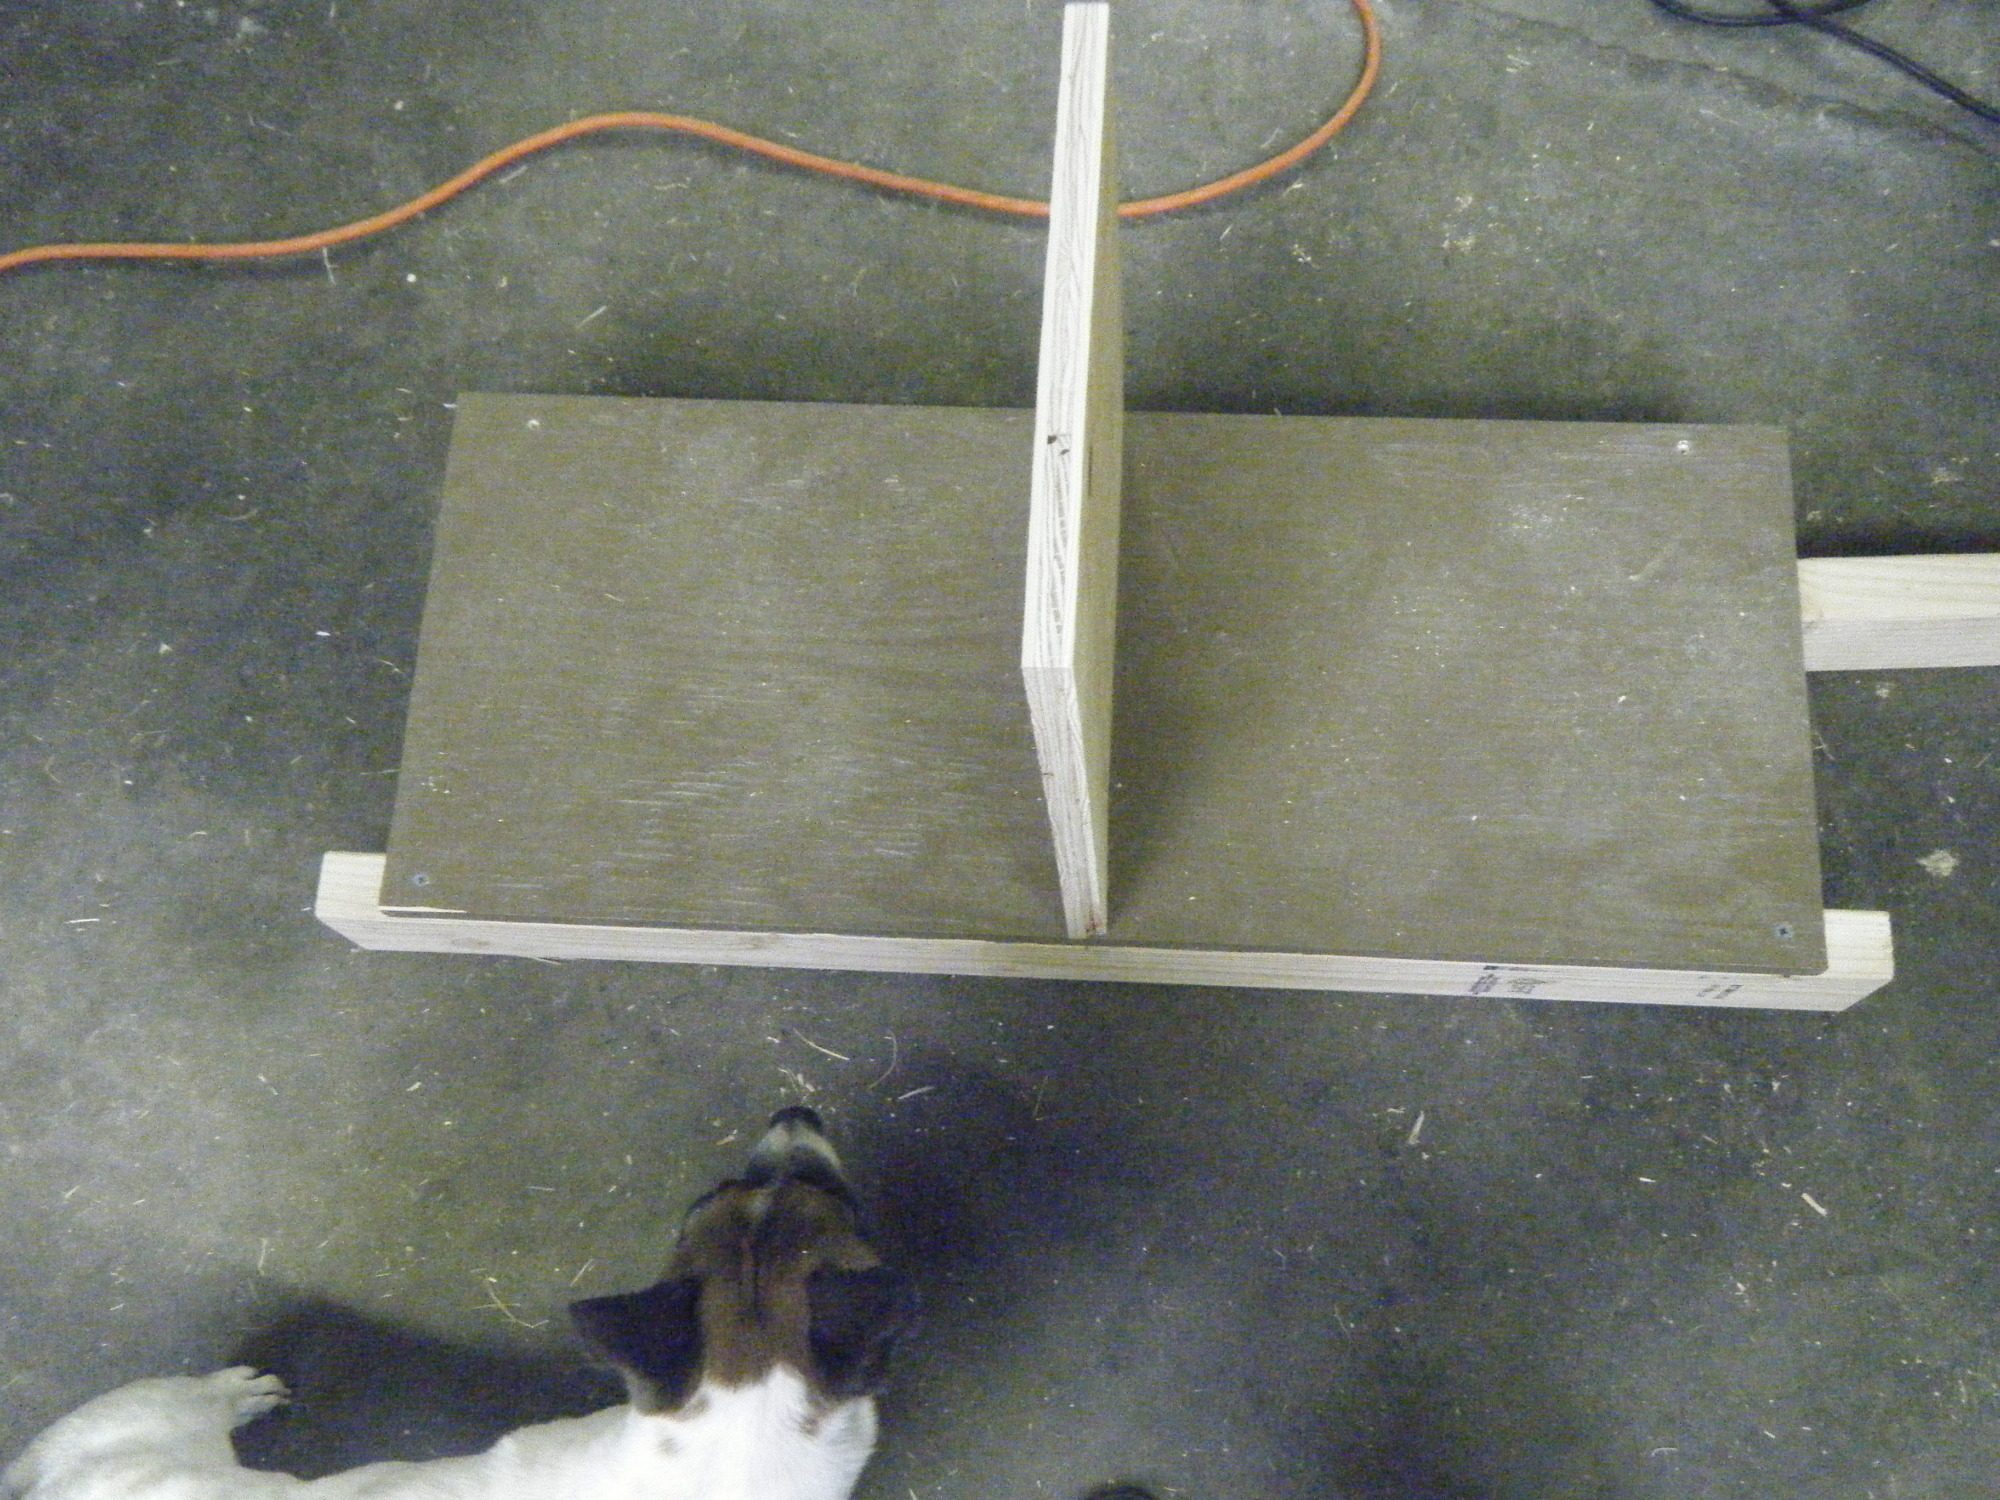
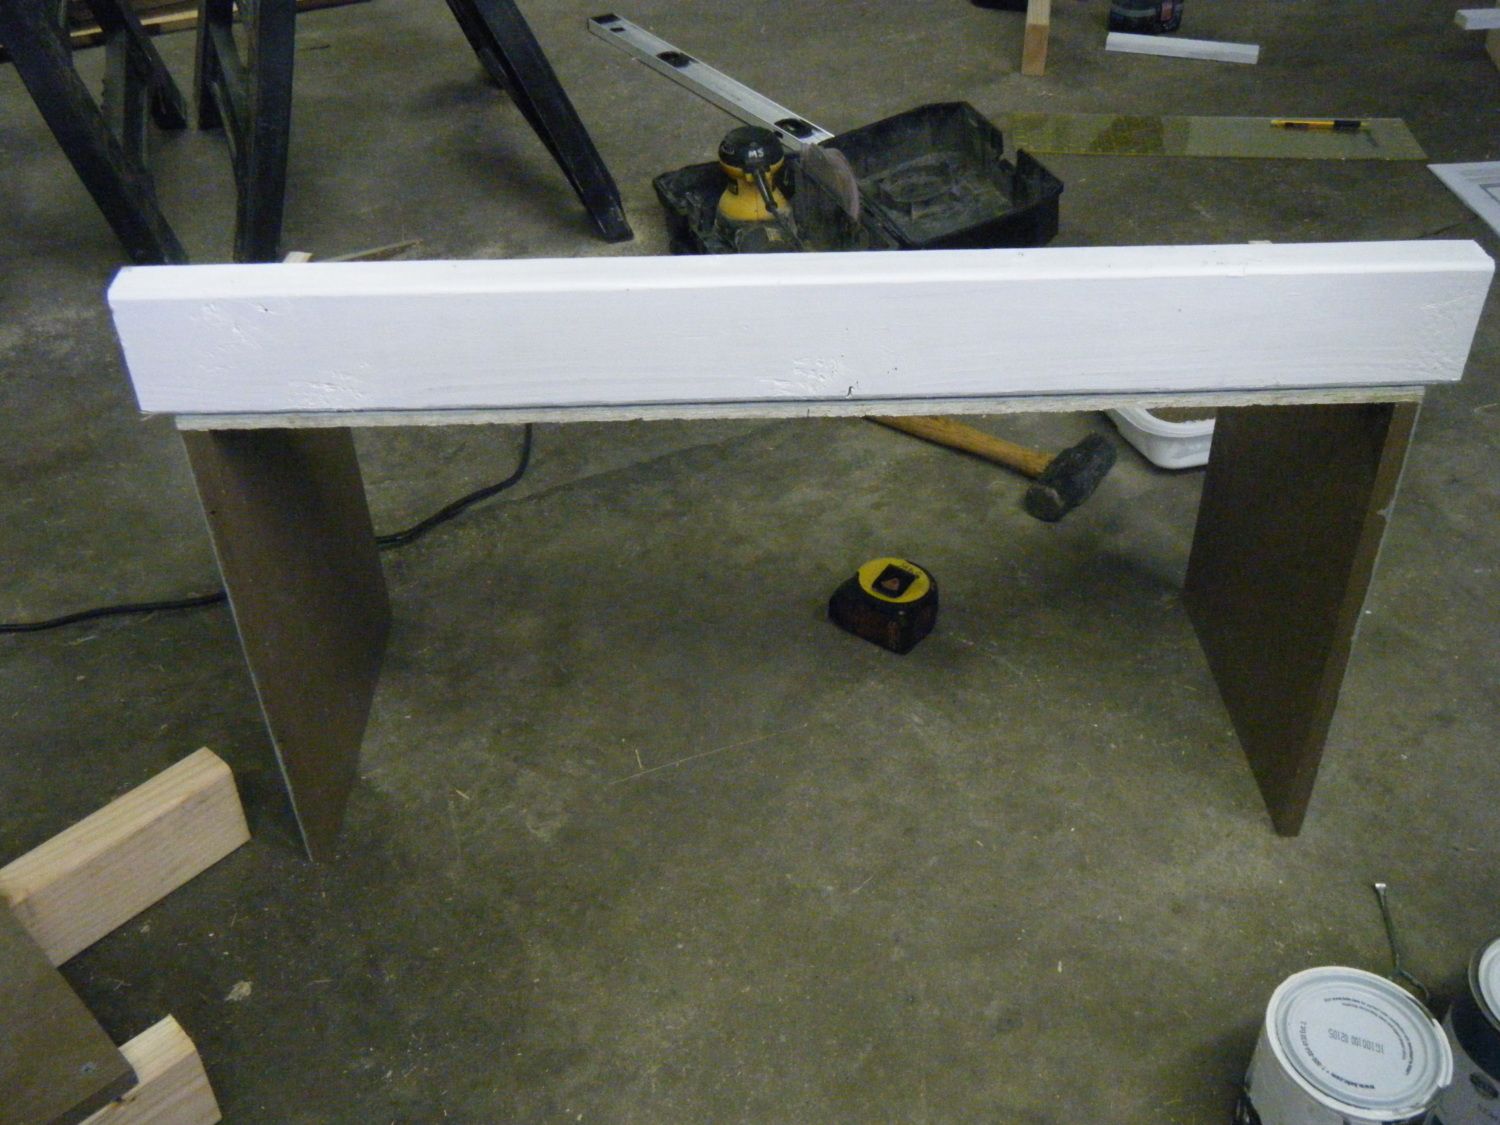
We got everything for the nest box cut and ready to assemble.
Day 5:
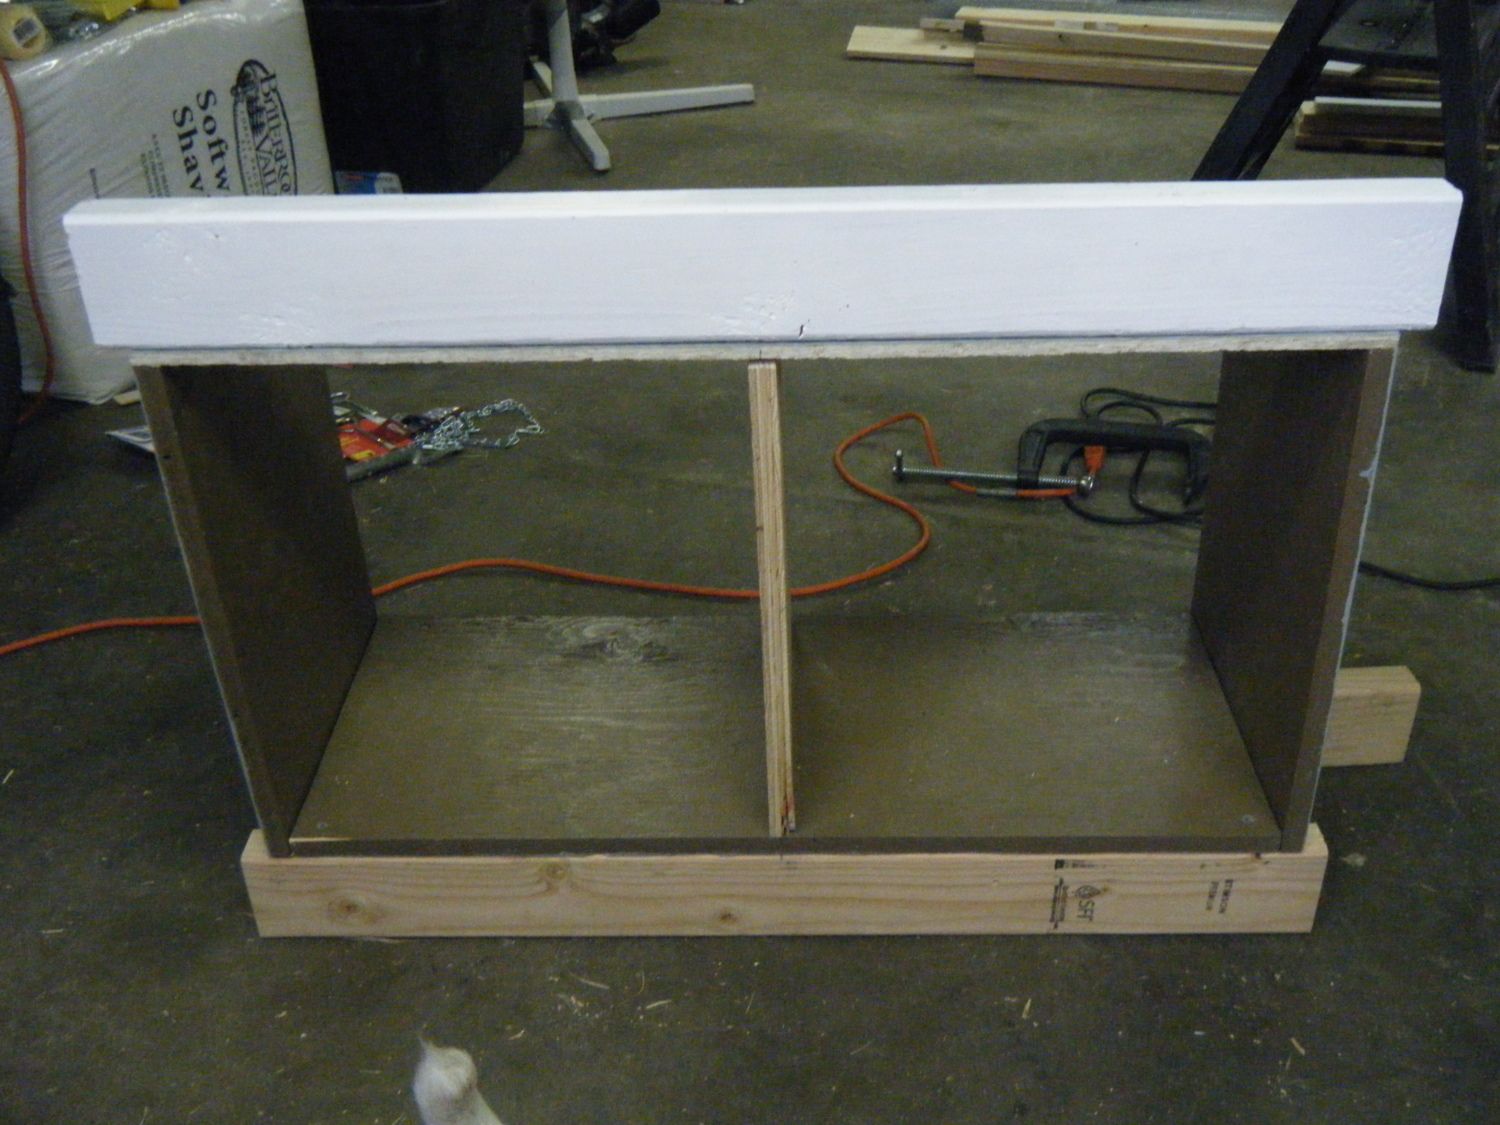
I am very proud of myself. Power tools are a little intimidating but I bit the bullet and got a lot done! First I assembled the nest box.
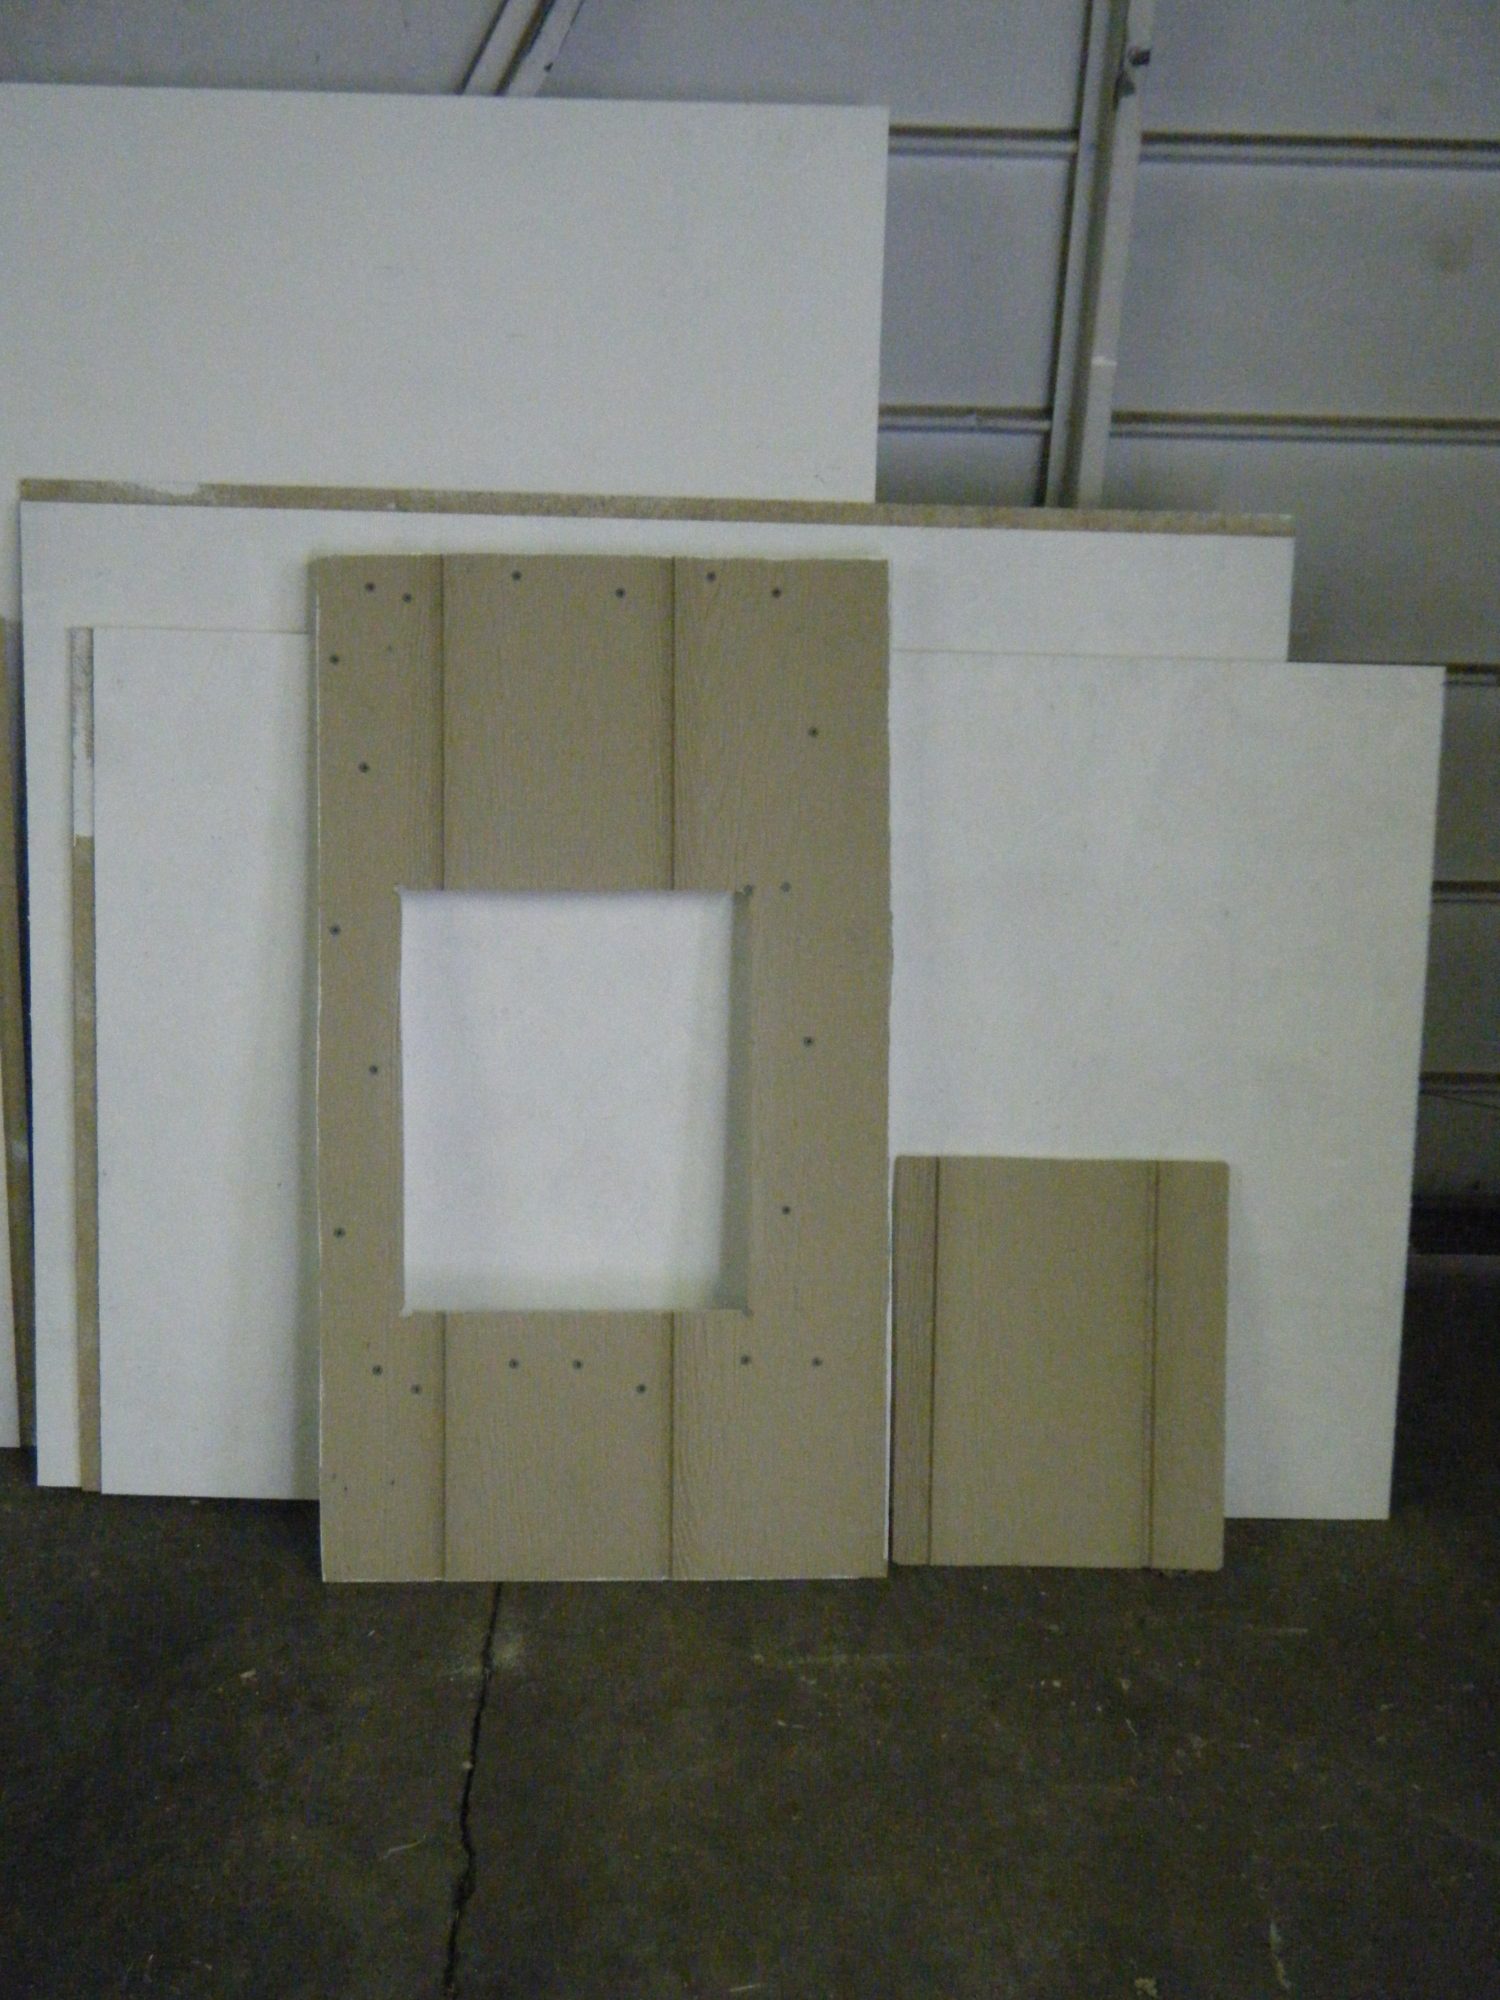
The back has to be cut out of one of the front panels and I have not done that yet.
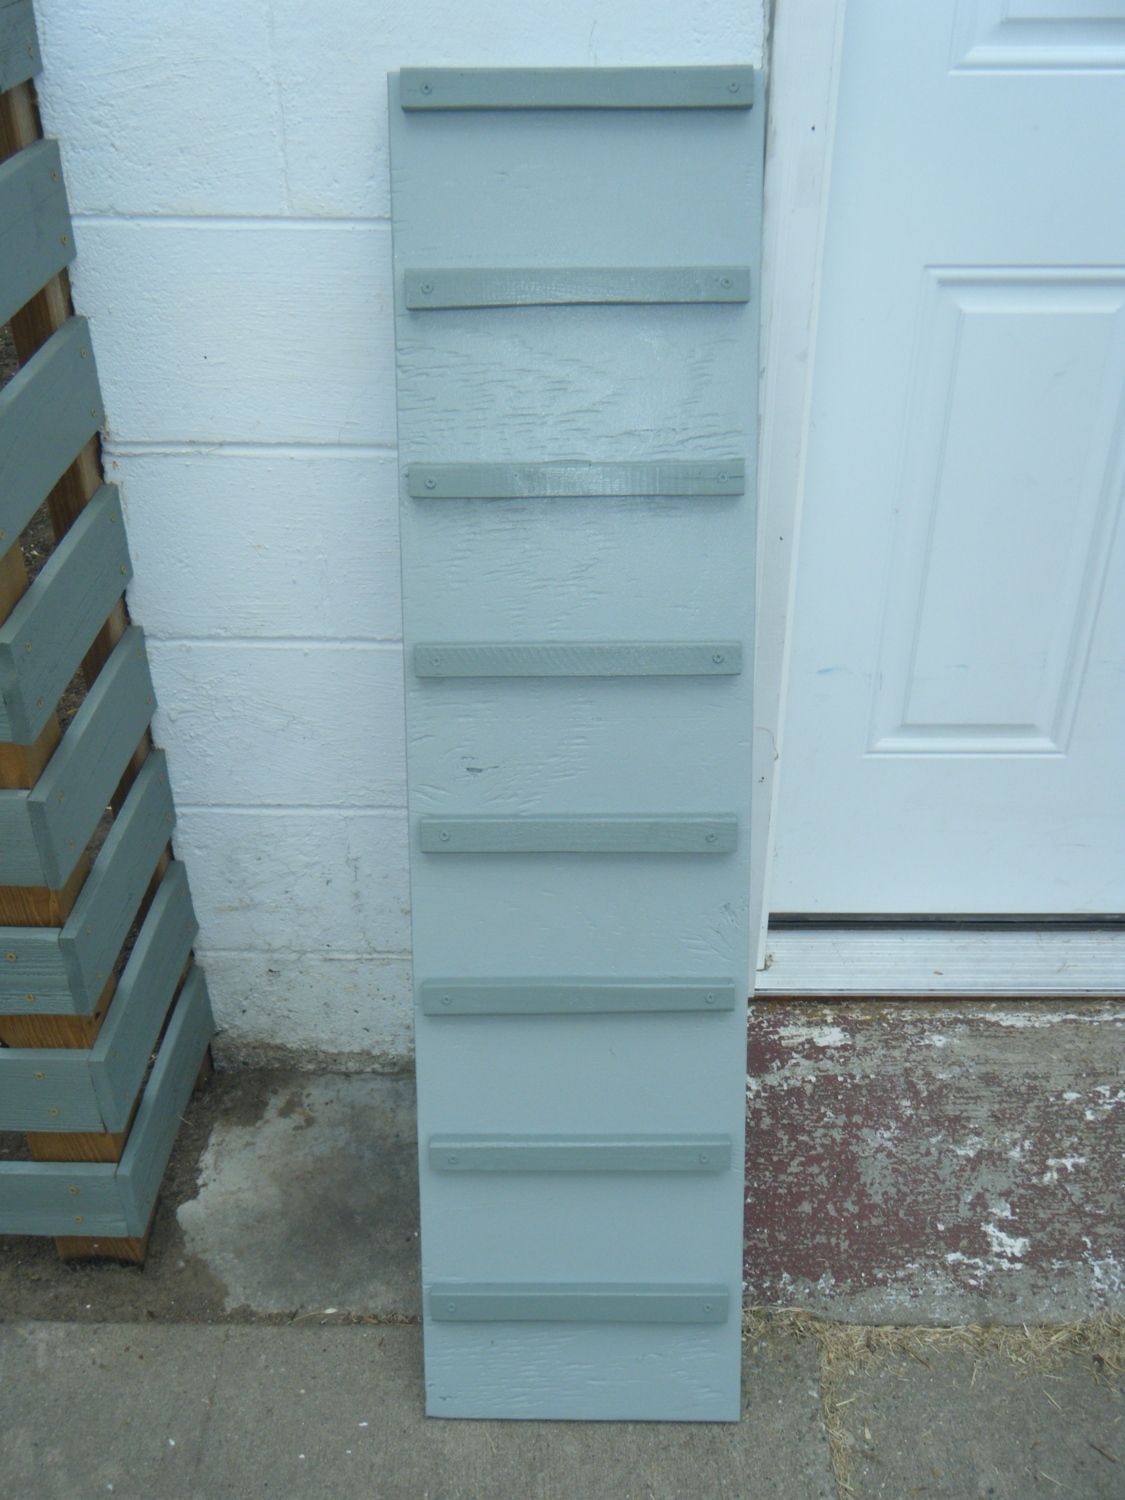
Next I built the ramp, my BF thought it was ridiculously long (4') but I think it will be perfect.
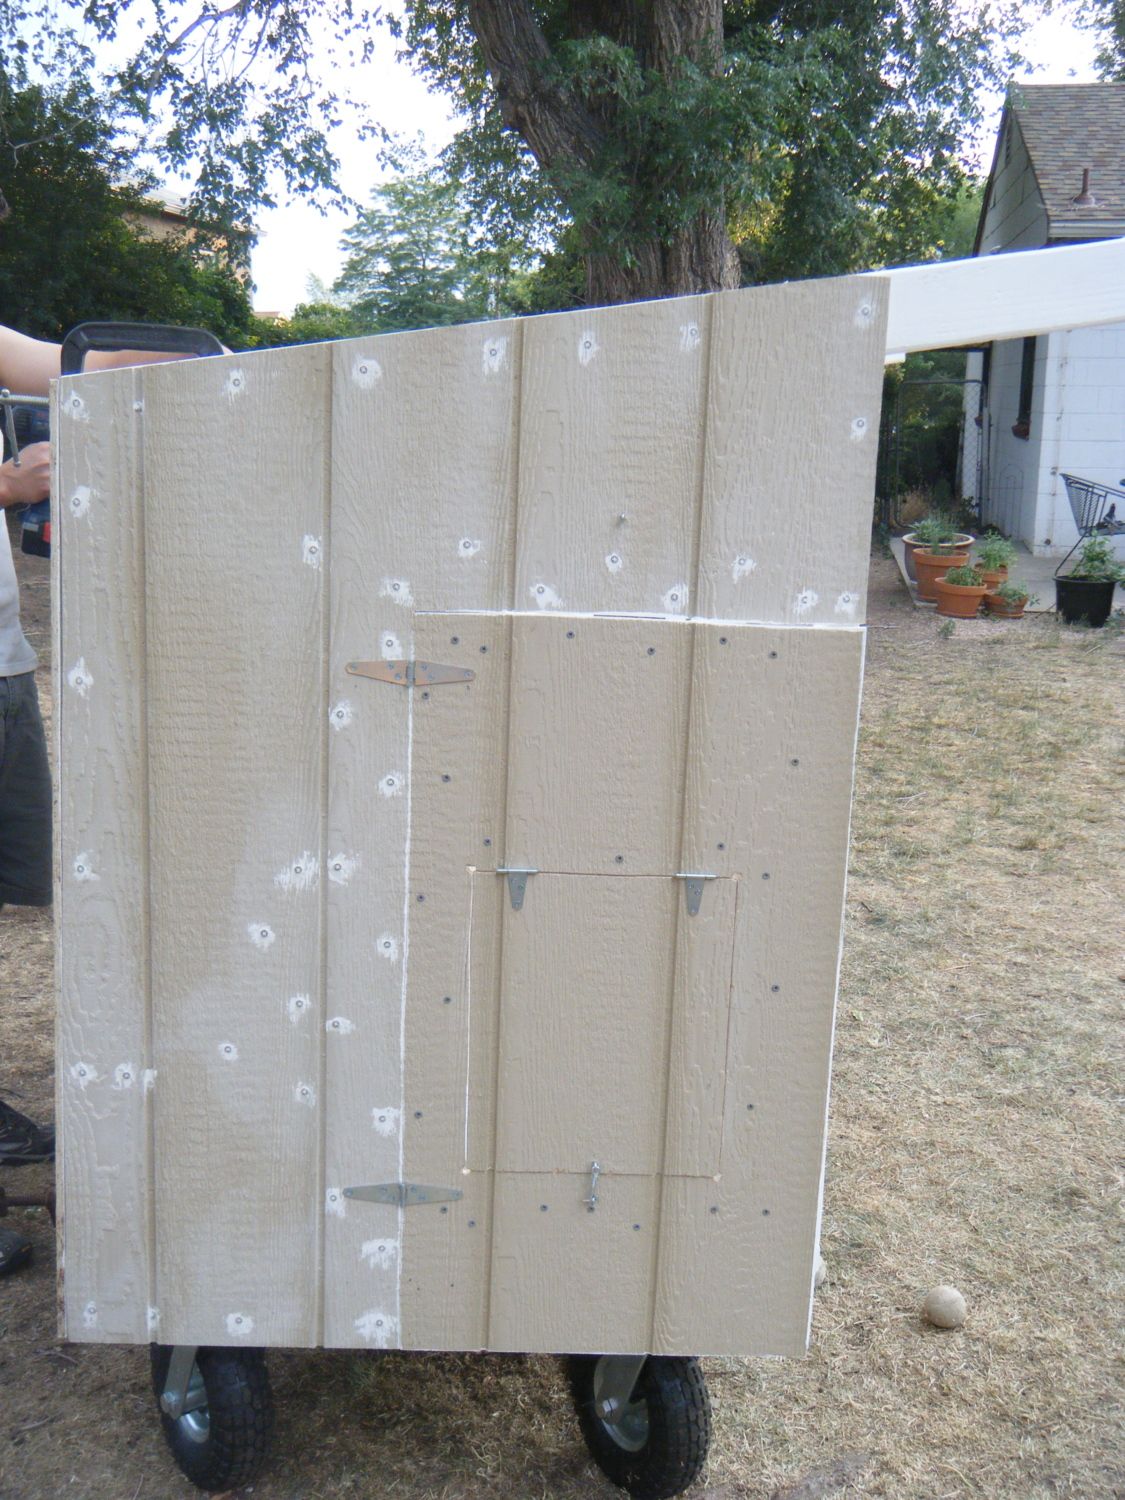
The next part is what I am most proud of. We had a little debate over cutting out the chicken doors from the people access doors. BF thought we should just put the hinges for the access door on the top and we could flip that door open, I was not so keen on that idea. He was didn't think that it was going to be easy to cut the doors out, my female brain could not figure out why, it seems very simple. So this morning I did a little searching on the web for tips on using a jigsaw and I got brave and cut them out. Wow it was really easy. I love to sew and using the jigsaw was just like sewing. So now we have two chicken doors.
Next I will tackle cutting the nest box opening out of the front panel (this will also become the back of the nest box). Hopefully this evening we will install the nest box and hang the doors!
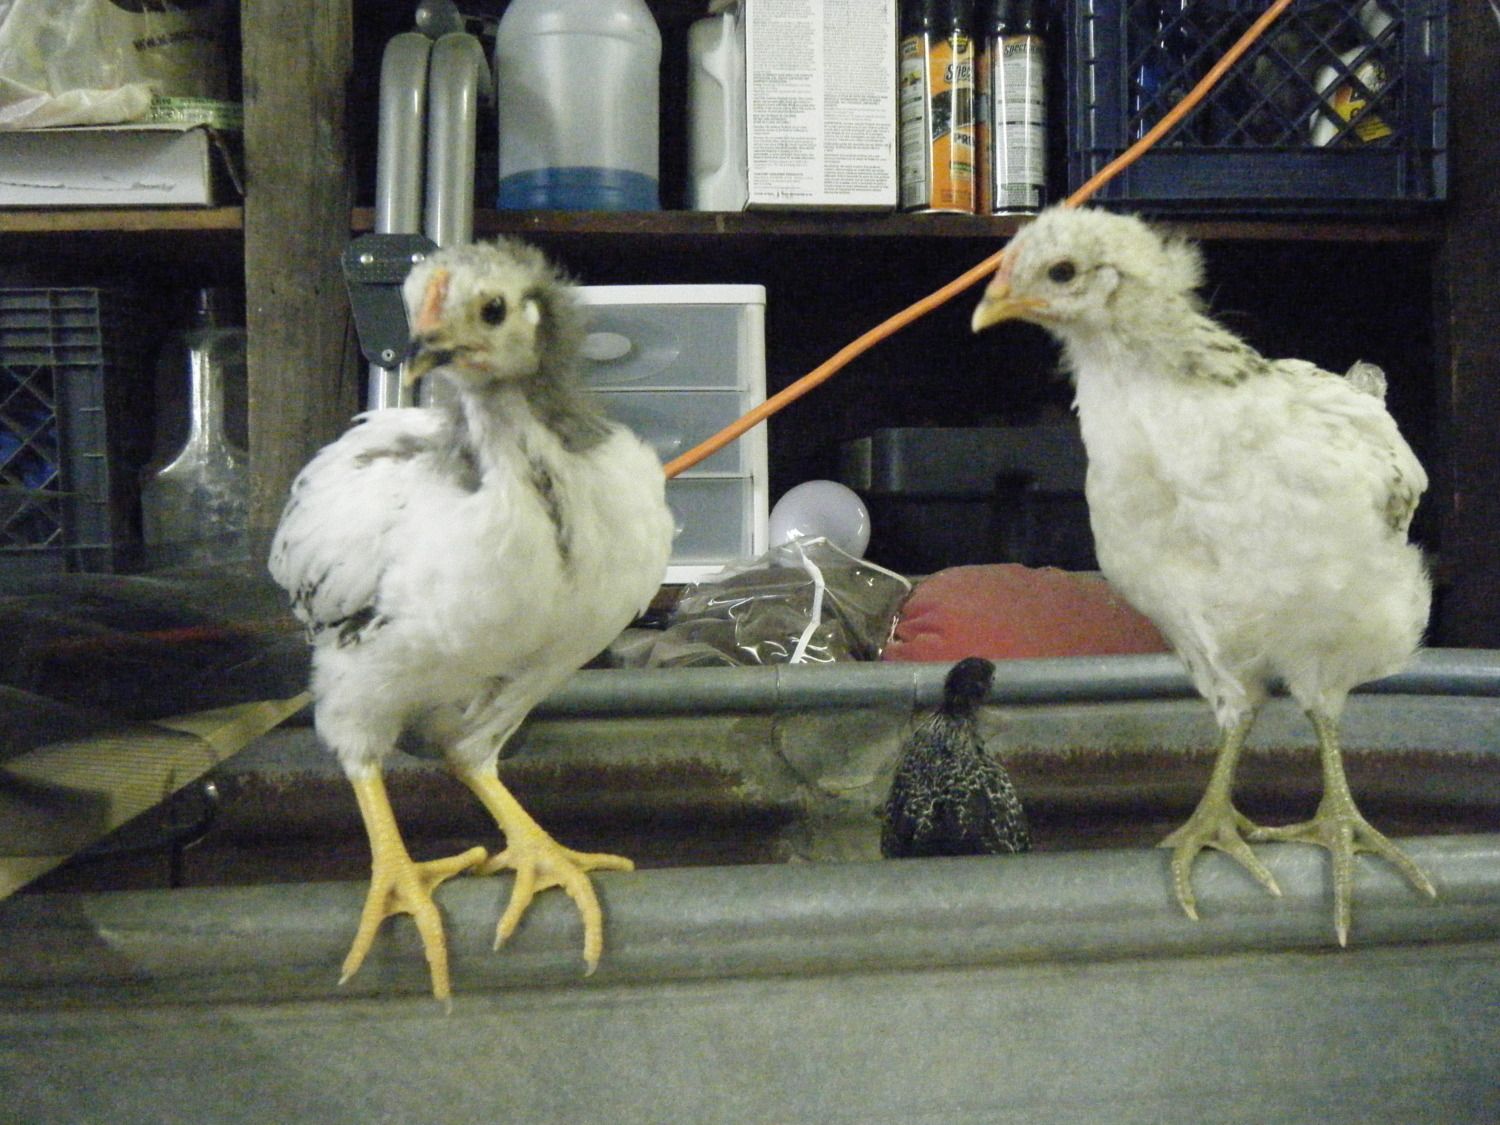
I had two curious peeps this morning.
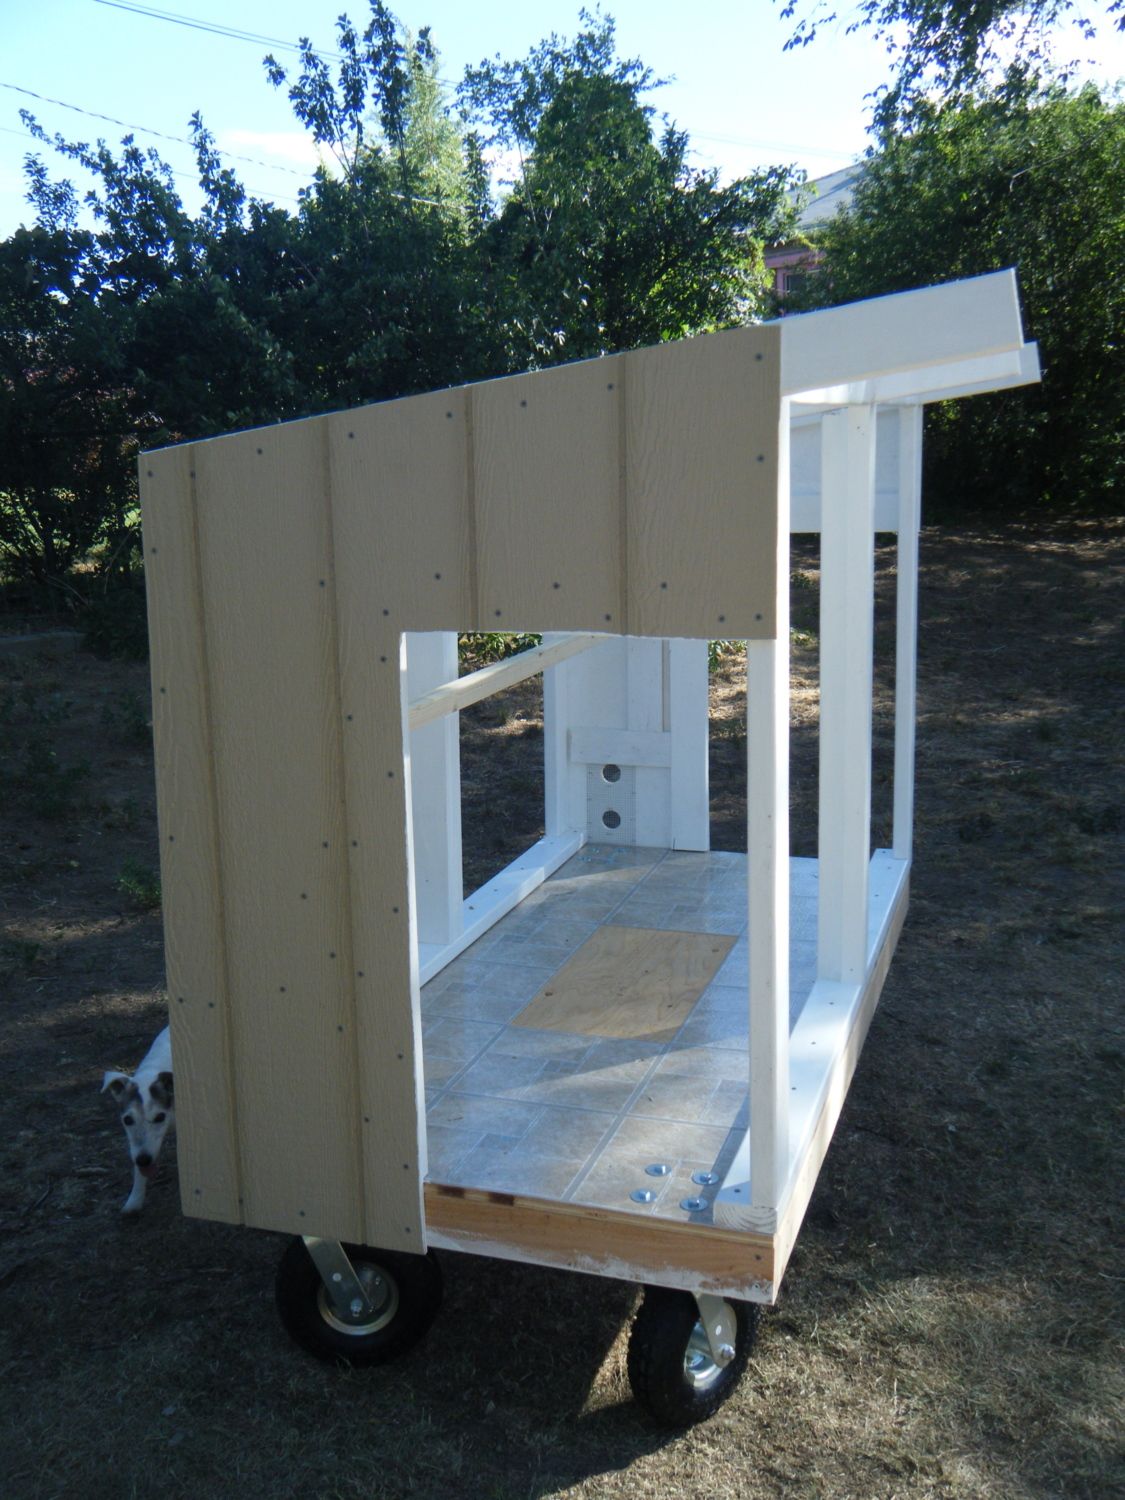
We did not hang the nest box, instead we got the doors one front panel, and back panels hung.
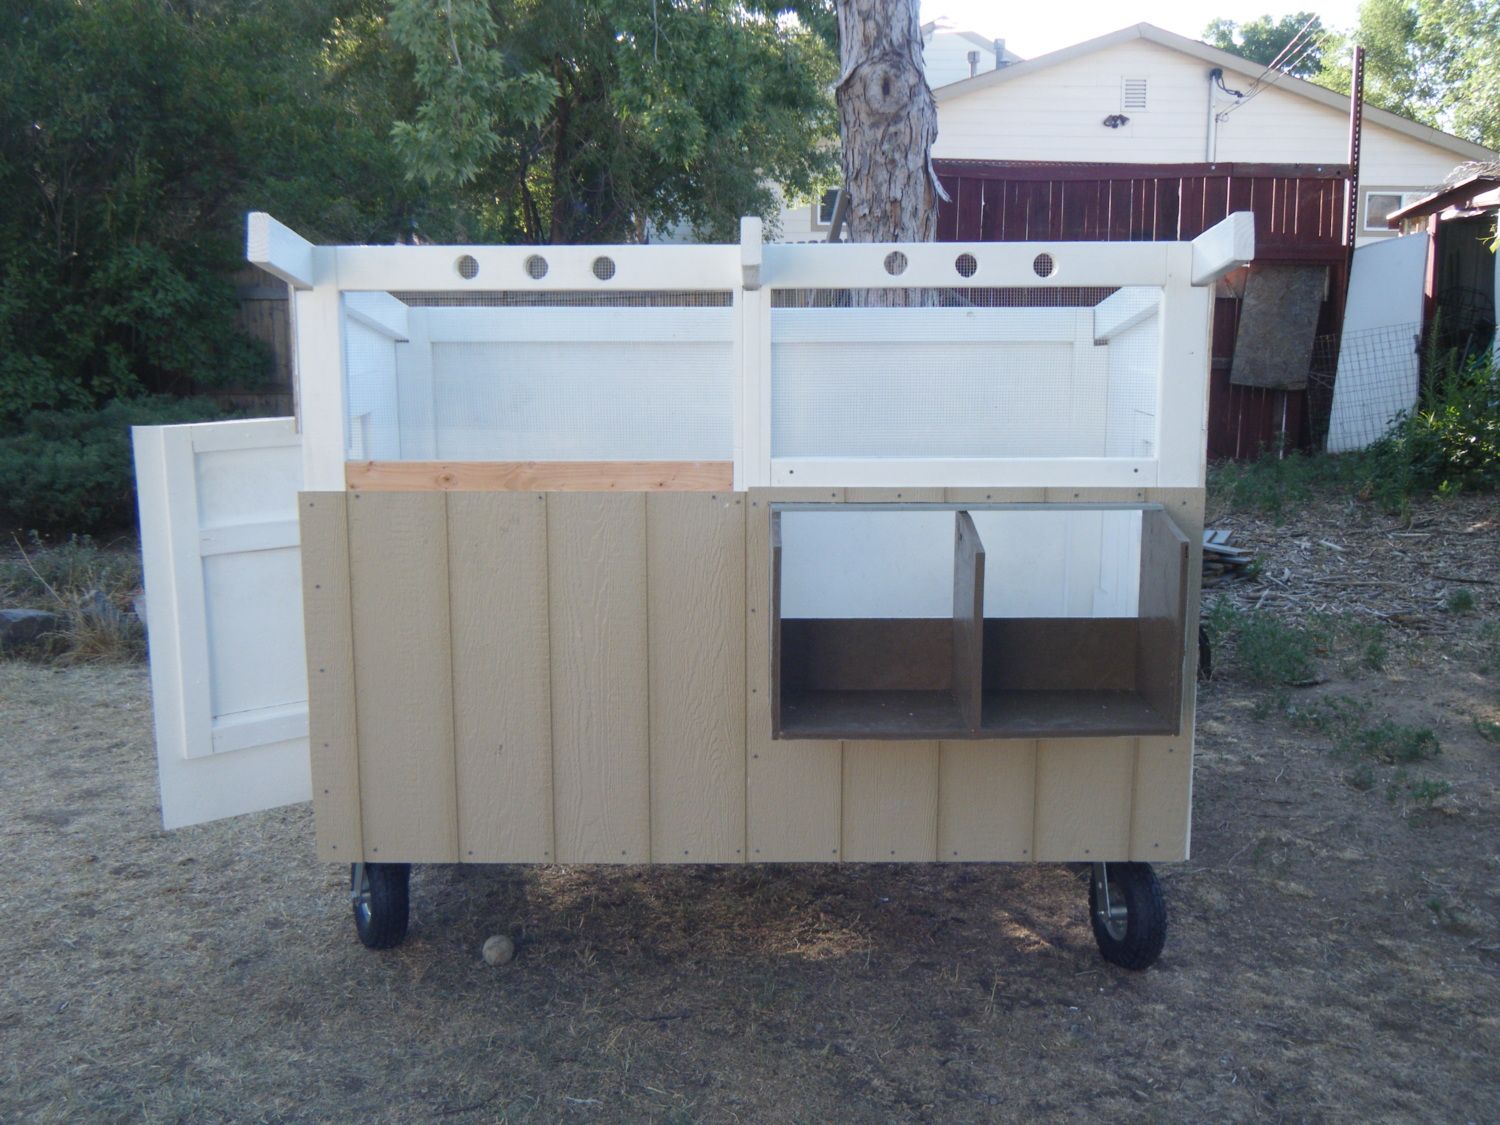
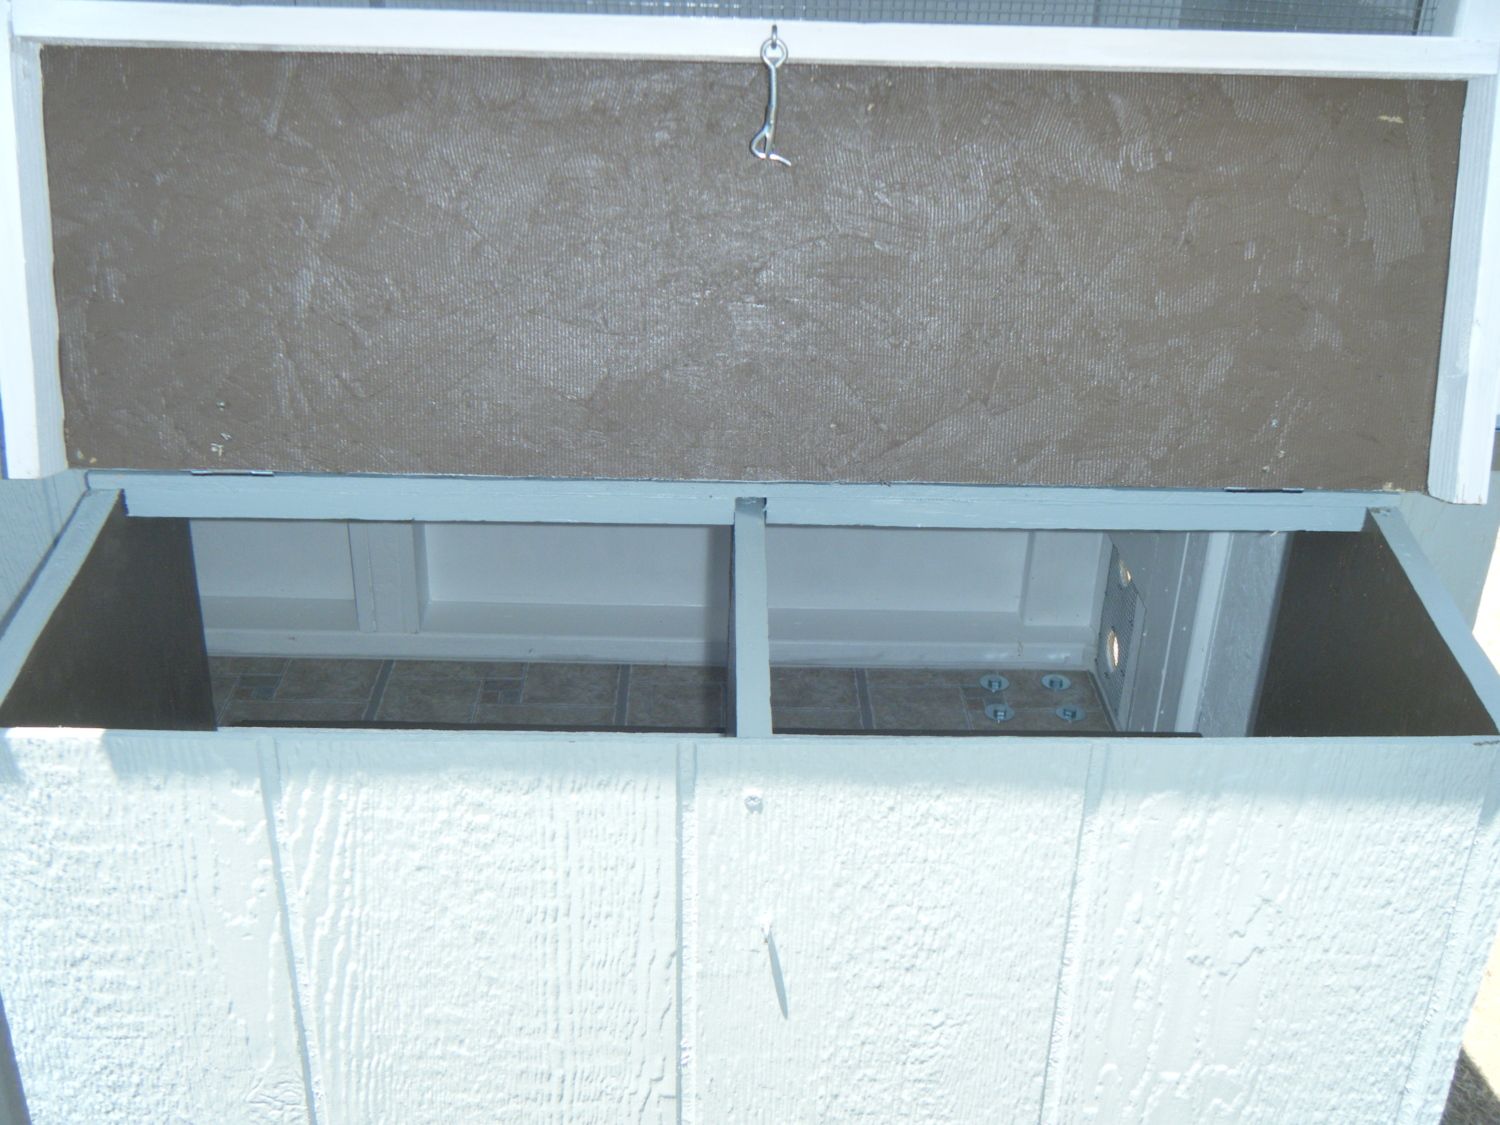
Day 6: I had to work in the morning but in the afternoon I tackled the nest box panel. We had noticed that the plan had called for a smaller cut in the panel that would not allow the box to fit through so I took a chance an cut what I thought was right. Luckily I was right! It was a lot of work putting up the nest box and window screens but we got it done!
Day 7: I caulked the whole coop and then went and had lunch with a friend. When I got back I was able to paint. When my BF got home we cut the window panels and lid for the nest box and I got those painted and ready to install tomorrow.
Once my BF got home we also put on the front of the nest box
Day 7: Today everything comes together! We have had a lot of late nights and at this point I just want to be done! Today we got the window panels hung, the nest box lid hung, and the roof with drip panels attached! I changed the original plan for the nest box perch, I made it where it can be folded up for cleaning. I will get some pictures of it. Tomorrow the tin roof gets put on.
Day 8:
The roof is on! I also made a few adjustments to the inside, I added a perch that the chicks will be able to use and if I need to take it out later it comes out easily.
Tada! I jerry rigged their pen to the coop since we do not have a run made yet. They figured out the ramp in no time and put themselves to bed at 8:15! What smart chicks I have.
The Run
After scouring pictures of runs my BF and I had an idea of what we wanted. Since we let the chicks free range we figured we would build a run the same size as the coop, 3'x6'.
I had to do some digging since the ground is sloped where the coop sits. Once I had a spot I moved the run over and put on the hardware cloth. We attached it to the coop with some hooks on the inside of the run.
Then I added some pavers and pots to make it pretty!
I attached a 2x4 across the middle of the run that swings up so I can go underneath it.
Never Finished!
Since we "finished" the coop and run there have been a few changes. First, 5 of my 6 chicks turned out to be roosters! So I went shopping and bought four pullets: a blue wyandotte, a white EE, a barred rock, and a buff orpington. We also realized that the run was not going to be big enough. Once school starts the girls will have to spend most of the day in the run. So we doubled it.
And added a swinging perch (Weeble is a big fan)
The New Girls:
Ginger
Luna
Hazy
Hattie
And it continues:
I have been wanting to stencil some chickens onto the coop.
Not all the girls are excellent flyers so I built a ledge for them to jump up on and then they can get on the perch from there. I made it a box and filled it with PDZ.
The latest...
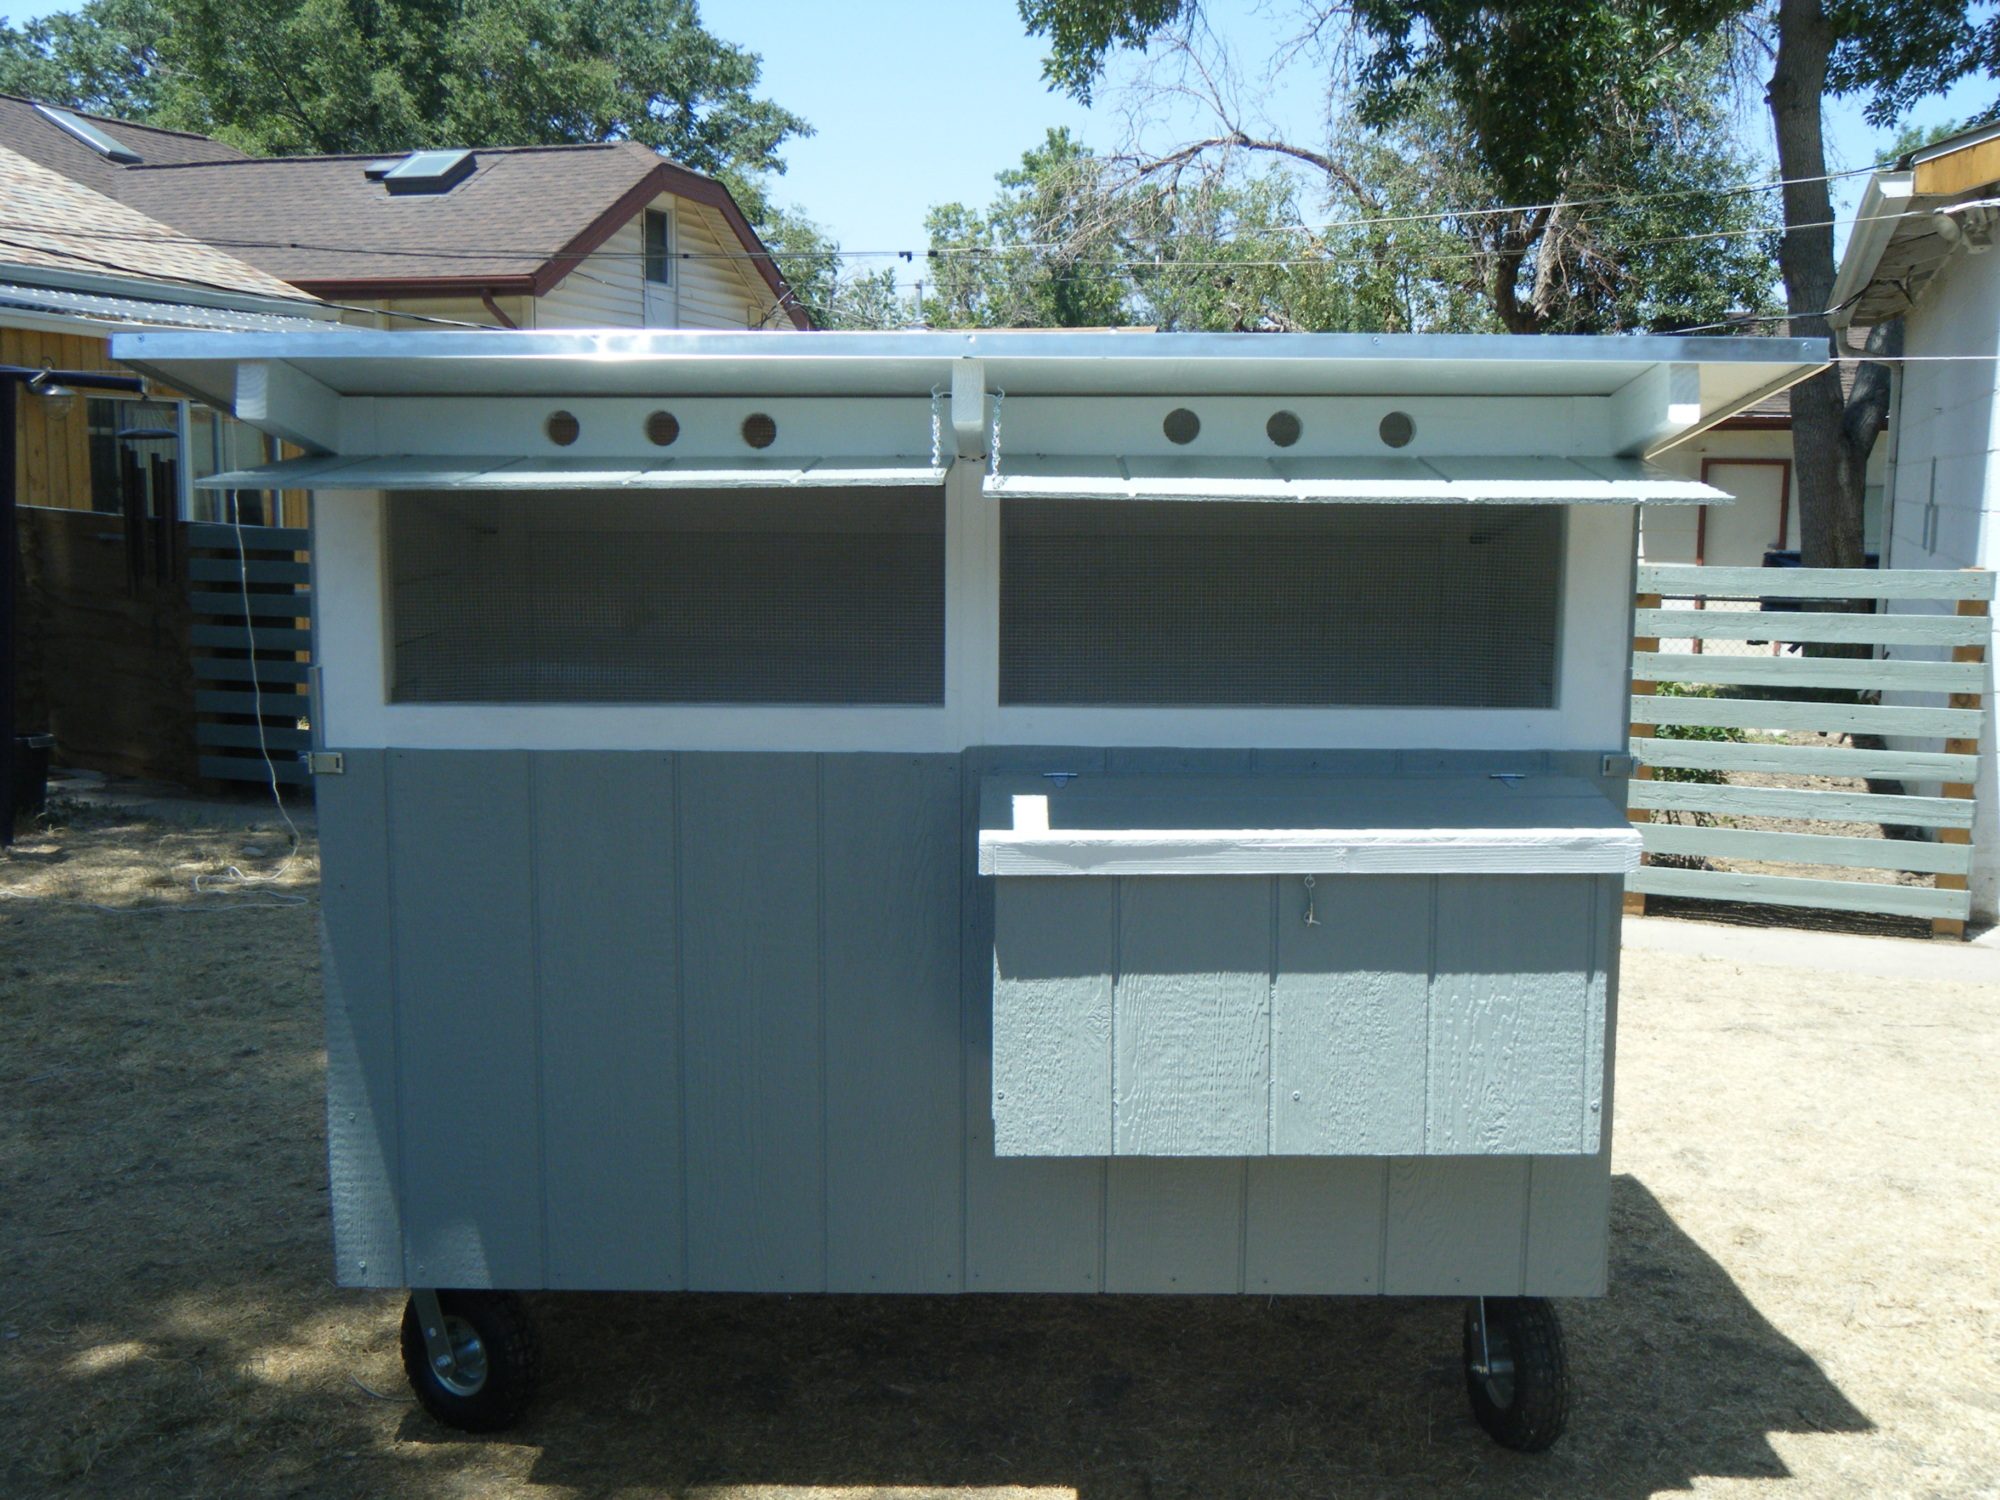
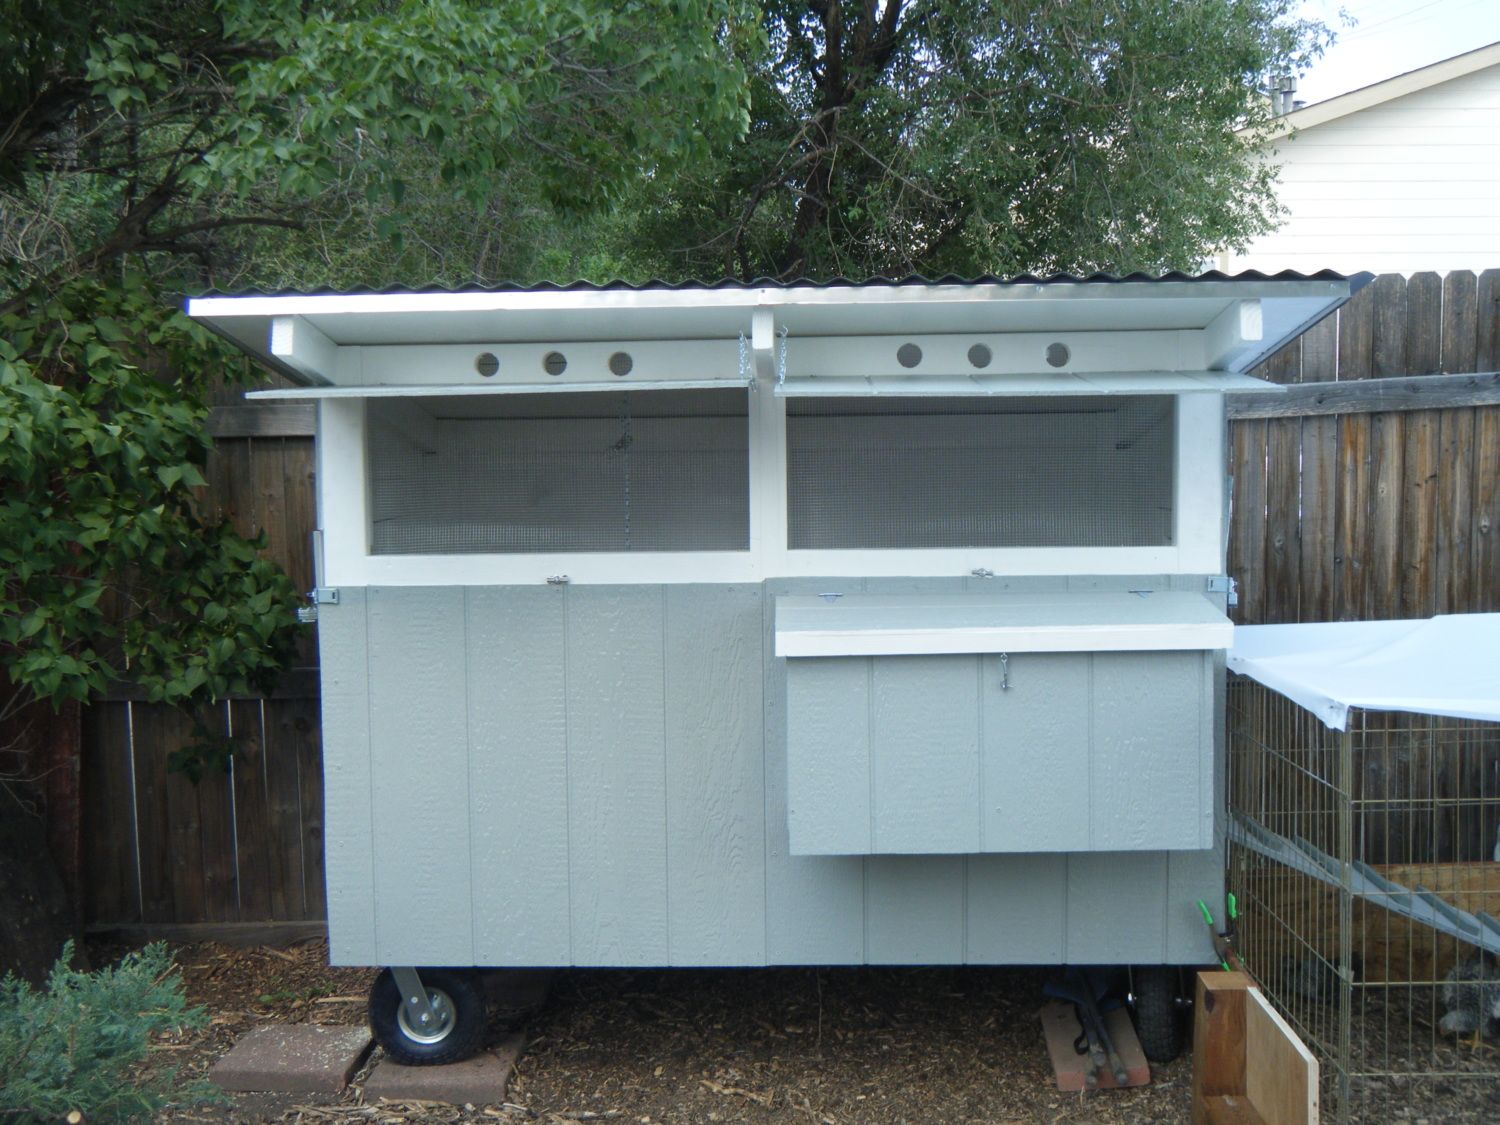
One of the requirements for the coop was that it was mobile. This week we moved the coop to prepare for replacing our back fence. I already had a spot picked out closer to the house (which I love of course). It is under a large elm tree, which provides some nice shade. The first challenge was moving the run. Since the addition it is quite a bit heavier and more awkward. We got it done but I will be adding some drop down wheels before the next move! I have also been drawing up some plans to add a flower box to the side without the nest boxes. After a lesson in using the chop saw, I made one all by myself, and attached it too! I used four bolts to secure it to the coop, and after it was done I kinda wish I had put it a little lower, that is what I get for being impatient. But nevertheless, I love it!
The new temporary location (right outside the kitchen window)
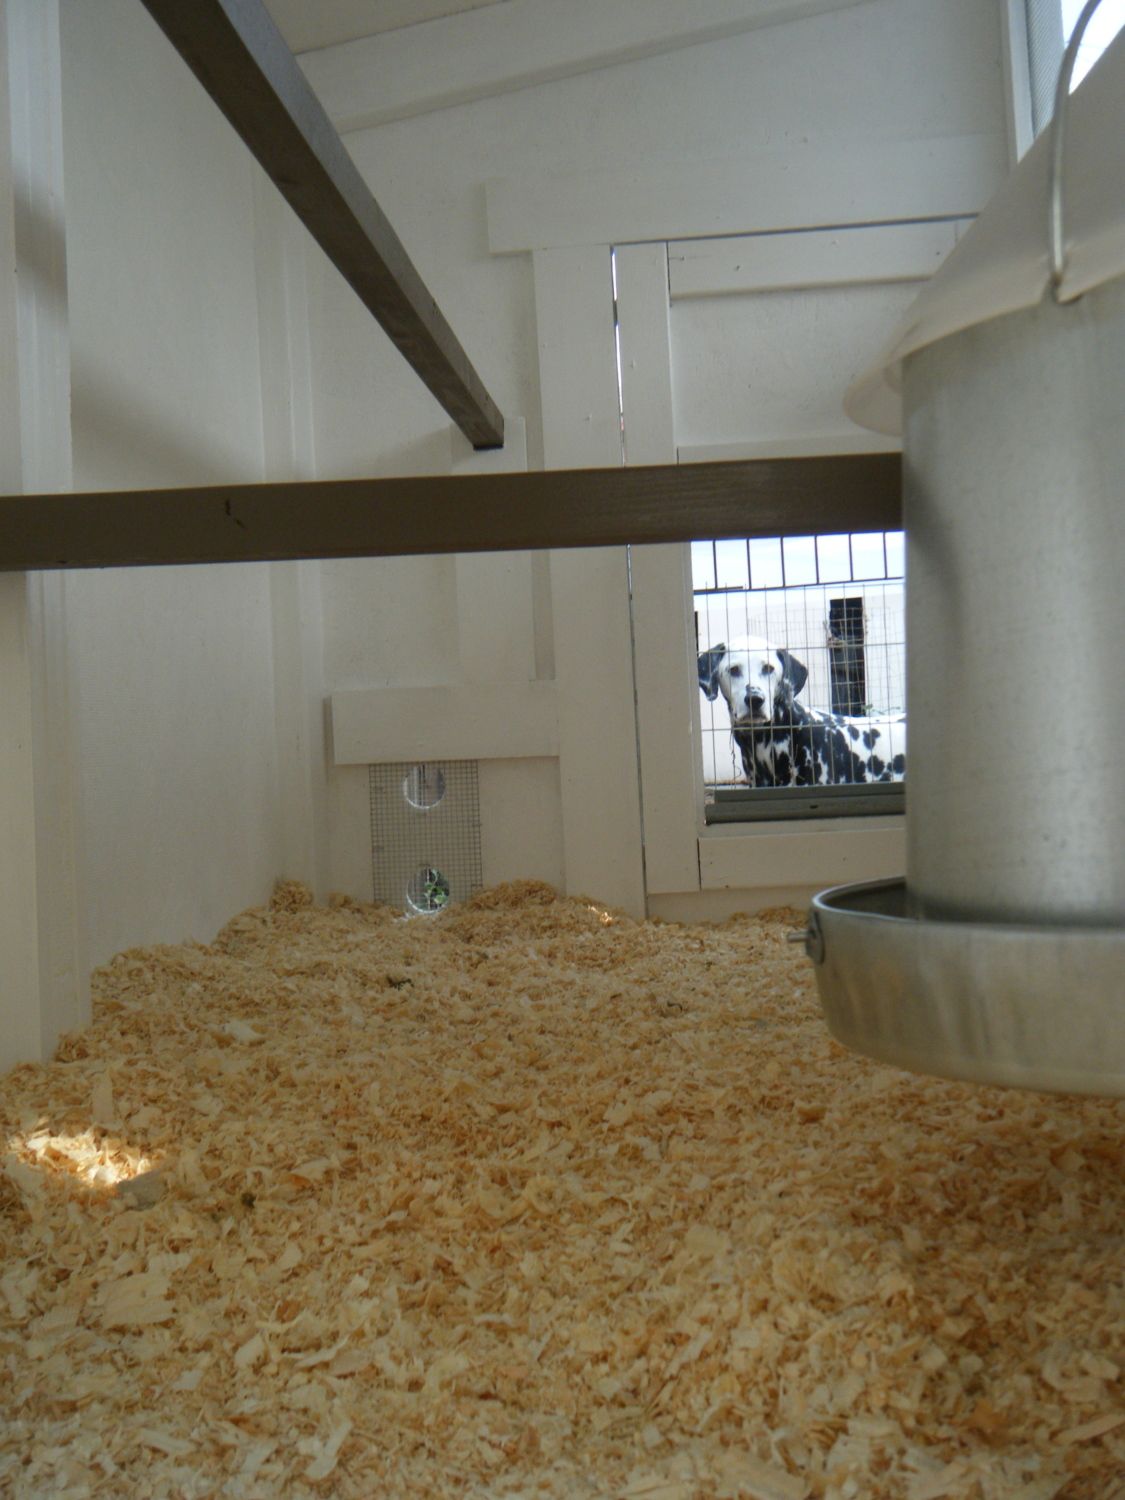
The chicken protector (no one gets near his chickens!)
Just six weeks ago I fell in love with the idea of having chickens. It began when I discovered that as of June 2011, Denver county allowed residents to purchase a permit to have up to 8 chickens. Now I wasn't thinking of having 8, just 2 or 3, maybe 4. The kindergarten classroom I work in also happened to be incubating a dozen eggs, so chicks were becoming a part of my life. I had begun my research into breeds and my boyfriend and I started to narrow down on breeds we would like to have; barred rock, rhode island red, buff orpington, and possibly a wynadotte. His family has raised chickens so we consulted his dad as well. I was getting so excited, maybe a bit too excited. When I find a new interest I focus 24/7 on that interest, so I thought only about our new chicks. Then I got this idea that I could possibly get some of the chicks that we hatch in the classroom. As day 21 drew nearer and nearer (which was coincidentally the day before my birthday) I couldn't wait to see my could-be new chicks! Fast forward...I nixed the idea of searching for our specific breeds and decided I wanted these fluff balls that had hatched on my birthday. So when it was time for the chicks to return to the farm I had arranged to keep a few, and was encouraged to keep even more than a few. When it came to decision time I couldn't decide and I brought home 6, knowing that there was a high probability that I would have a few roos.
Now came the big question, where are these chicks going to live? First the brooder grew from a cardboard box to a large stock tank that my mom generously loaned me. The next big decision was a coop. I scoured the web for the perfect coop. It had to be pretty, it had to fit with our style (which is somewhat modern), and it had to be mobile as we are slowly re-landscaping our backyard. After weeks and weeks of lost sleep I chose the City Biddy Double Wide coop. I ordered the plans and anxiously checked the mail for them to come.
Building the Coop
Day 1:
It began with building the base.
Caster wheels will allow us to move it around the yard but one of the bolts we bought was too long so we could not put them on and had to stop there with the base. So we began to build the front and back frames.
Around 9:30 pm I finished painting the frames and called it a night.
Day 2:
First a run to Home Depot. Then attach the caster wheels and front and back frames. The vinyl flooring had not had enough curing time and tiles began falling off when we were installing the wheels. Luckily we had enough still to make the border so we could put up the frames.
Next came the rafters.
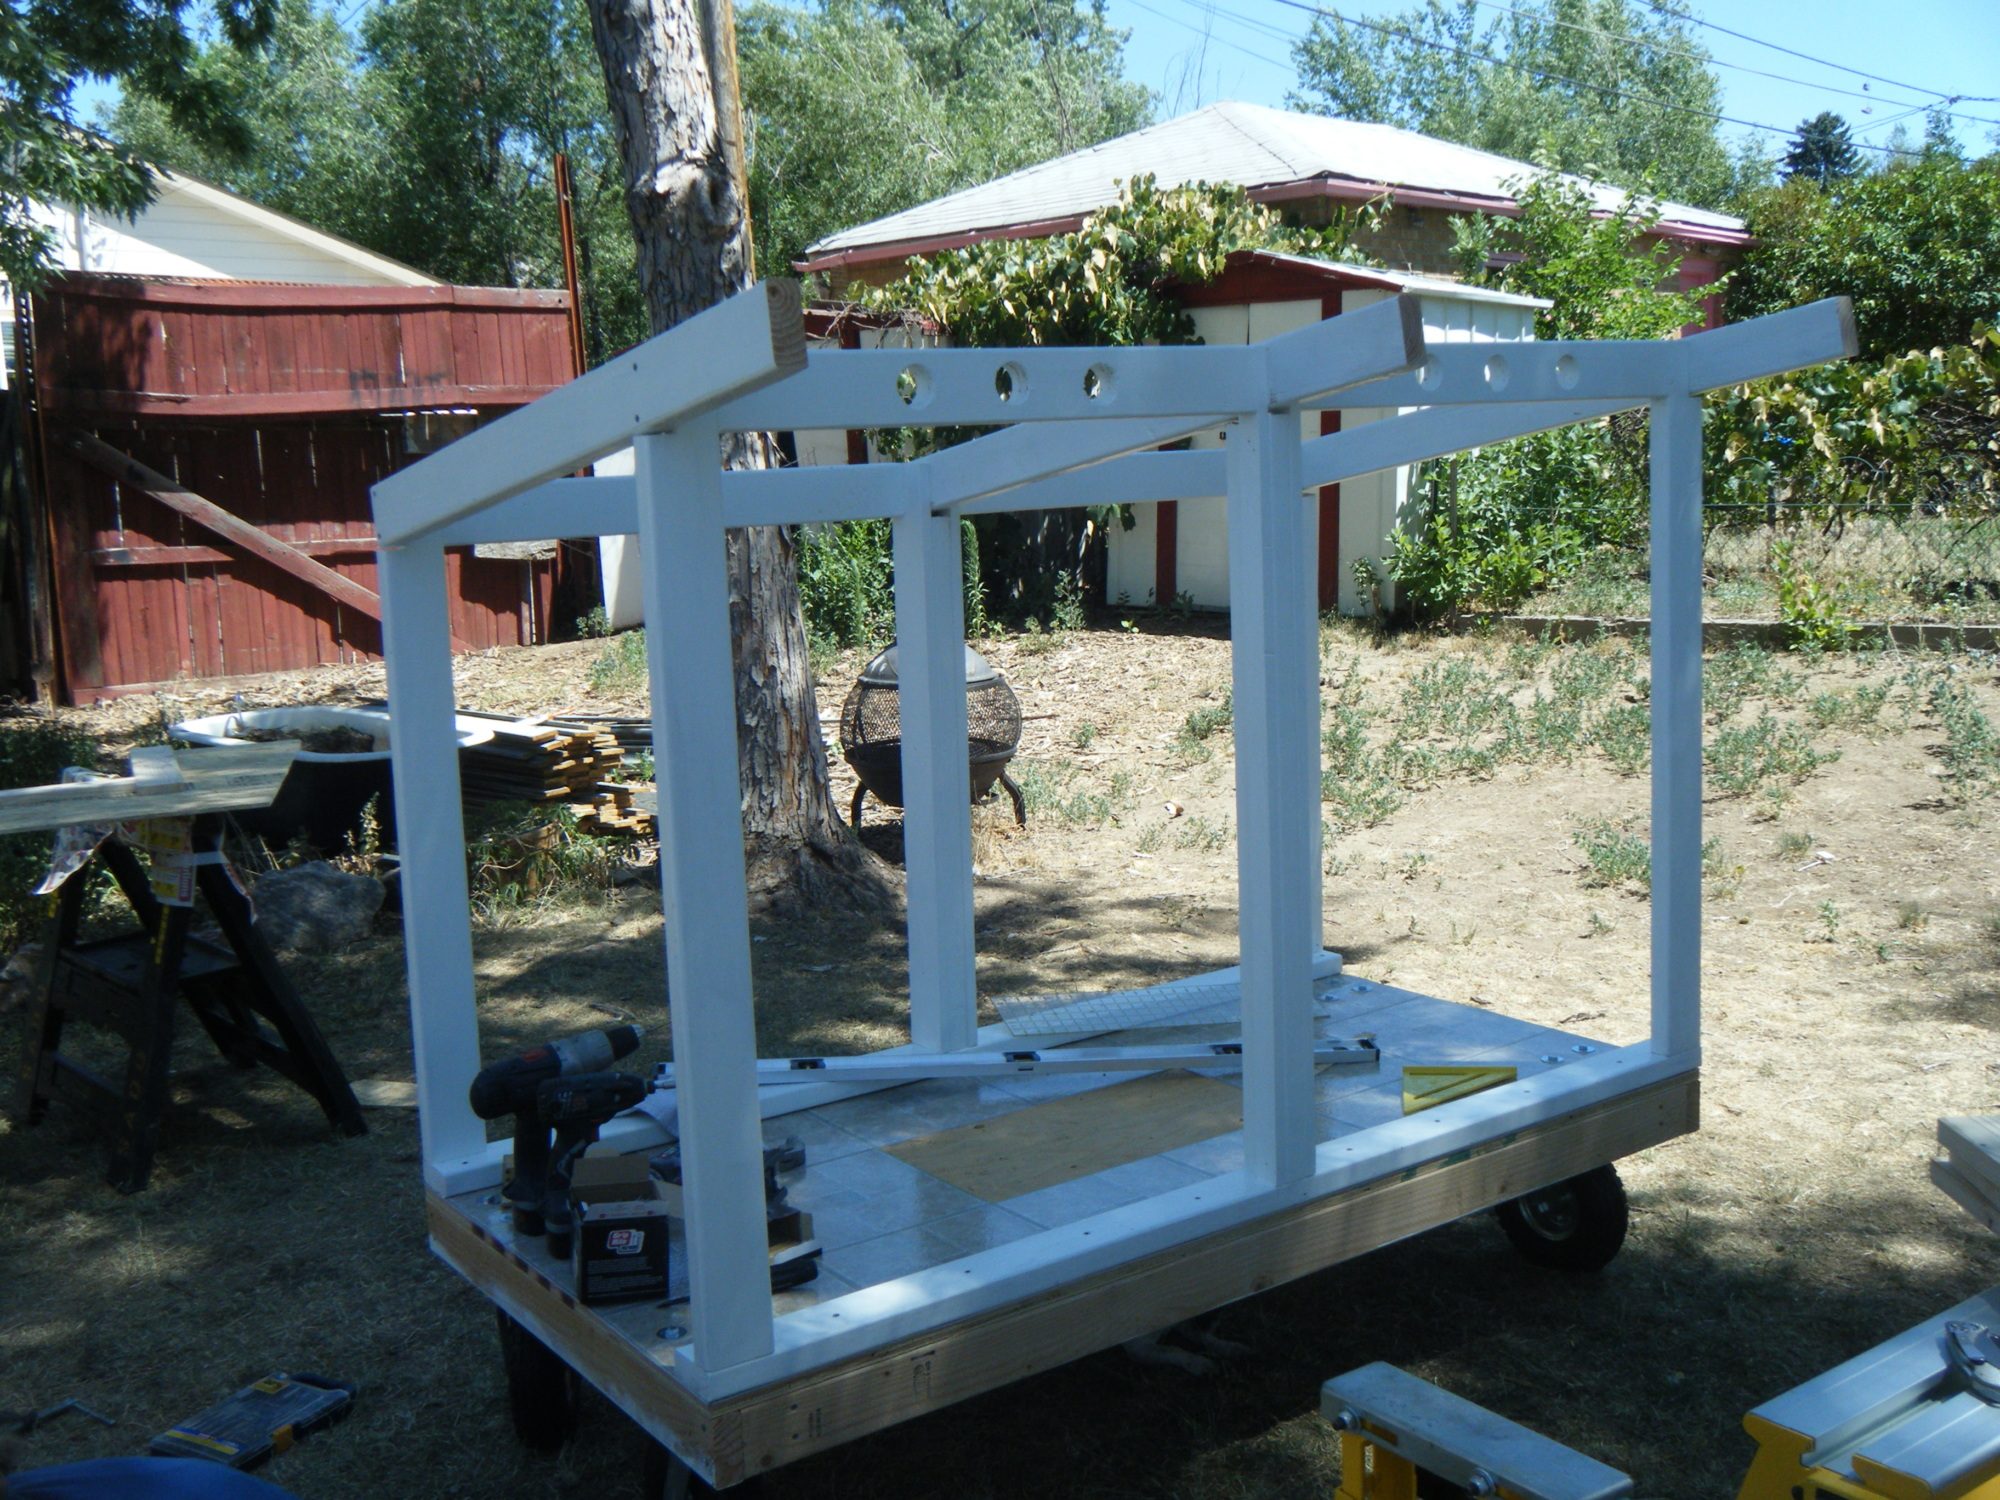
The next part was a lot of cutting to make the sides and doors. I changed the original plan which has one access door and made two since I am not sure of where the coop will be and the run can be attached to either side and I can still clean without going into the run. This also means that we will be cutting the chicken doors in the access doors which is also different from the original plans.
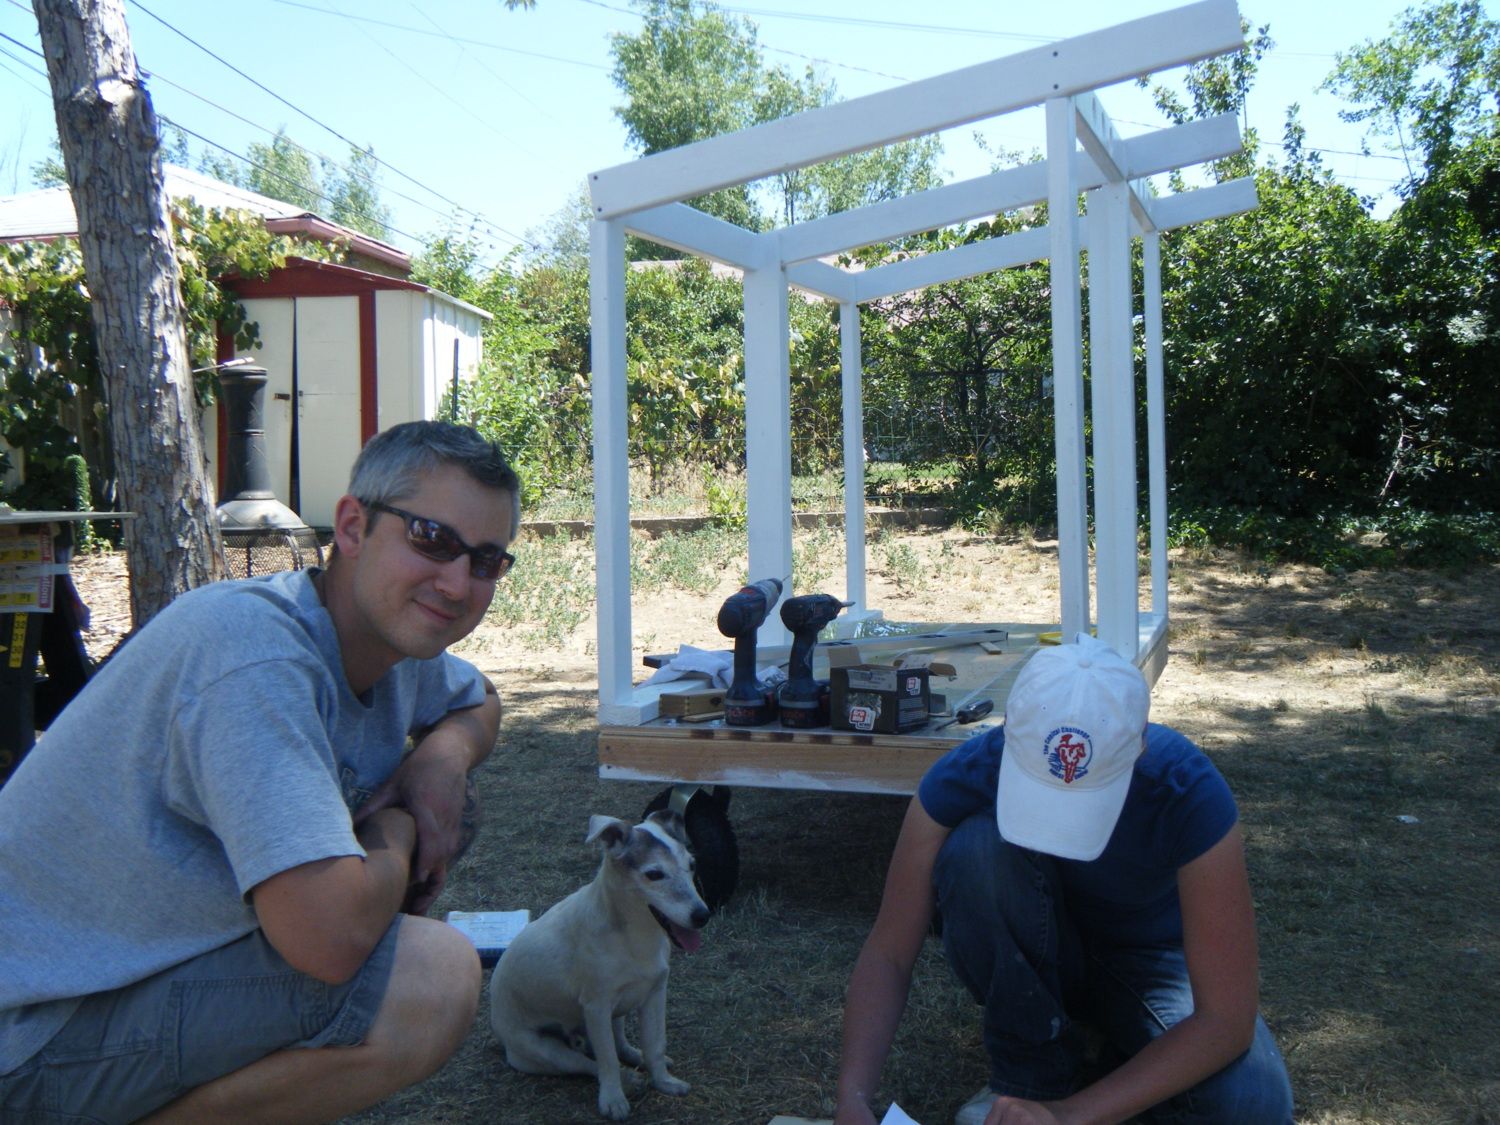
I did the reading and organizing, my boyfriend did the cutting, drilling, and screwing. And we had three assistants, this one over saw reading the plans. Once the doors were cut and the bracing was attached to the sides they could be painted and then attached to the coop.
This is where we called it a day. The next step is the nest box. We are only installing one of the nest boxes (which will give us two nests not four) since we will only be having 4 hens.
Day 3:
This day was strictly for painting. We had plans in the evening so I did what I could during the day.
Day 4:
We got everything for the nest box cut and ready to assemble.
Day 5:
I am very proud of myself. Power tools are a little intimidating but I bit the bullet and got a lot done! First I assembled the nest box.
The back has to be cut out of one of the front panels and I have not done that yet.
Next I built the ramp, my BF thought it was ridiculously long (4') but I think it will be perfect.
The next part is what I am most proud of. We had a little debate over cutting out the chicken doors from the people access doors. BF thought we should just put the hinges for the access door on the top and we could flip that door open, I was not so keen on that idea. He was didn't think that it was going to be easy to cut the doors out, my female brain could not figure out why, it seems very simple. So this morning I did a little searching on the web for tips on using a jigsaw and I got brave and cut them out. Wow it was really easy. I love to sew and using the jigsaw was just like sewing. So now we have two chicken doors.
Next I will tackle cutting the nest box opening out of the front panel (this will also become the back of the nest box). Hopefully this evening we will install the nest box and hang the doors!
I had two curious peeps this morning.
We did not hang the nest box, instead we got the doors one front panel, and back panels hung.

Day 6: I had to work in the morning but in the afternoon I tackled the nest box panel. We had noticed that the plan had called for a smaller cut in the panel that would not allow the box to fit through so I took a chance an cut what I thought was right. Luckily I was right! It was a lot of work putting up the nest box and window screens but we got it done!
Day 7: I caulked the whole coop and then went and had lunch with a friend. When I got back I was able to paint. When my BF got home we cut the window panels and lid for the nest box and I got those painted and ready to install tomorrow.

Once my BF got home we also put on the front of the nest box
Day 7: Today everything comes together! We have had a lot of late nights and at this point I just want to be done! Today we got the window panels hung, the nest box lid hung, and the roof with drip panels attached! I changed the original plan for the nest box perch, I made it where it can be folded up for cleaning. I will get some pictures of it. Tomorrow the tin roof gets put on.
Day 8:
The roof is on! I also made a few adjustments to the inside, I added a perch that the chicks will be able to use and if I need to take it out later it comes out easily.
Tada! I jerry rigged their pen to the coop since we do not have a run made yet. They figured out the ramp in no time and put themselves to bed at 8:15! What smart chicks I have.
The Run
After scouring pictures of runs my BF and I had an idea of what we wanted. Since we let the chicks free range we figured we would build a run the same size as the coop, 3'x6'.
I had to do some digging since the ground is sloped where the coop sits. Once I had a spot I moved the run over and put on the hardware cloth. We attached it to the coop with some hooks on the inside of the run.
Then I added some pavers and pots to make it pretty!
I attached a 2x4 across the middle of the run that swings up so I can go underneath it.
Never Finished!
Since we "finished" the coop and run there have been a few changes. First, 5 of my 6 chicks turned out to be roosters! So I went shopping and bought four pullets: a blue wyandotte, a white EE, a barred rock, and a buff orpington. We also realized that the run was not going to be big enough. Once school starts the girls will have to spend most of the day in the run. So we doubled it.
And added a swinging perch (Weeble is a big fan)
The New Girls:
Ginger
Luna
Hazy
Hattie
And it continues:
I have been wanting to stencil some chickens onto the coop.
Not all the girls are excellent flyers so I built a ledge for them to jump up on and then they can get on the perch from there. I made it a box and filled it with PDZ.
The latest...
One of the requirements for the coop was that it was mobile. This week we moved the coop to prepare for replacing our back fence. I already had a spot picked out closer to the house (which I love of course). It is under a large elm tree, which provides some nice shade. The first challenge was moving the run. Since the addition it is quite a bit heavier and more awkward. We got it done but I will be adding some drop down wheels before the next move! I have also been drawing up some plans to add a flower box to the side without the nest boxes. After a lesson in using the chop saw, I made one all by myself, and attached it too! I used four bolts to secure it to the coop, and after it was done I kinda wish I had put it a little lower, that is what I get for being impatient. But nevertheless, I love it!
The new temporary location (right outside the kitchen window)
The chicken protector (no one gets near his chickens!)
