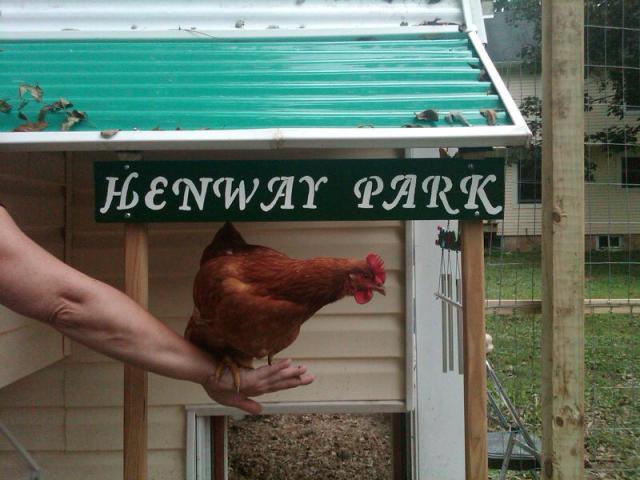
"Henway Park"

Ginger under her hen house sign
Ginger under her hen house sign
Like many of you, I started thinking about raising chickens a long time before I actually took the plunge, or flight. I was a working mom with 2 kids and an assortment of animals. I was too busy to even think about taking on the extra duties of raising chickens! I retired last year and I went from working 50+ hours a week to not working at all. I taught middle school; yes I can hear some of you wondering if I'm insane. I guess the answer is "A little". I taught 7th-9th grade foods and nutrition. When I retired, I could really focus on my own "nutrition". I already had a 300 sq.ft. organic garden so chickens were not too much of a leap or "flight".
I started at my local Habitat For Humanity "Restore"; it's one of my favorite places to visit. I feel my creative juices flowing when I'm there. I stumbled upon an old bay window and right across from it was an Ikea bed frame. My brain instantly put the 2 together. I already had my son's train set structure to cannibalize along with wood and extra siding from my house remodel. There was another window, double pane, new and perfect. It was from a construction supplier that used it for display. Deeper into the Restore, I found cinder blocks for the foundation. I was on a roll!
I adopted my day old chicks on April 12th, my daughter's birthday. I got 2 Red Stars, 2 Barred Rocks, and 2 Cuckoo Marans. They were too cute for words. I started them out in an old storage tub.
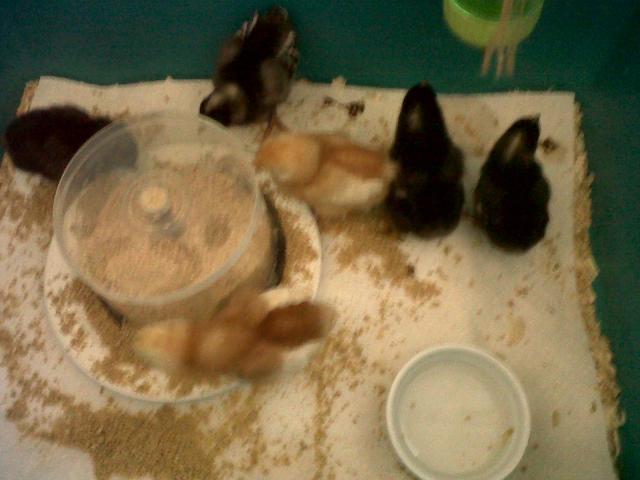
That lasted for about 2 1//2 weeks. One day, I looked over and found one of the Red Stars, Spice, perched on the edge of the tub. So down to the basement I went to get an old baby gate.

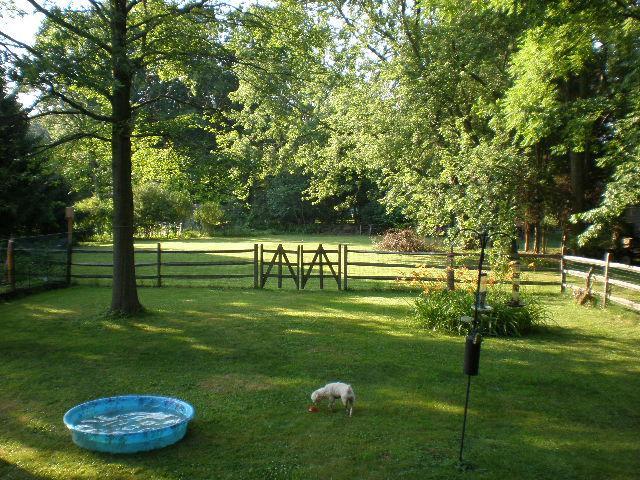
These are my 2 dogs making "sure" the chicks don't run away!
I continued to collect odds and ends; drew up plans, then redrew them; changed the coop location, twice; read and learned. I really wanted to start building but Mother Nature wasn't cooperating. It just wouldn't stop raining. As the weeks wore on and the chicks got bigger, I started getting nervous if the coop would even be started before the chicks would run out of room. The girls had moved out of their green tub and into a converted rabbit hutch.
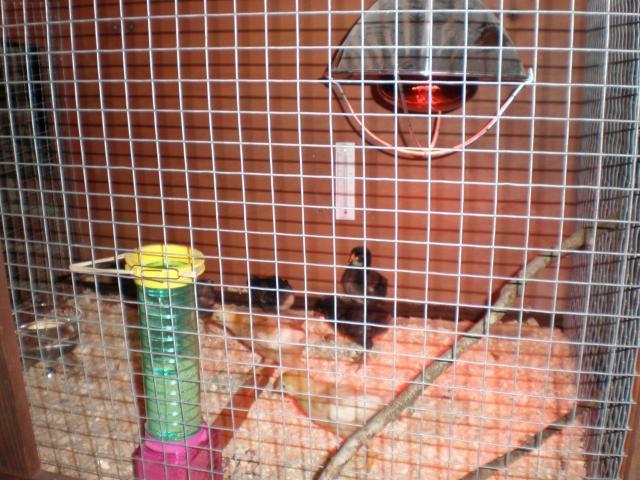
The little girls in their new home
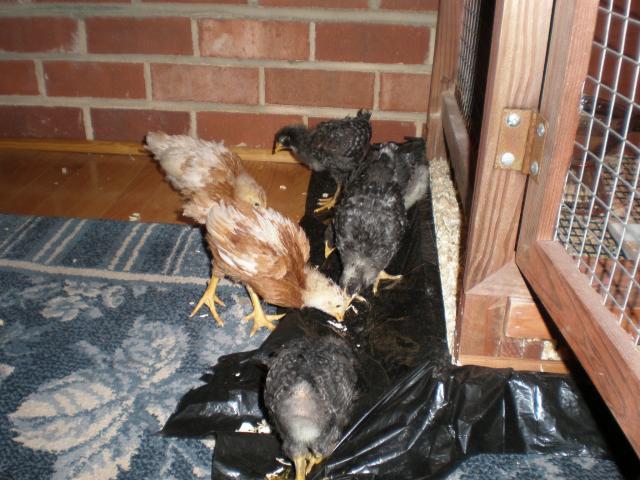
Exploring outside world (the family room to be exact)
The speed at which the chicks grew was amazing. My Father-in-Law joked that the girls loved to watch tv. They were in the family room with us and would talk to Steve and me all evening. We had lovely conversations. Spring marched on but the rain wouldn't stop. Every day, the hens grew, clucked, ran around the kitchen, chased the dogs, and were basically chicks. We went away for my daughter's college graduation and when we returned, I swear they had grown twice their size! They needed to go outside and be free. They needed a coop. I anxiously waited for the sun. However, it just would not stop raining.
When the chicks were approaching 8 weeks old, a miracle happened; it finally stopped raining. The coop had to be built quickly. So, what do you do when you need to build a structure quick? You hold a "Coop Raising" party or course. The invites went out over Facebook and the tools were collected. Everyone descended upon the house. The foundation was placed and the floor was built. The bay window was set on top and then the wall framing was completed. All in all, a great start.
When the chicks were approaching 8 weeks old, a miracle happened; it finally stopped raining. The coop had to be built quickly. So, what do you do when you need to build a structure quick? You hold a "Coop Raising" party or course. The invites went out over Facebook and the tools were collected. Everyone descended upon the house. The foundation was placed and the floor was built. The bay window was set on top and then the wall framing was completed. All in all, a great start.
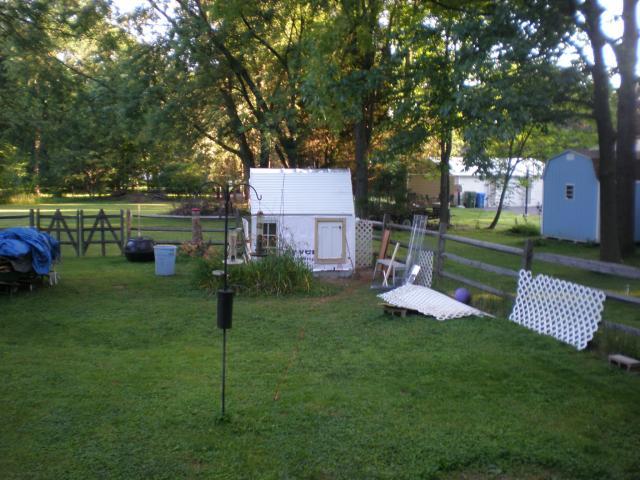
Area in yard before coop. It is now in the back, right corner
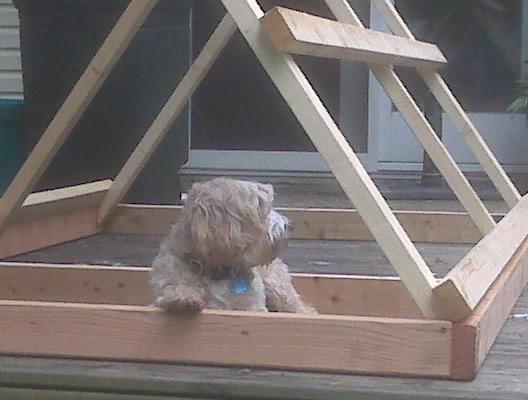
Isa making sure the roof doesn't run away
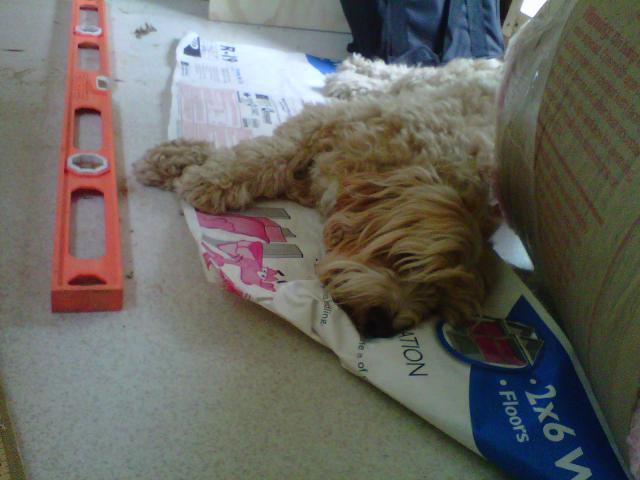
Isa helping again. She is in the coop on the linoleum while I was finighing up the inside.
Work continued the next day and by the end of the weekend, the coop was framed, walls were up, and the roof was on. I worked through the week to install the window and door, insulate the walls, Tyvek the outside walls and basically making the coop watertight. It took about 3 weeks total and the chicks were outside!!! The run wasn't done, but at least they no longer had to share an increasingly smaller and smaller hutch.
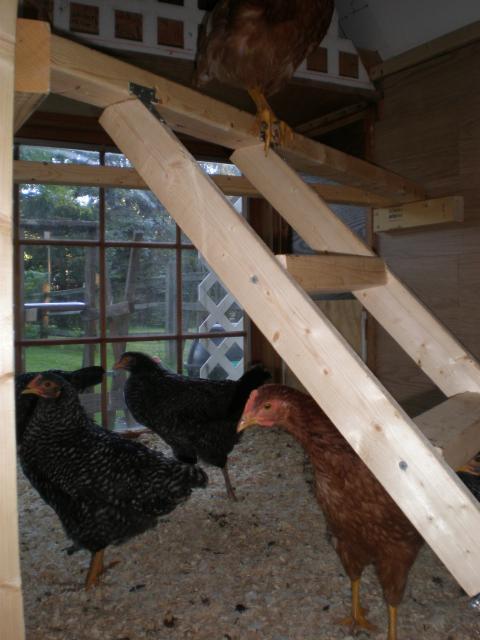
View of the inside. Ladder can be folded up for easy cleaning of the floor. You can just see the hinge at the bottom right. The inside walls are actually Ikea flooring. Found a boat load of it at my favorite store, the Restore. It works great. It's meant to be walked on so it's durable; and it is easily cleaned.
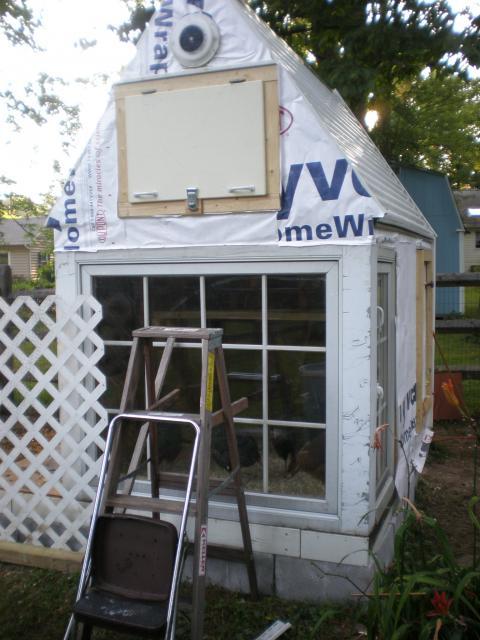
West side. This is the end where I put the bay window. You can see on the right side I kept the window for ventilation. The left window was removed and that is where the pop door is. Above the window is a door to a storage attic for electric.
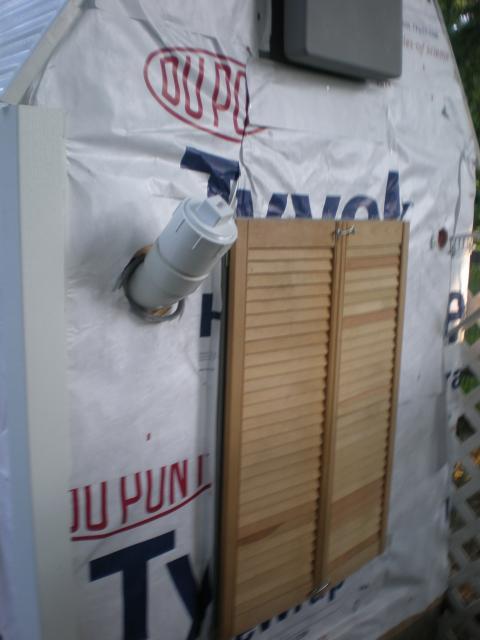
The is the East side. I used PVC for the feeding tube.You can fill it from the outside. Have found that I need to put a plastic bag to keep the rain from seeping in. The shutters are helping to keep weather out while I can keep the window open. Above the window, I put a roof vent; this gave me a vent on either side for good cross ventilation. It was from the Restore for $2. It works great and the price was just right. (Please don't laugh at the Tyvek job; it was done during a thunder and lightening storm.)
I took my daughter down to LSU for grad school and while I was gone, wouldn't you know it, one of the Reds laid her first egg! Always happens; Mom goes away and the "kid" takes her first steps. Go figure.
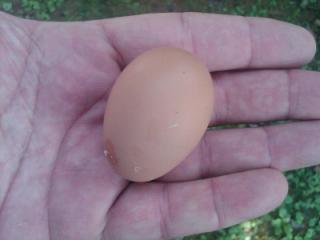
First Egg!
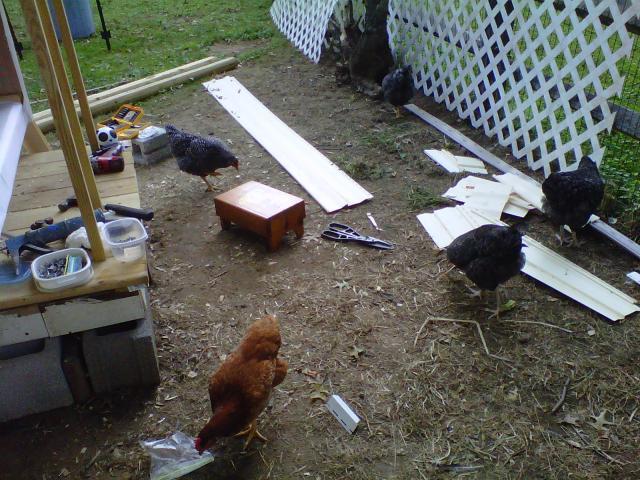
All summer long, the girls house took shape. There were times that they were SO helpful! Especially when they wanted to eat every screw, nail, marker, etc.
The Hens have grown all summer long. The run is complete (except for 2 top boards and some wire trimming). The girls front porch is done. I started decorating it; the fun part!. It started raining again a month ago and still hasn't stopped. The wood trim and the front door has to be painted; they're just molding now while waiting for dry weather. I still have to install the automatic pop door opener, the timer for the light (going to need that soon), the gable ends of their front porch roof and I need to figure out how to "winterize" the nest box area. Right now, it's the only thing not insulated.
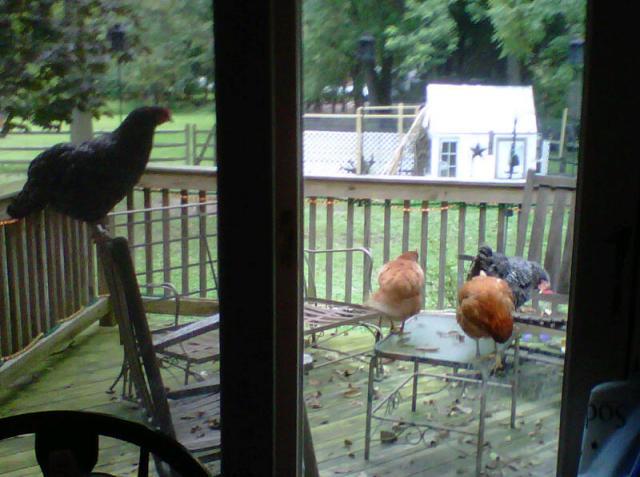
View of coop from kitchen slider. Girls hanging around on porch. What a life!
Someone said that it will eventially stop raining. Of course, they went on to say it will be in the form of snow. I'm hoping I'll be done before then....